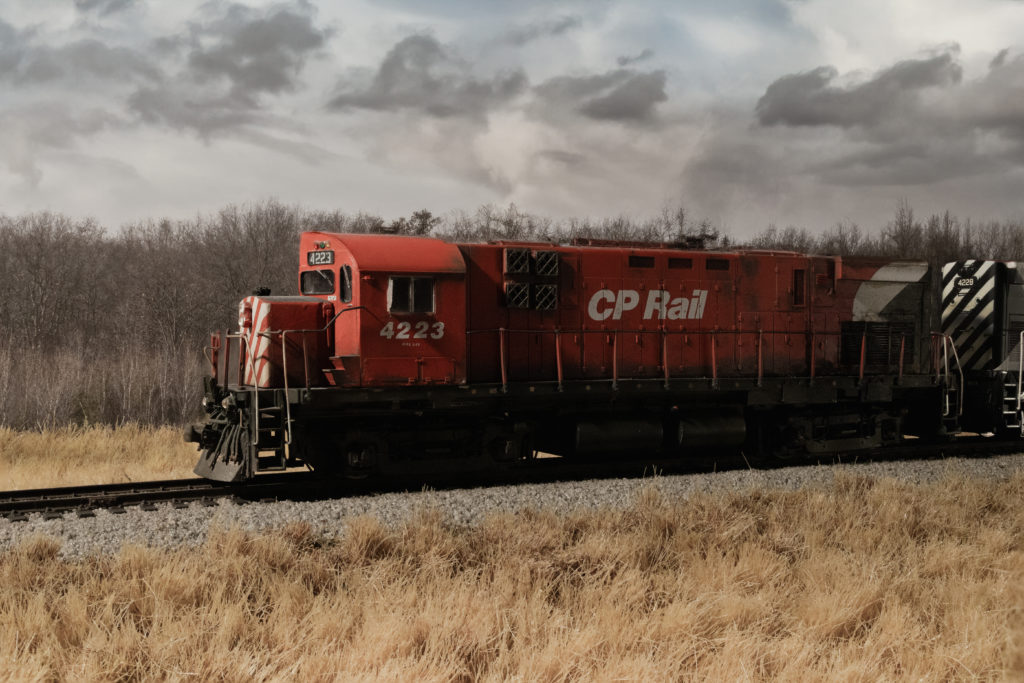
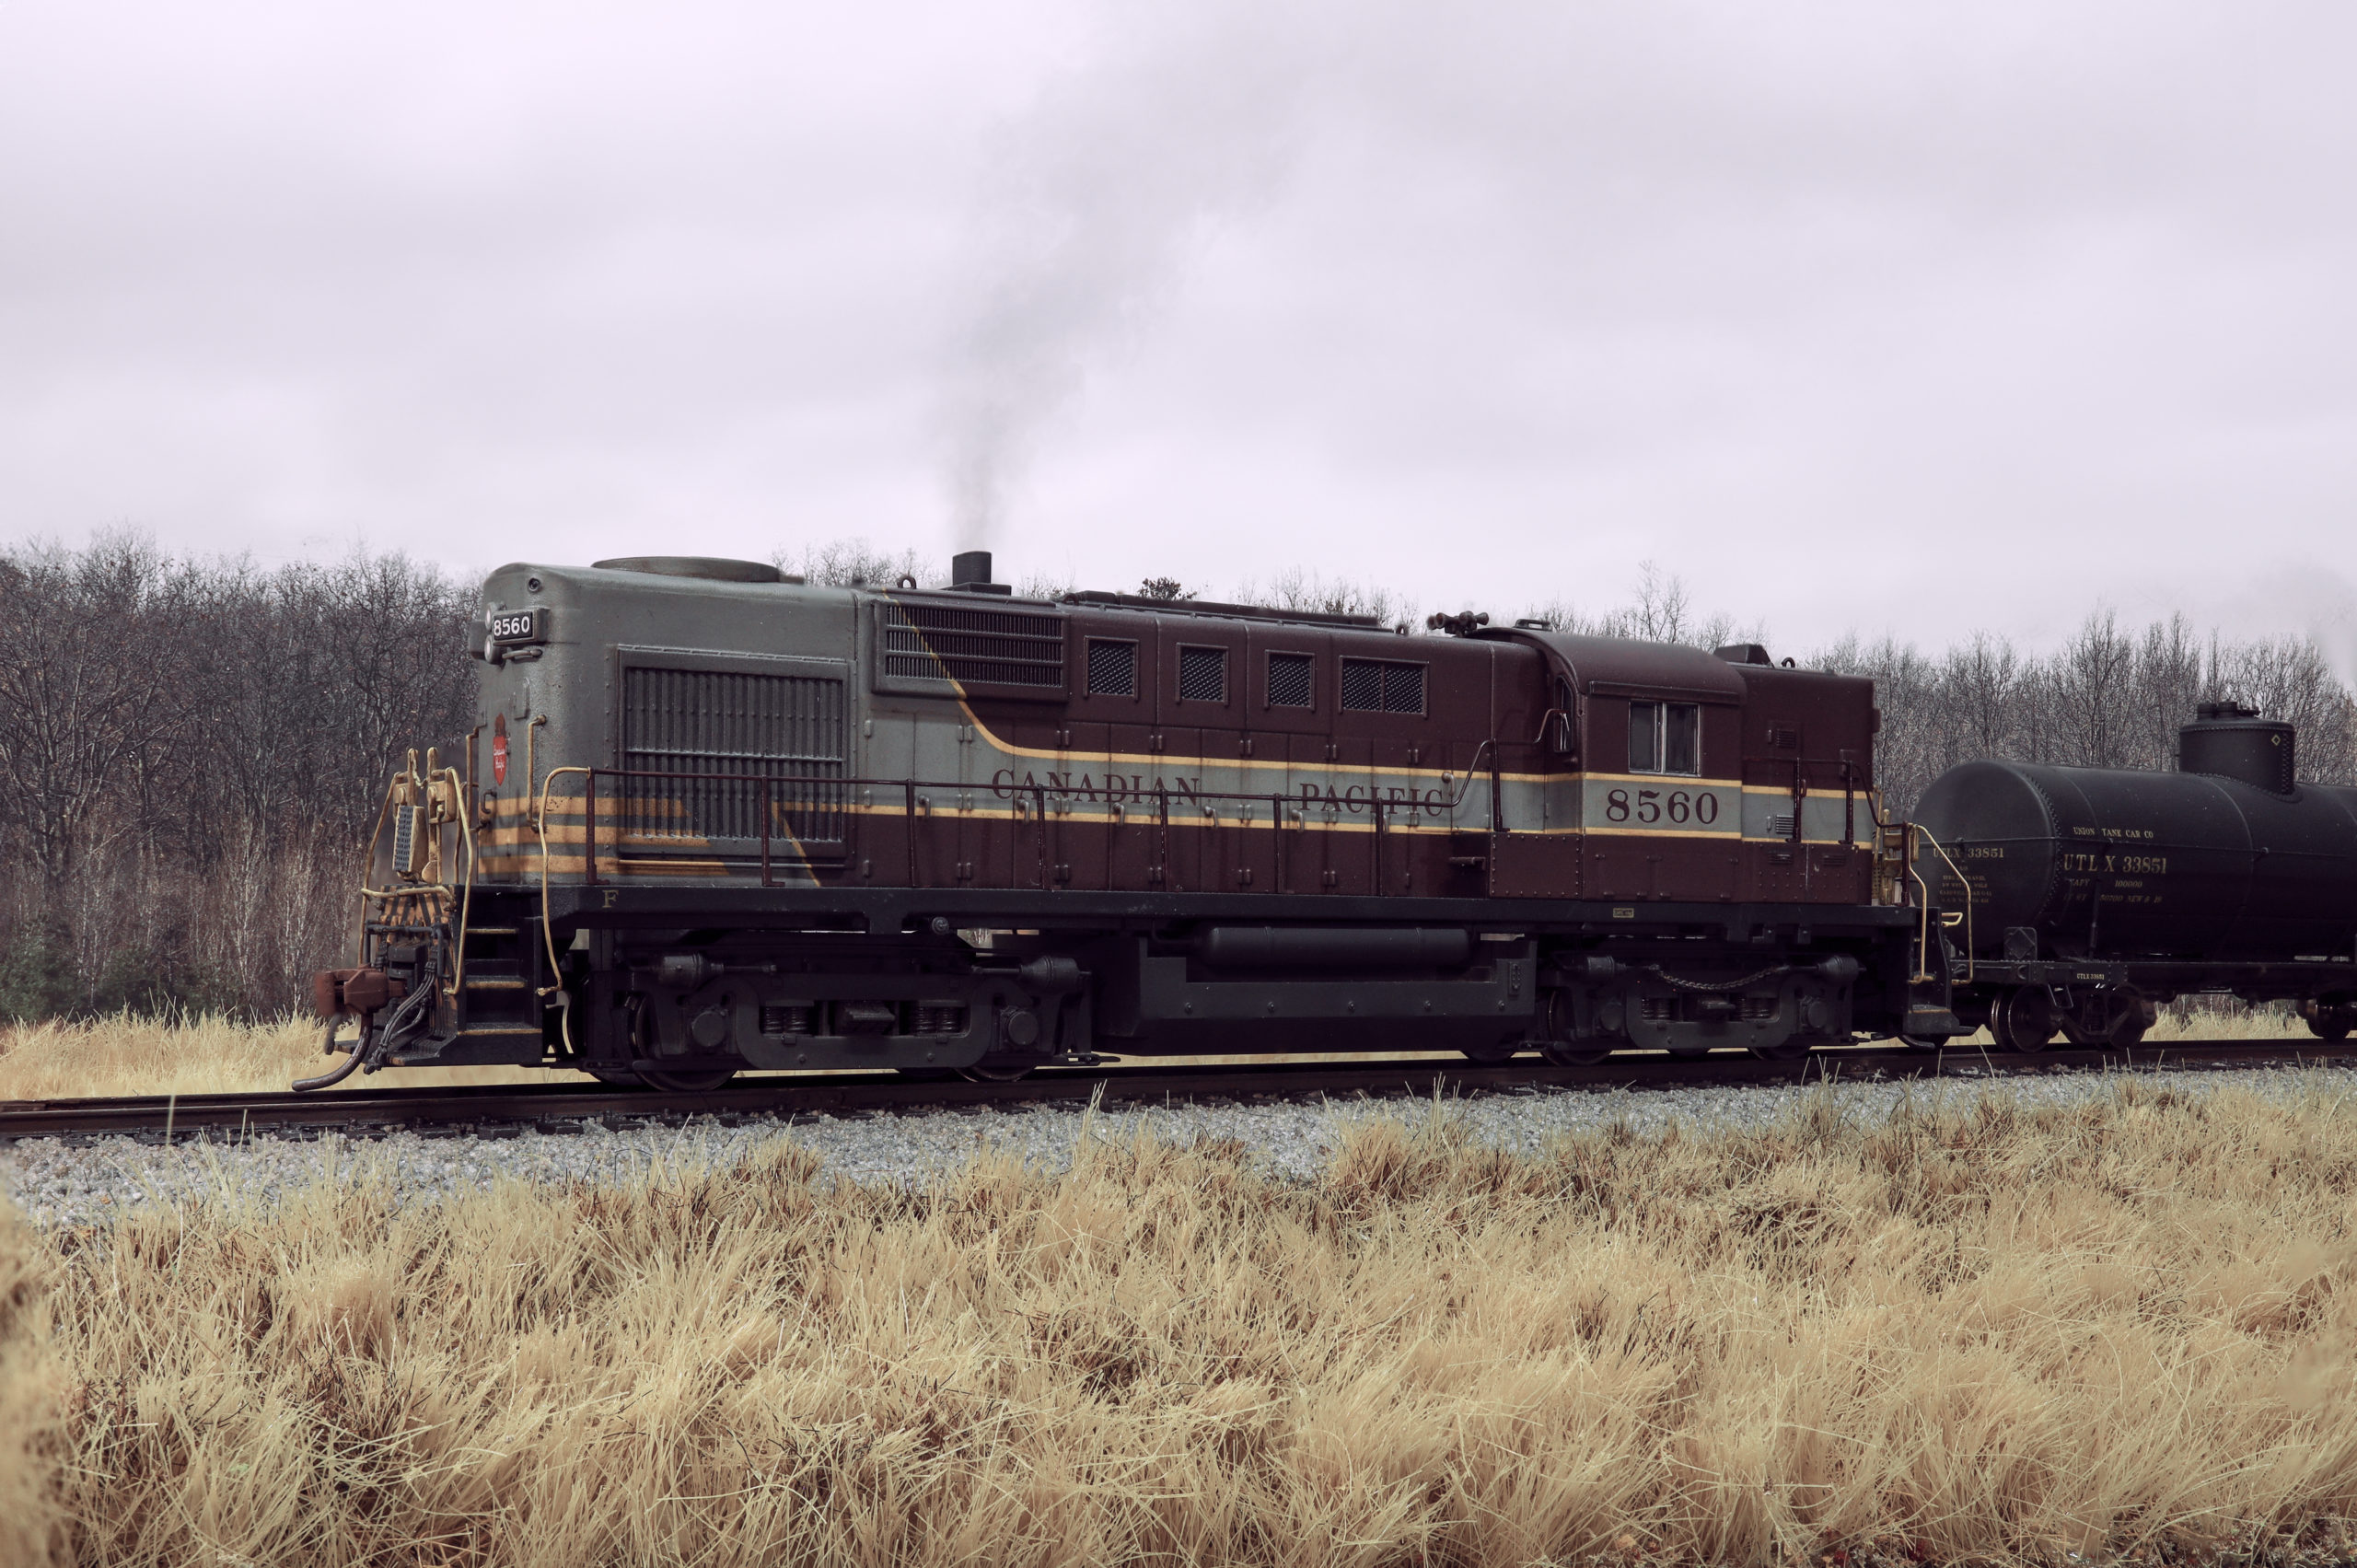
There is a stretch of track along the Little Current Subdivision that follows Highway 6 South to Little Current on Birch Island that always interested me. As I drive south to the Island, I often wonder what it would look like to chase the trains headed to Moorey, Turner and Little Current. Unfortunately the tracks have been pulled up long ago and there are few photos. The line has been turned into a trail and is still visible from google maps and street view. I thought I would build a photo diorama of Birch Island so I can take photos of something we can’t experience today.

The Little Current Model Railway is under construction and at this moment has few spots that I could photograph new projects without the under construction areas in the frame. So, I decided to make a small diorama.
Building the Birch Island Diorama
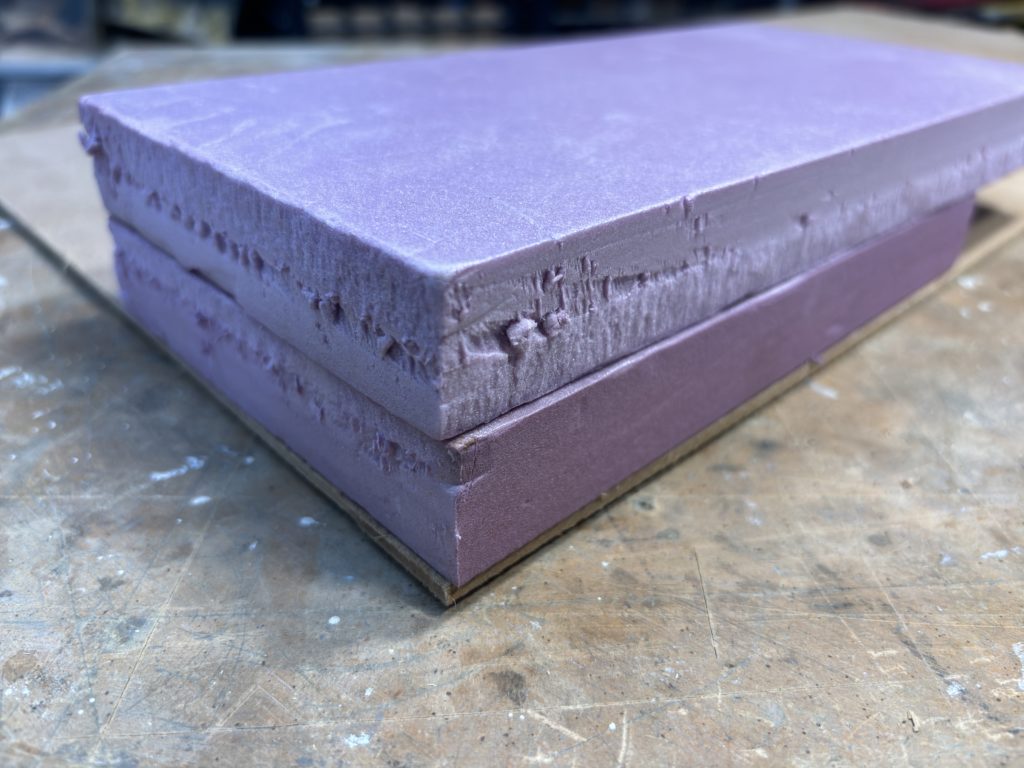
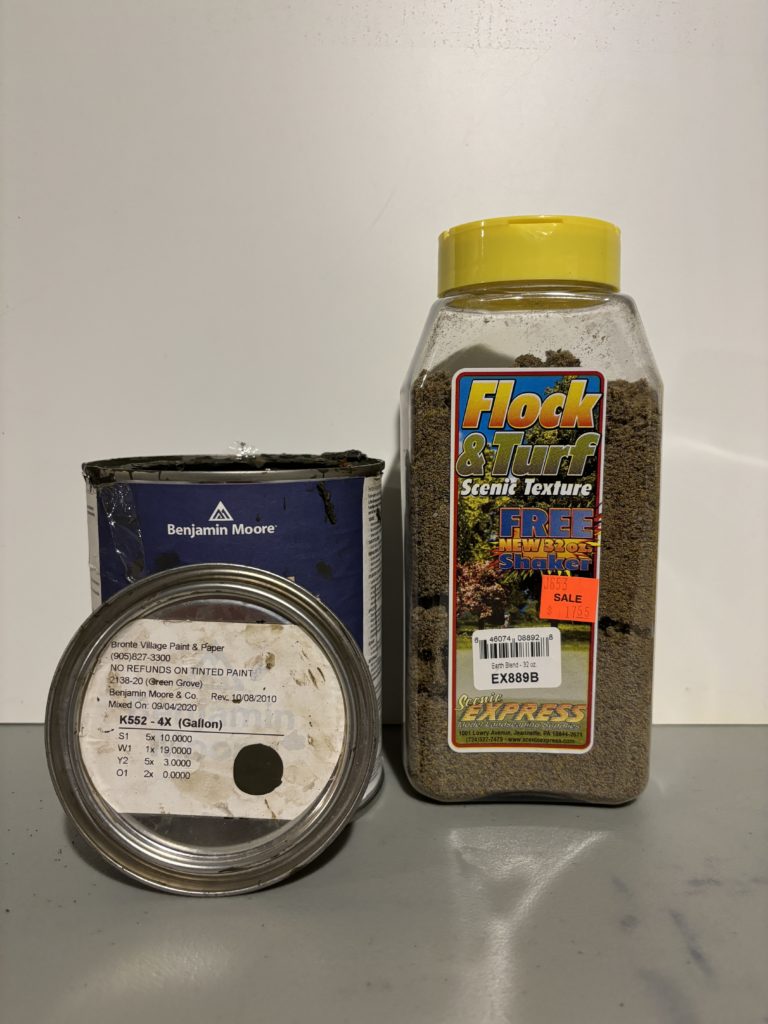
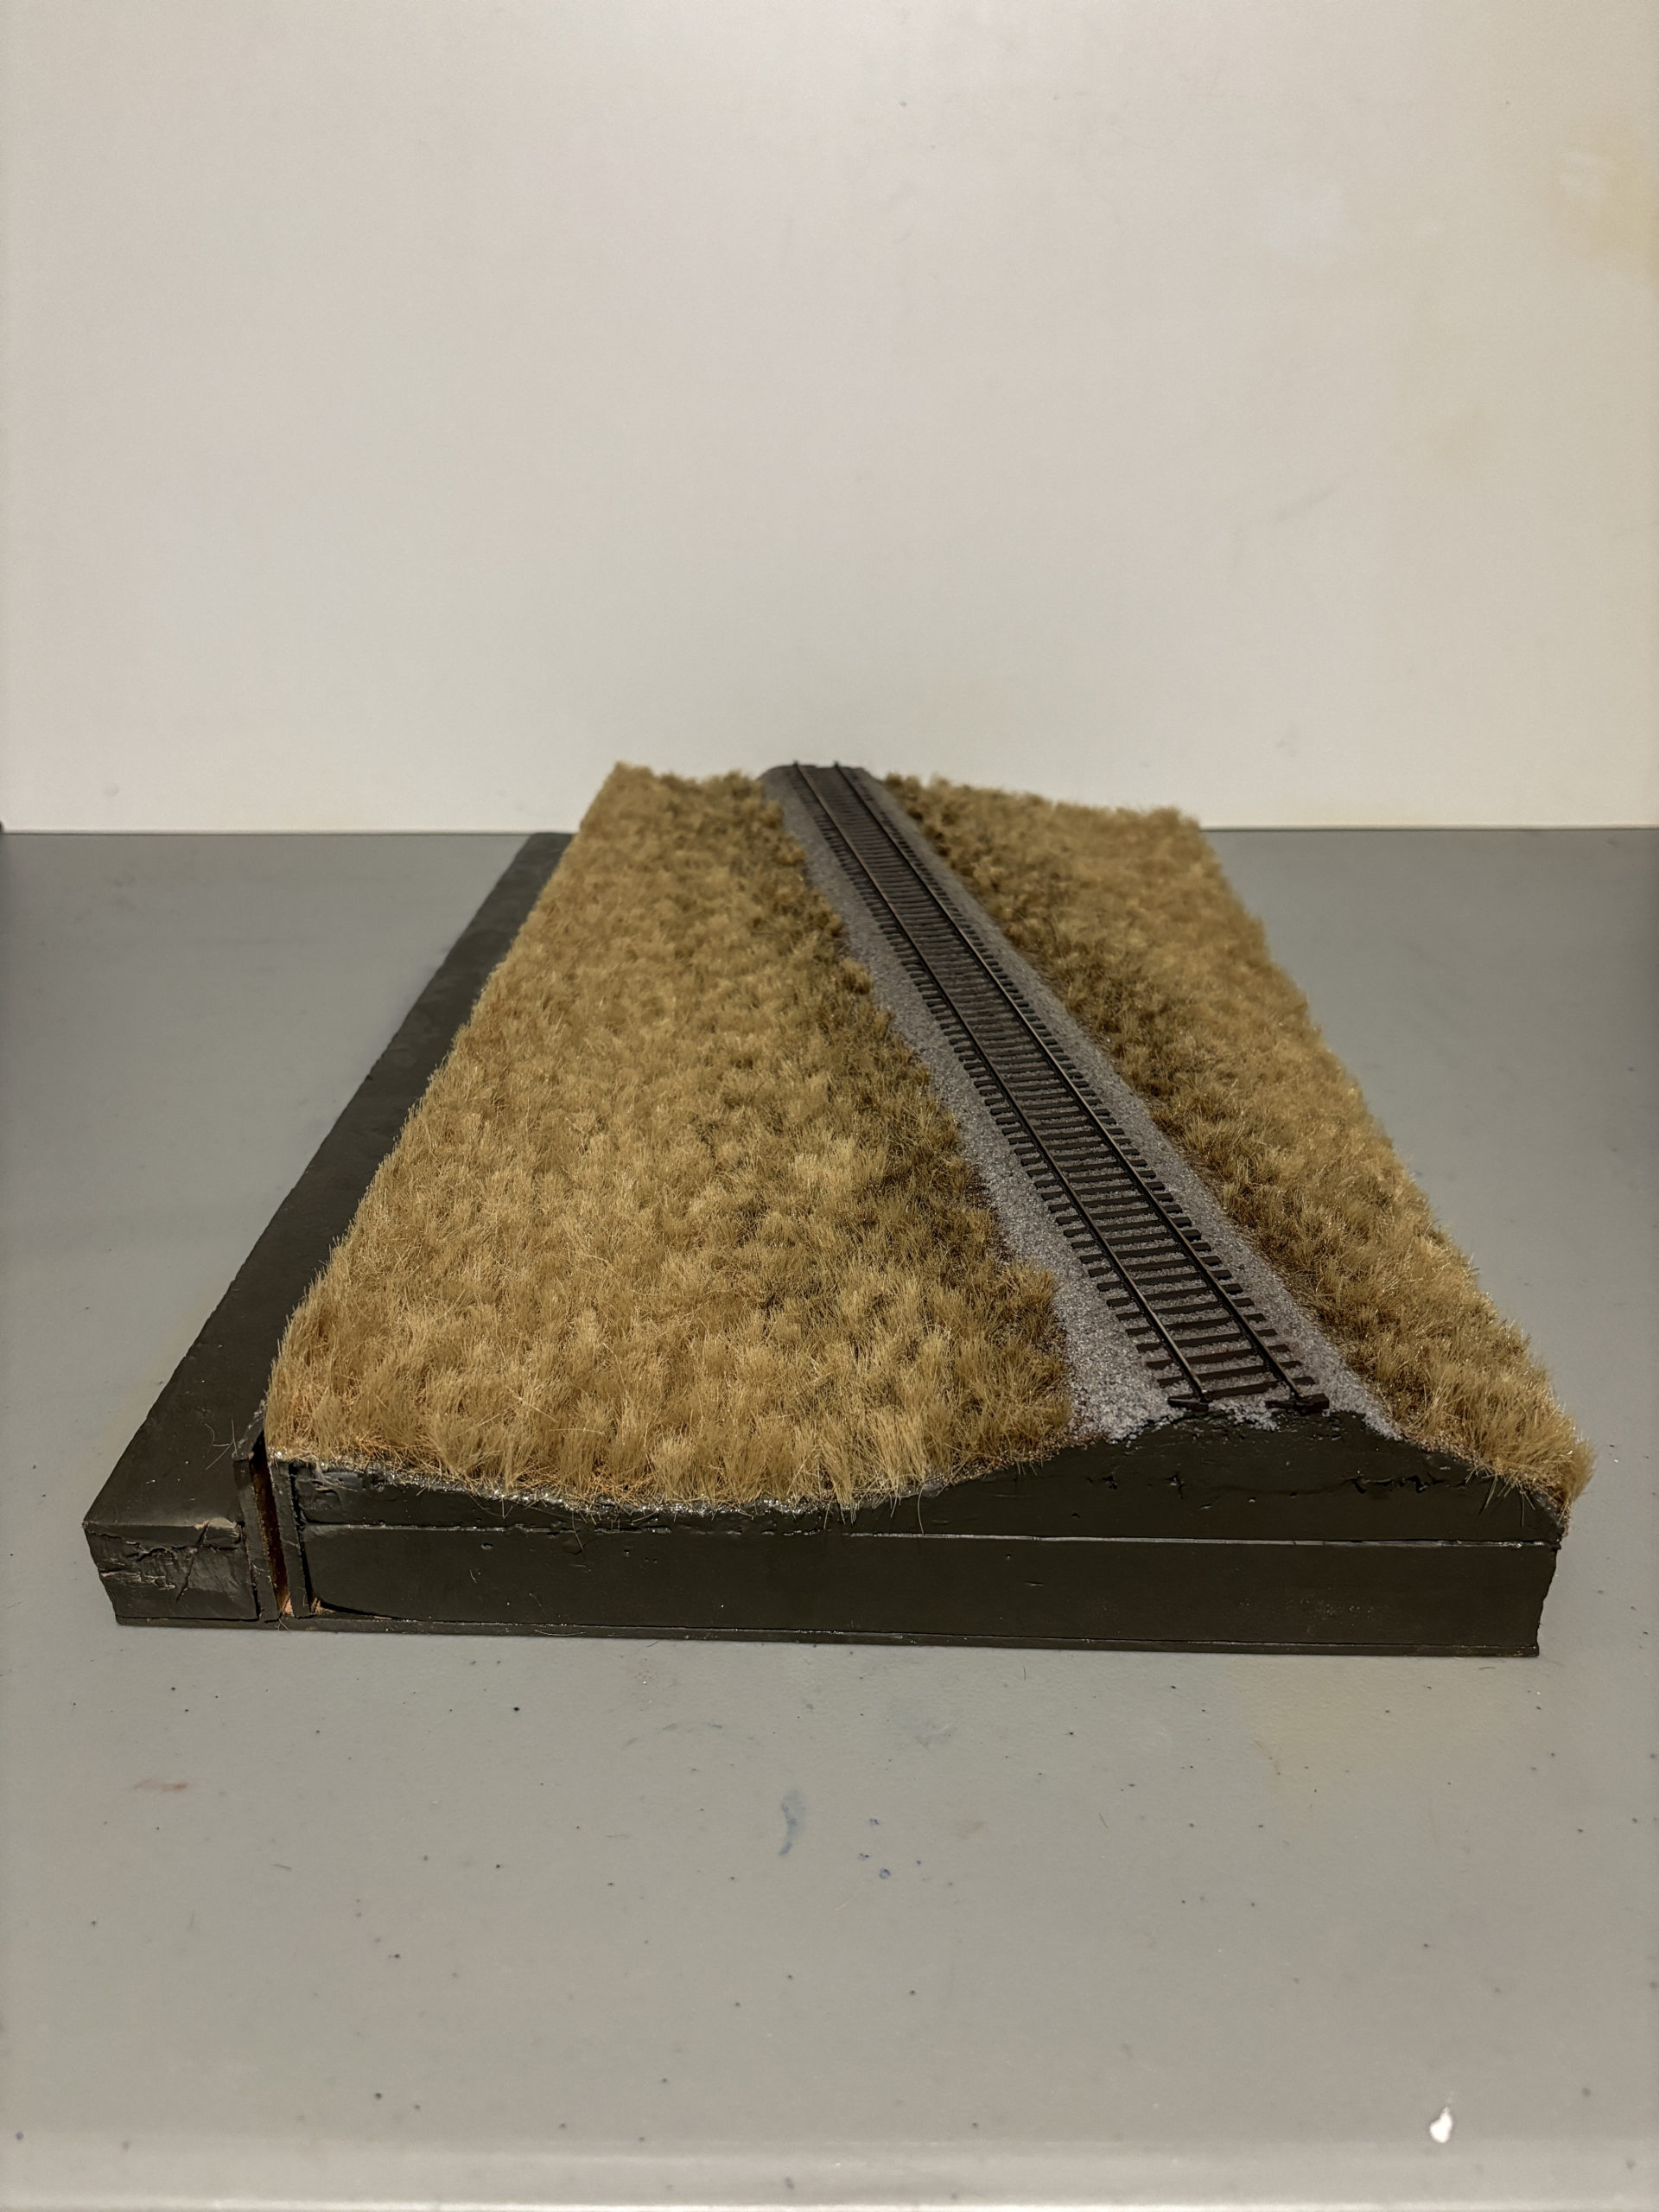
This Diorama is made of a base of masonite and two layers of pink insulation foam. I cut the foam with a hot knife to shape the forms. I added cork roadbed and smoothed out any uneven cuts with drywall spackle. The whole thing was then painted with Benjamin Moore 2138-20 Green Grove matte latex paint. This colour is a green-brown tone that looks like earth and is a great base to start layering scenery. I used white glue to adhere Scenic Express Flock & Turf Earth Blend which has a lot of light brown and dead foliage colours in it – perfect for the time of year I was working on.
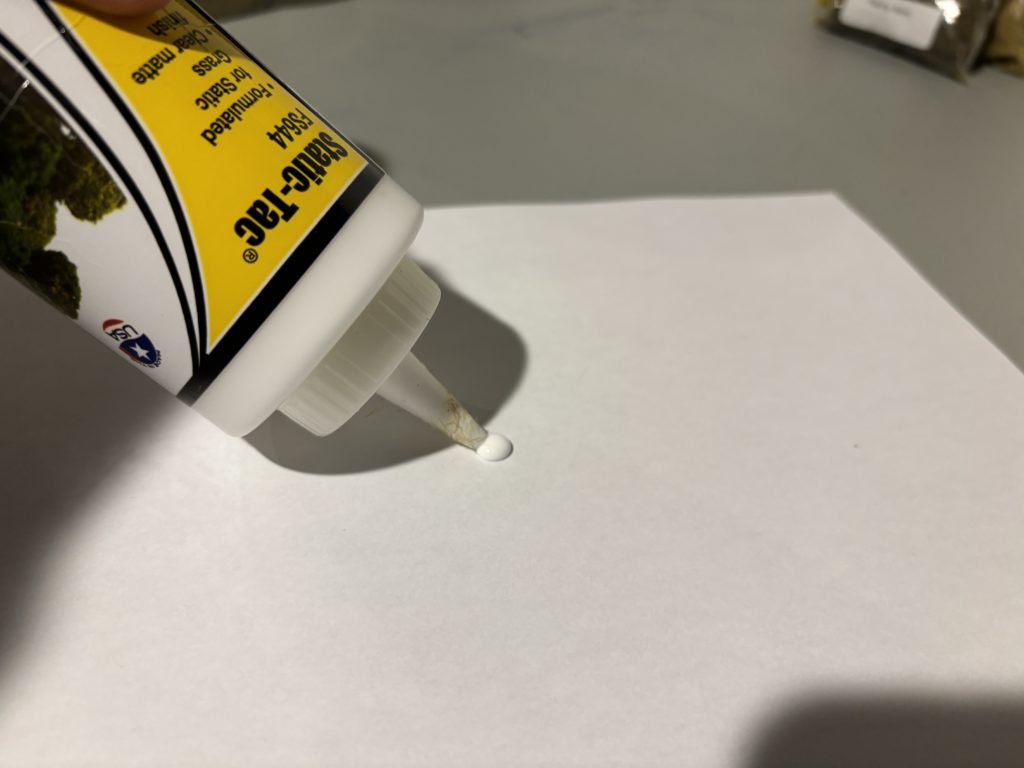
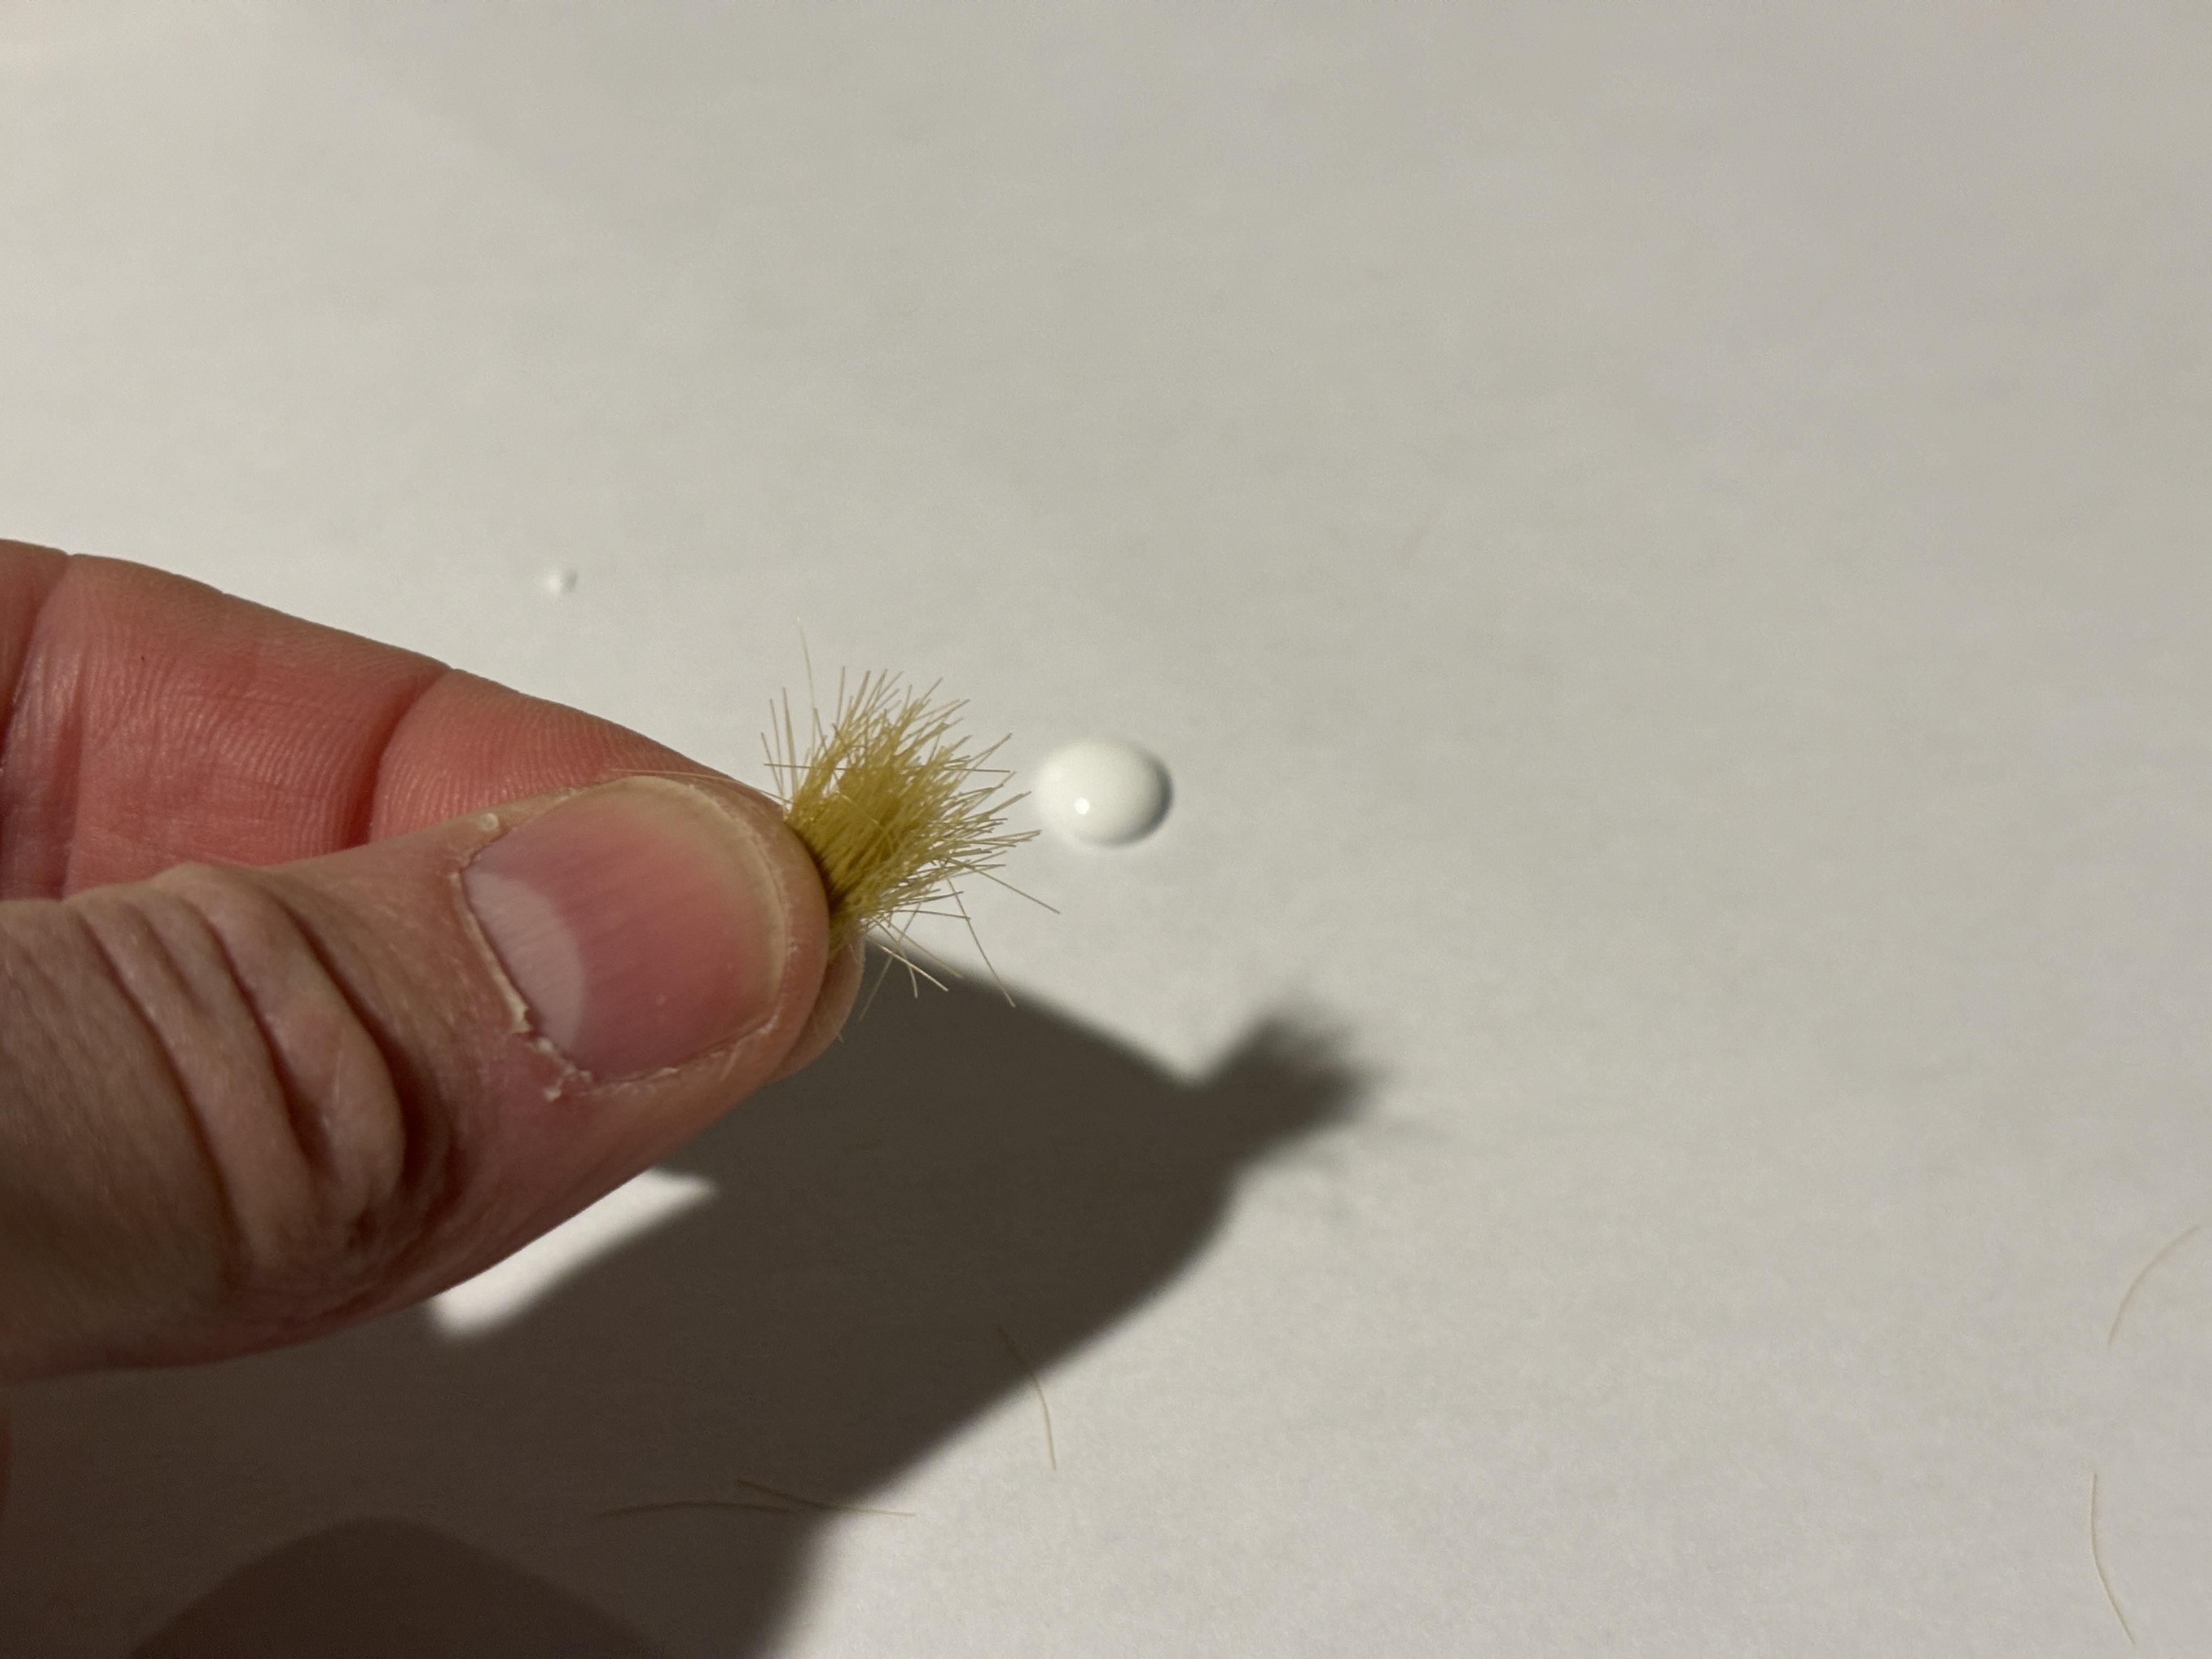
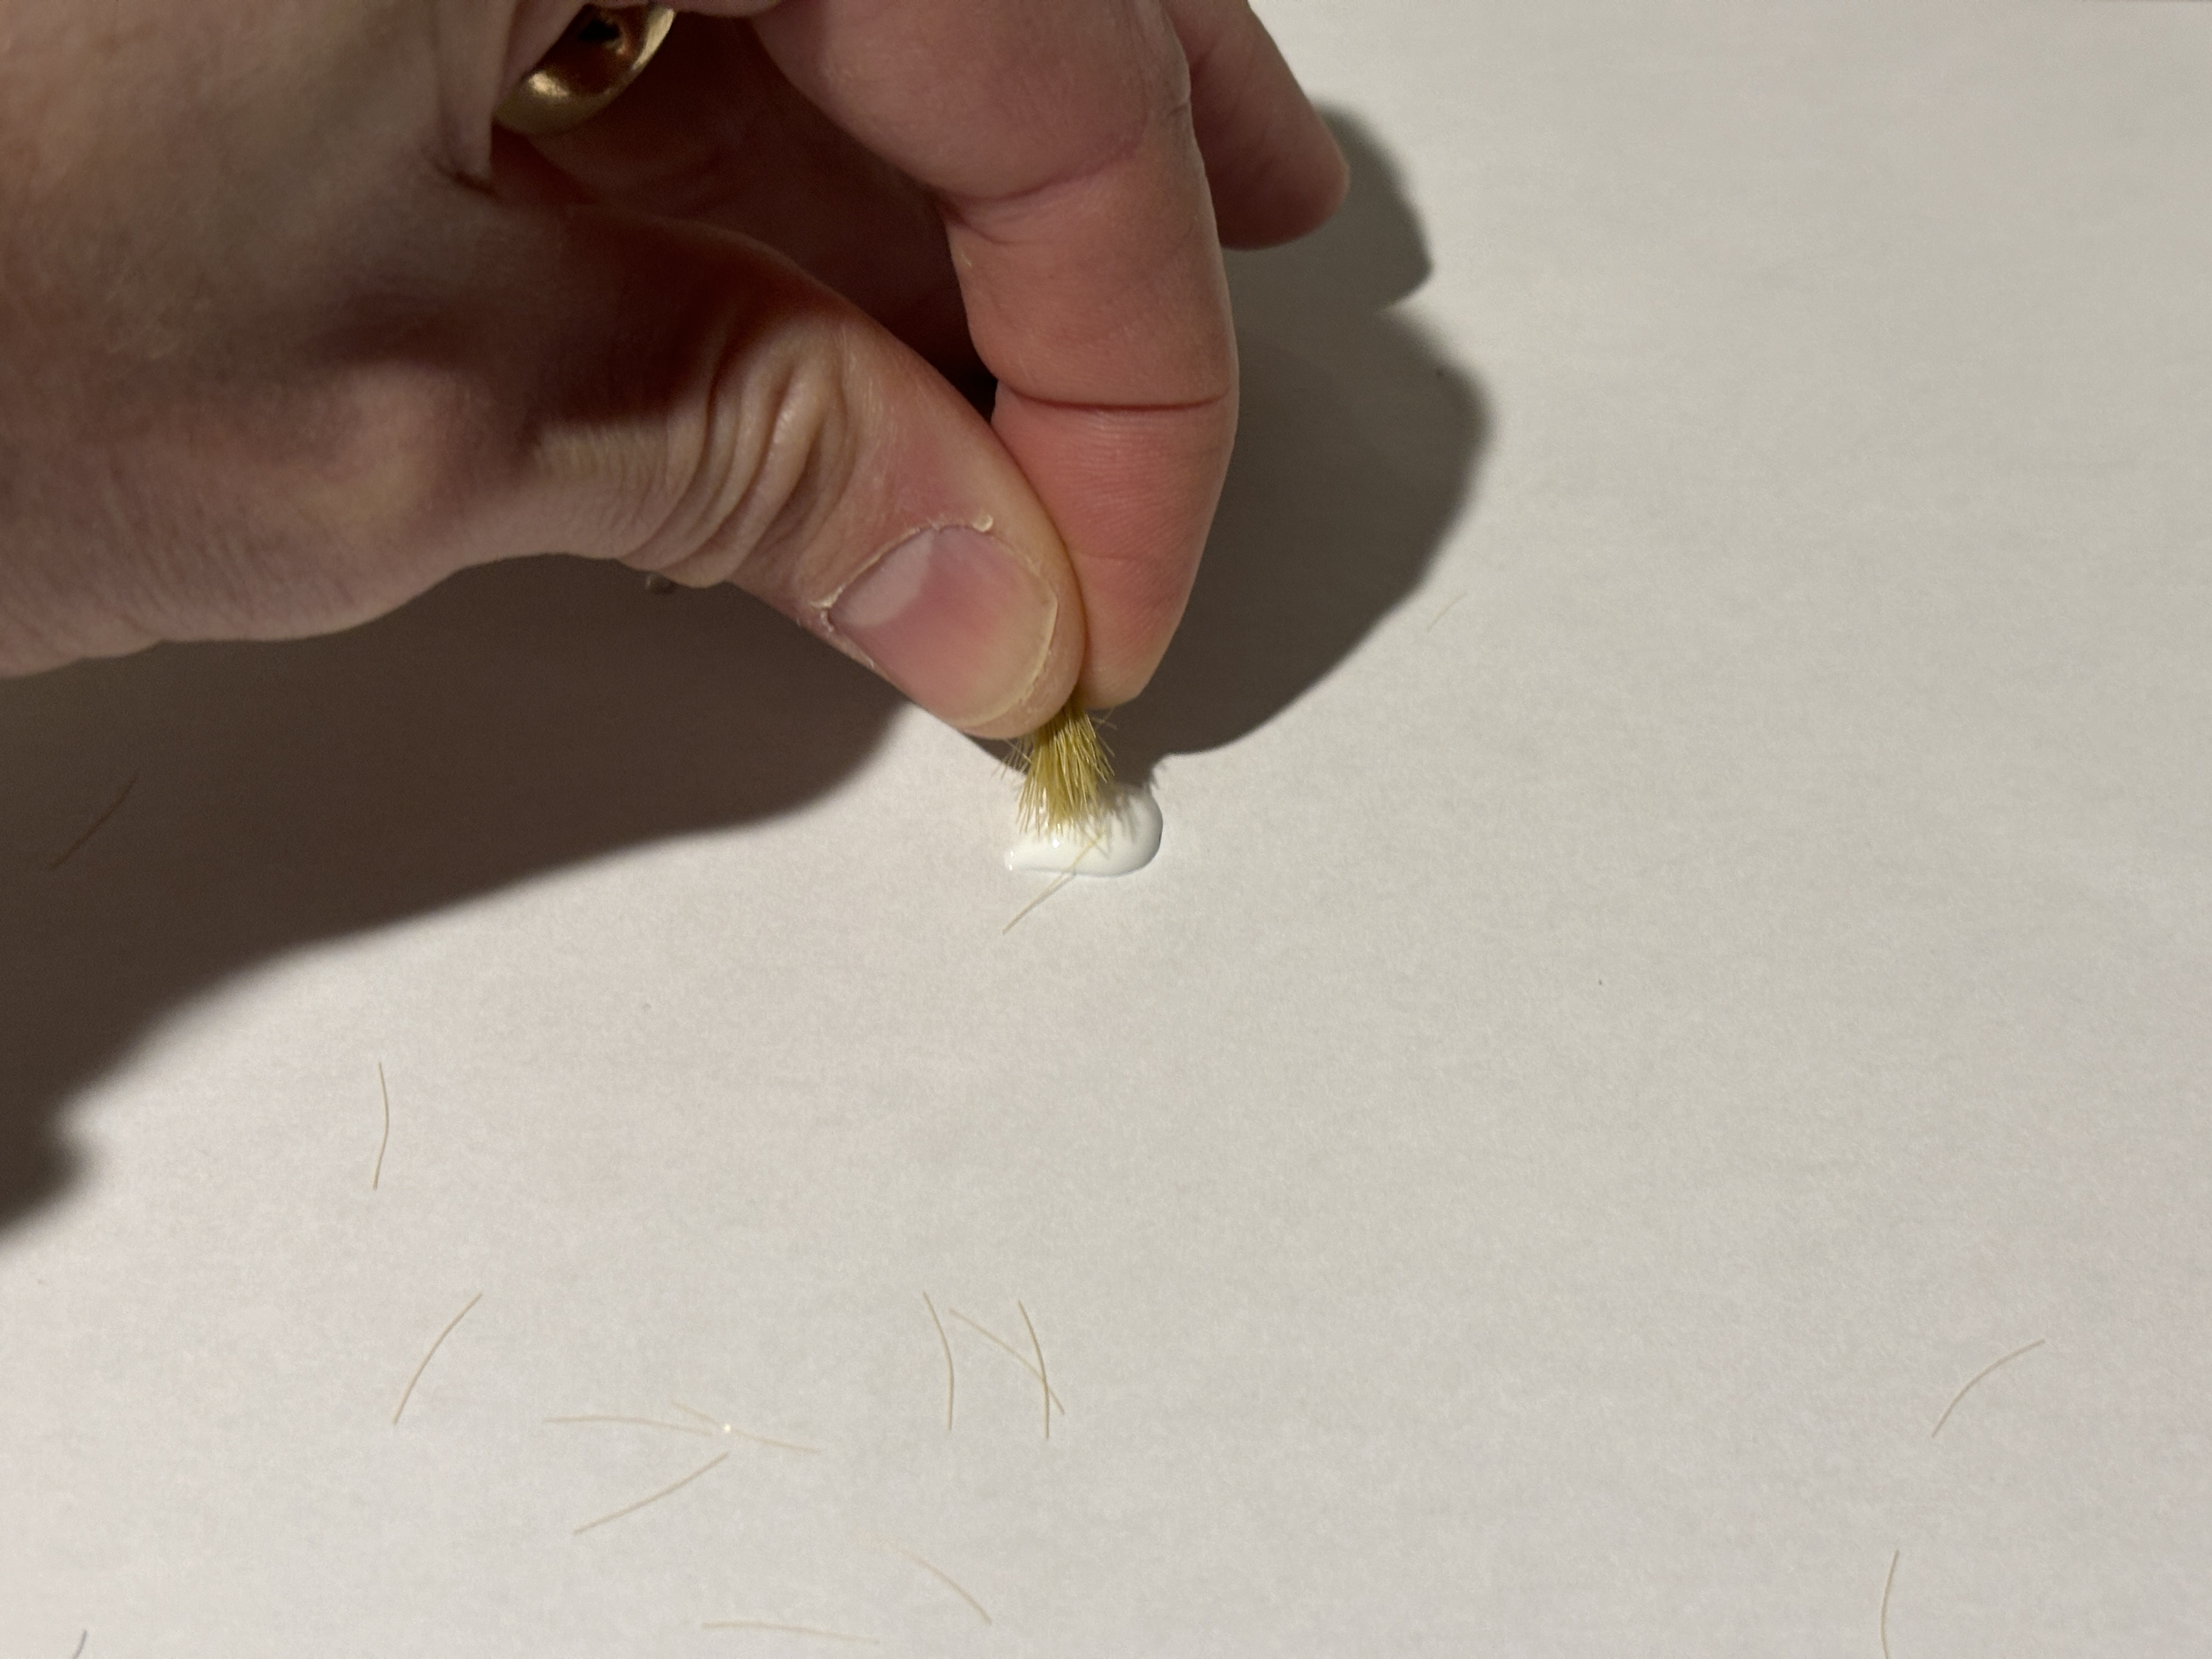
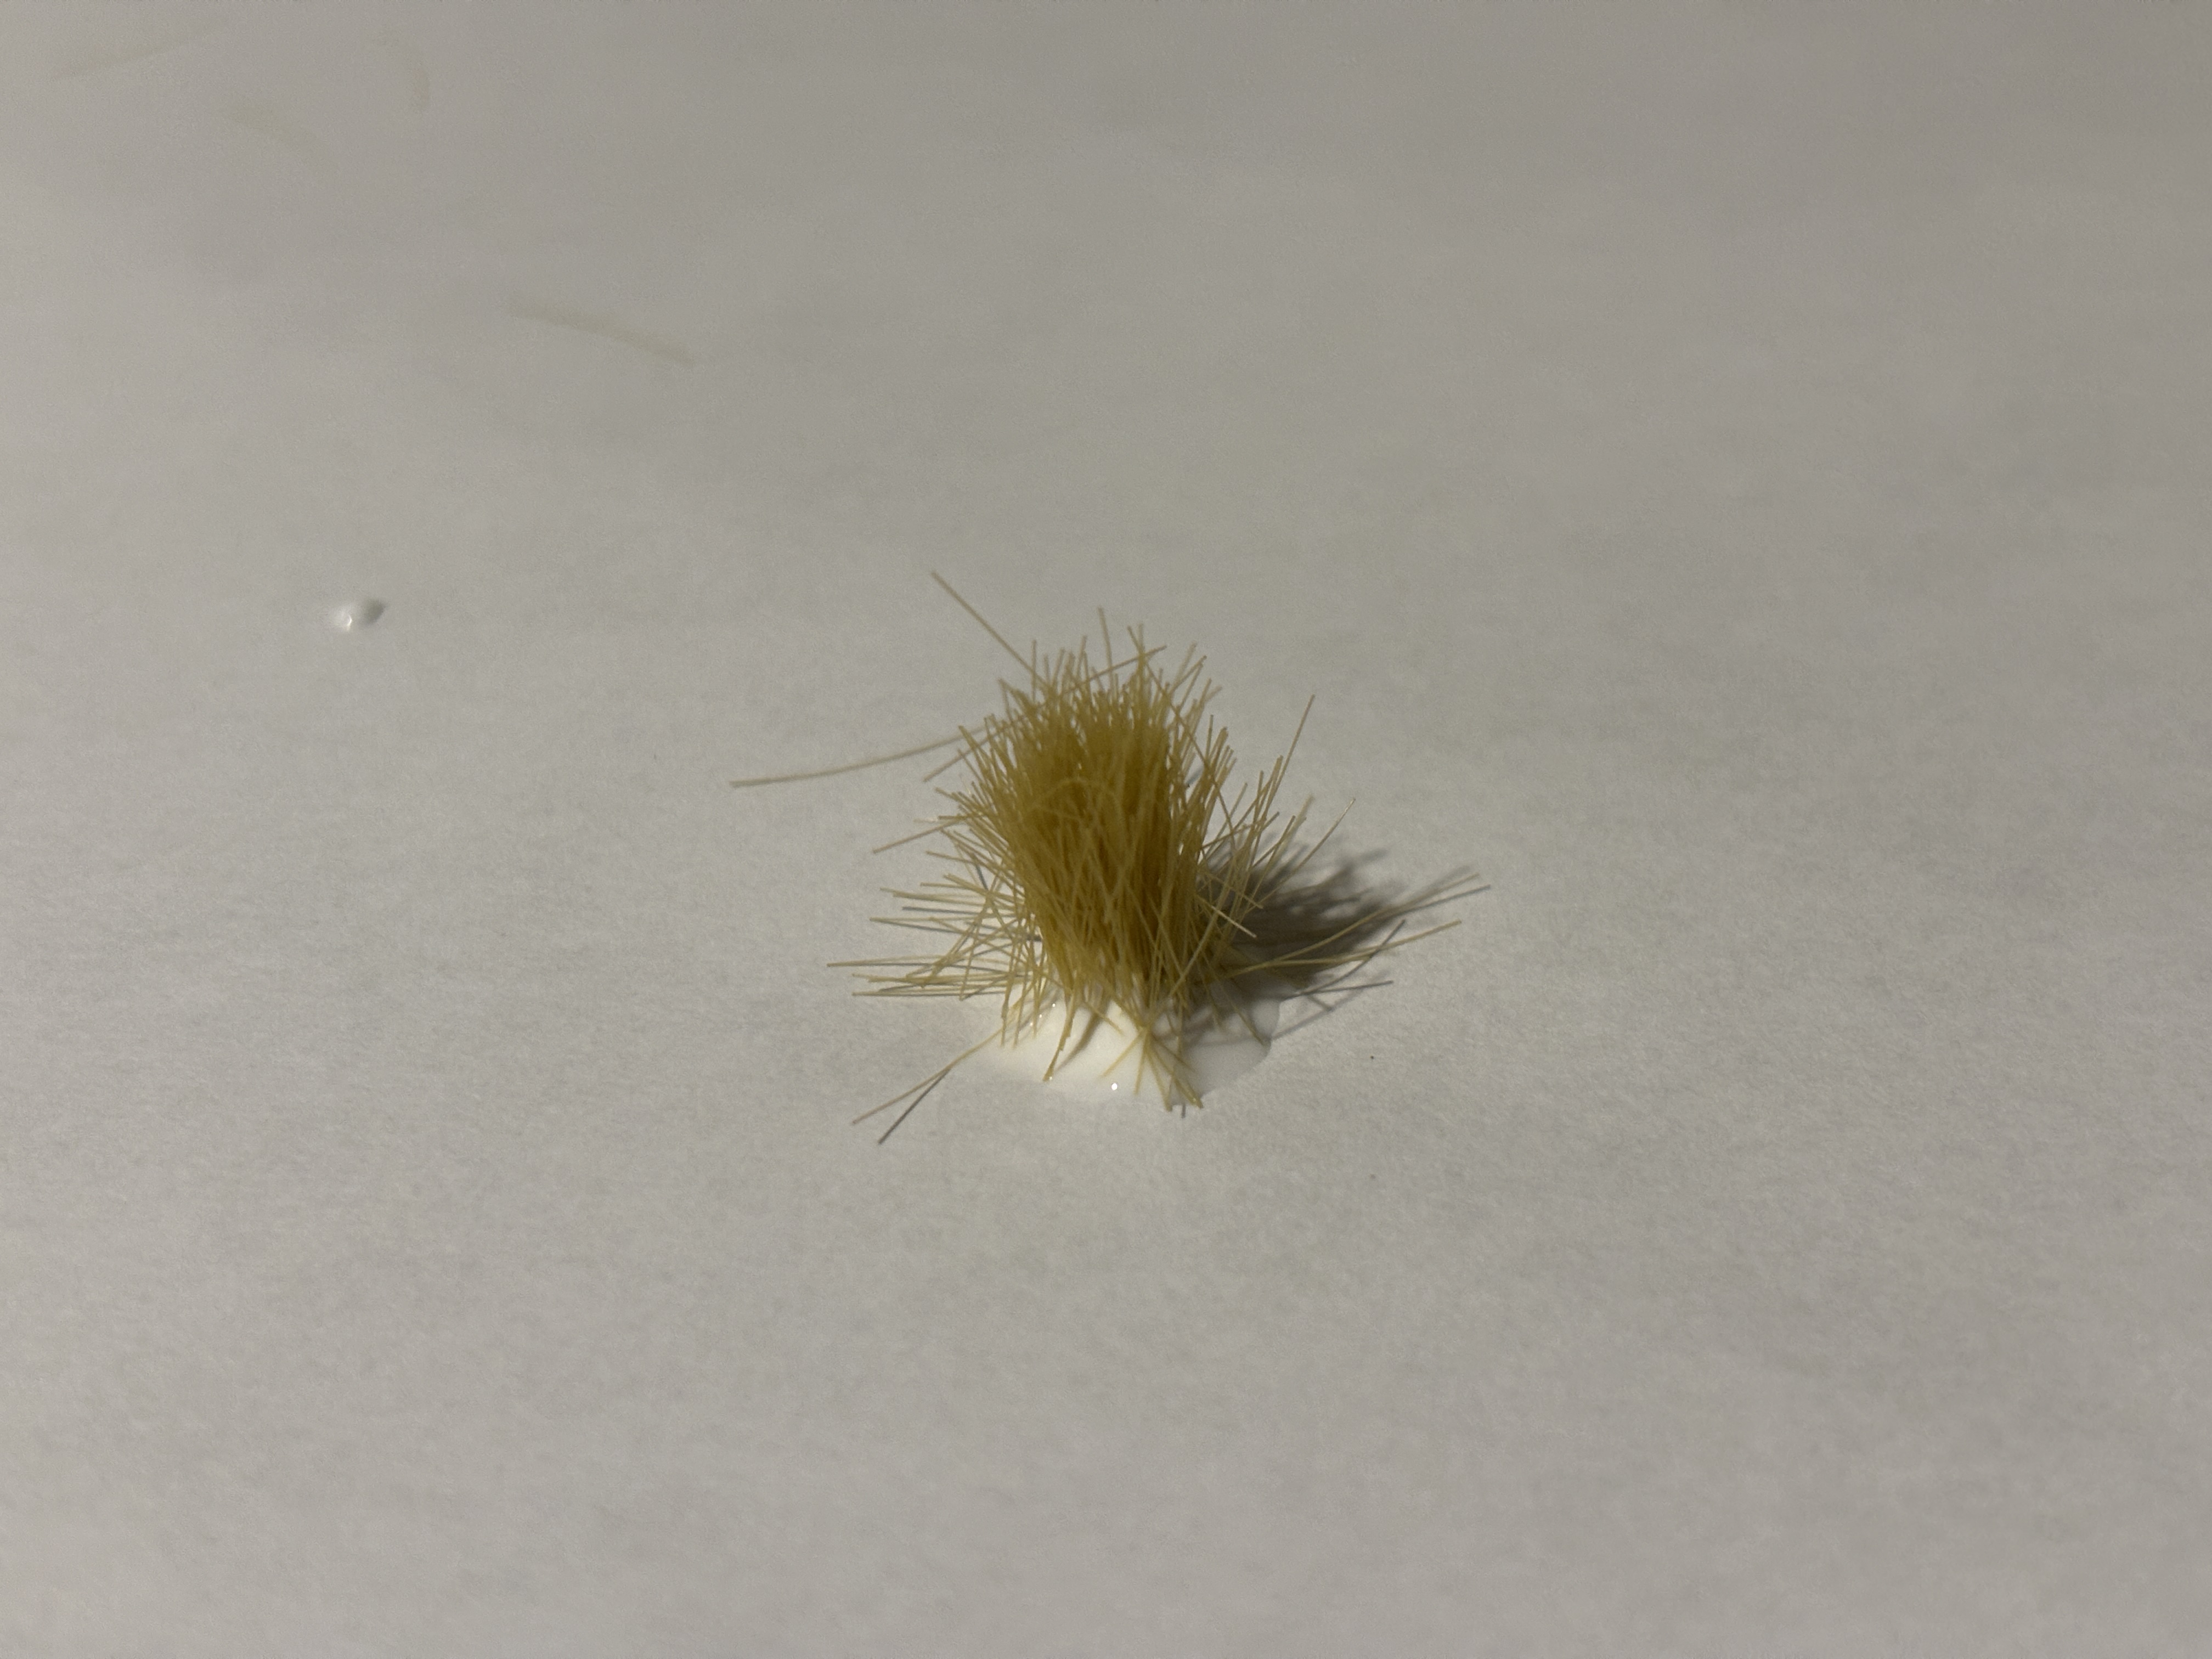
I added static grass with a static grass applicator and glue . I used Static Tac to glue down tufts of 6 and 12mm static grass using Noch Wildgrass and WWS Patch brown. Rolling them in my fingers I hand glued more grass to thicken the static grass. I vacumed the excess, and used what was sucked up to thicken up any area that wasn’t dense enough. I sprayed the whole diorama with Peco Layering Spray Adhesive to firmly attach everything. This was pretty repetitive and didn’t look like a successful technique until I worked on it for some time. I wish I had taken more process photos.
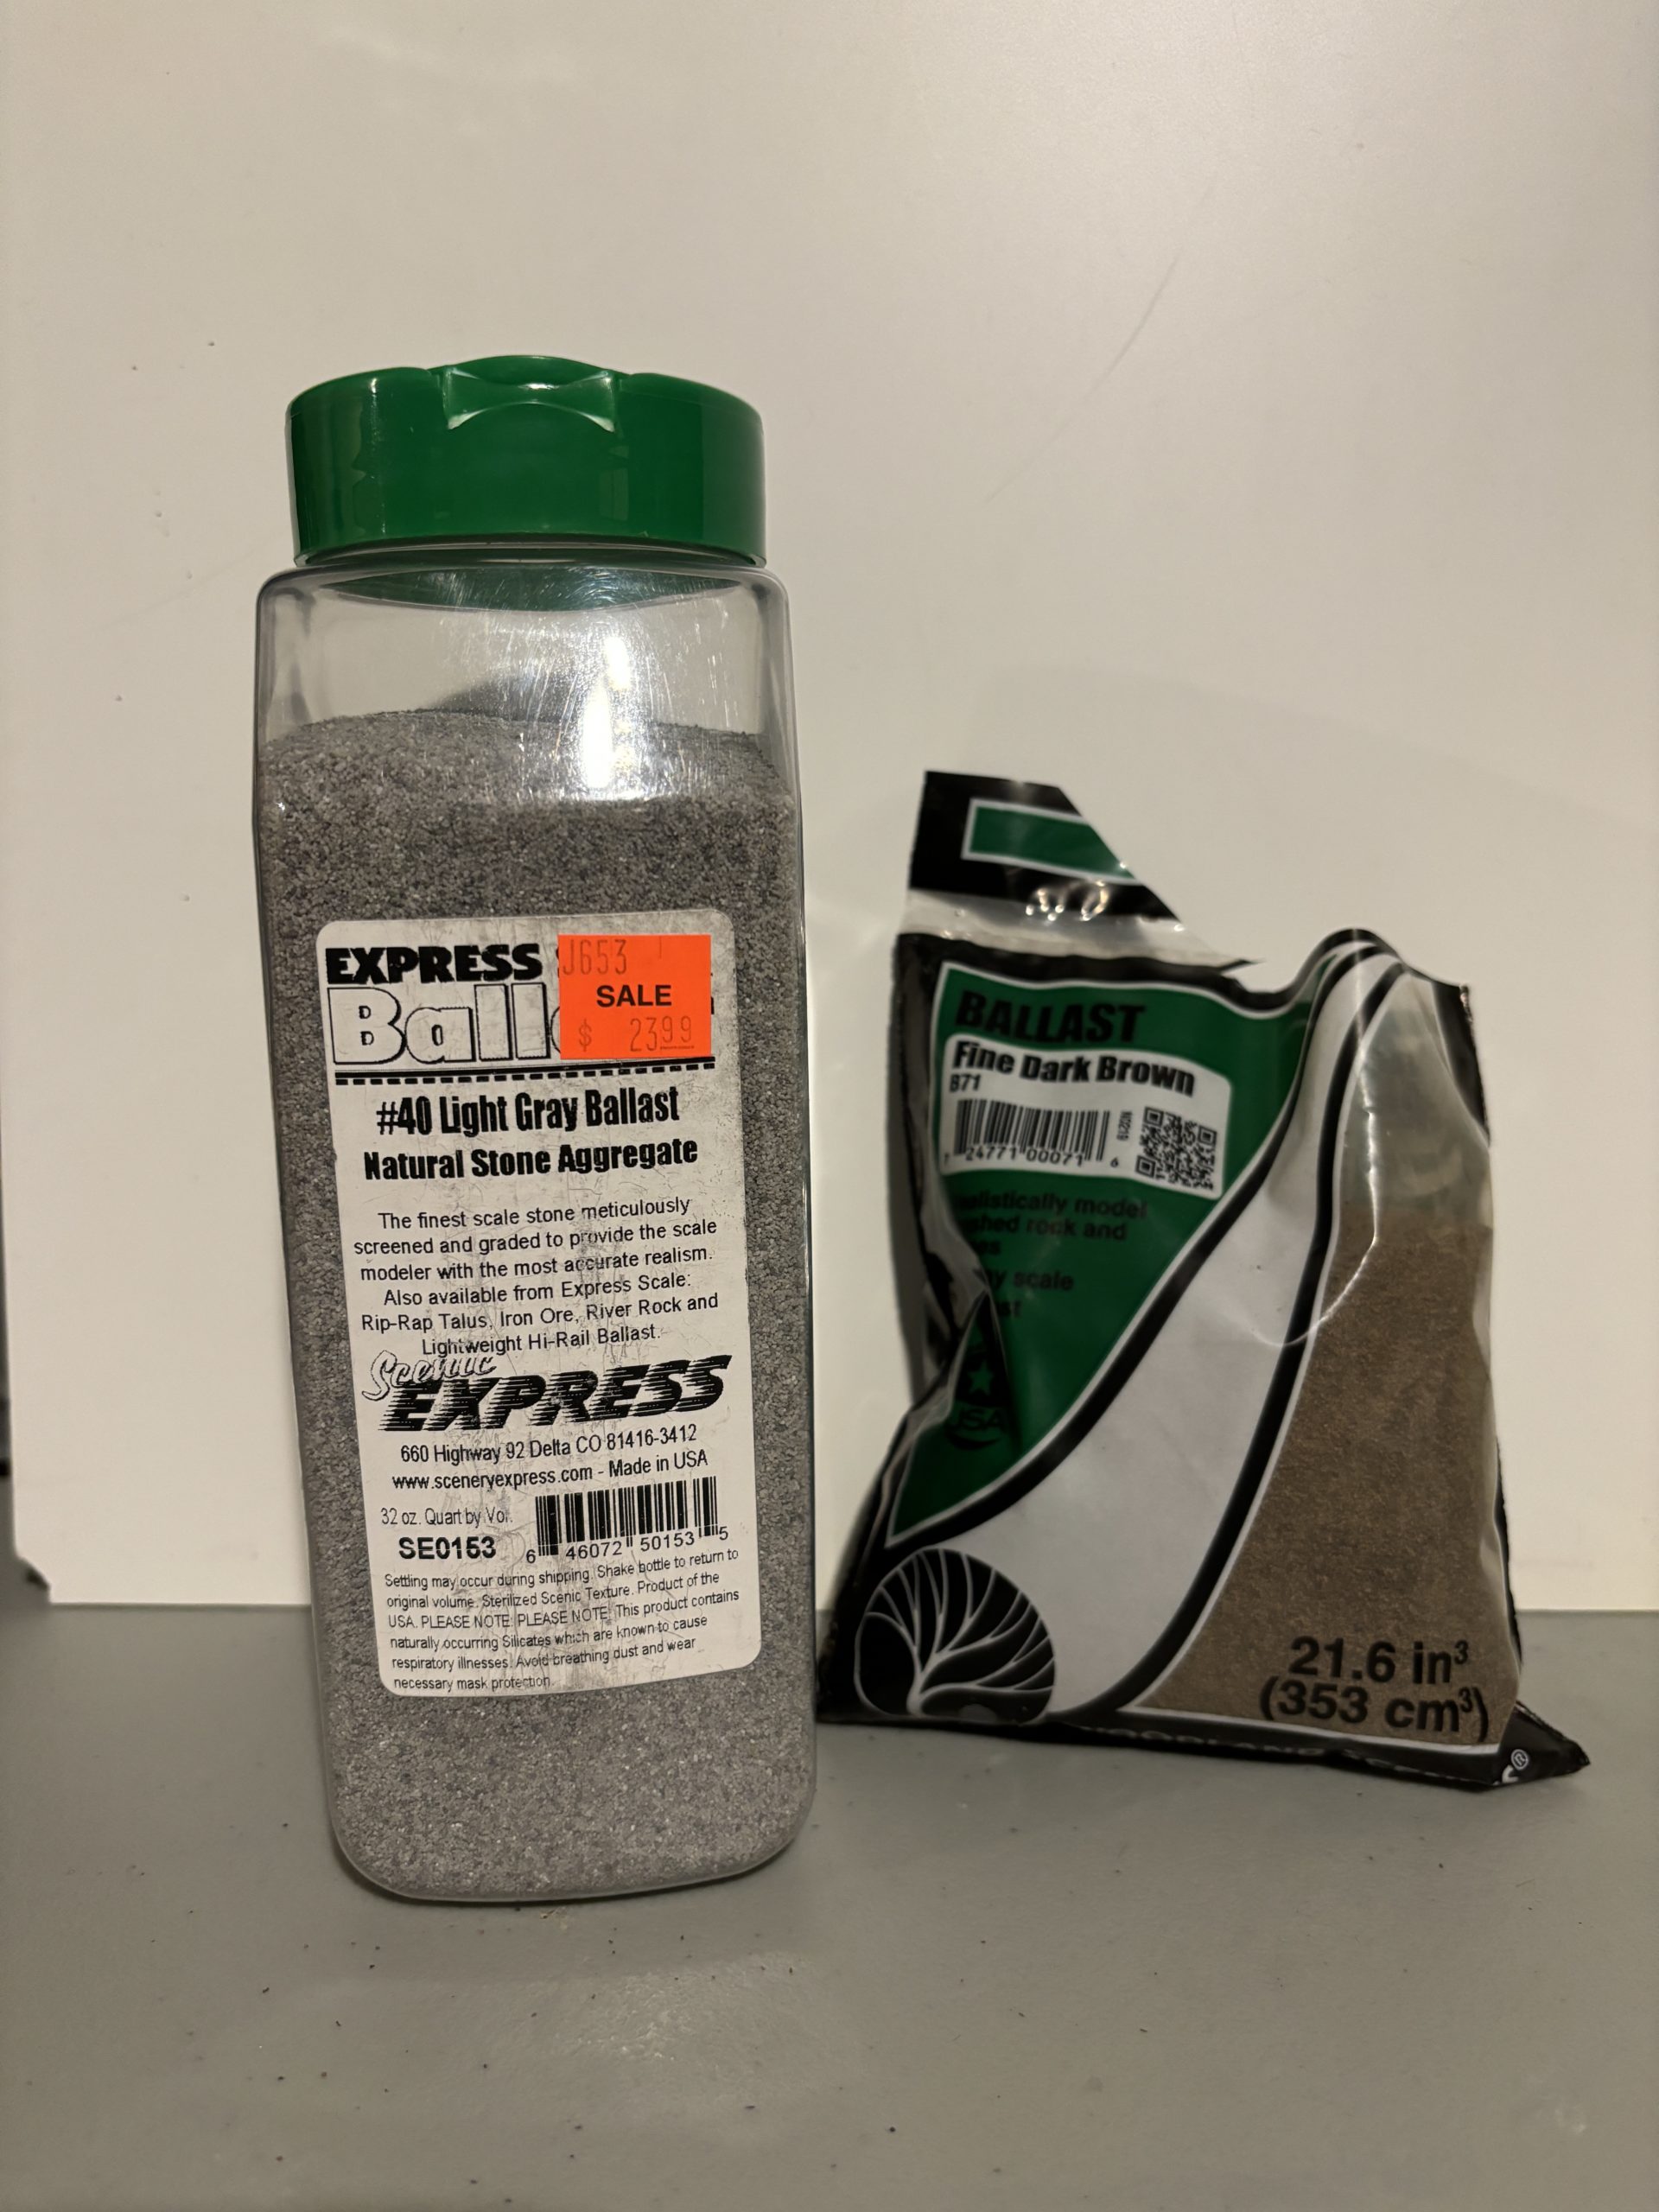
I laid the track on cork roadbed, sprayed it with camouflage brown paint aid blasted it Scenic Express light grey and Woodland Scenic fine dark brown ballast and the shoulders. The track was weathered further with chalks and with an airbrush with thinned railroad tie brown and grimy black to tone everything down a little.
I decided to build the diorama with the rails raised so I can position a camera down low and simulate the perspective of being close to massive without having the ground so close that the camera can’t focus. The landscape dips behind the rails and then curves up to a photo backdrop to hide the transition better. The backdrop is far enough away from the tracks that shadows won’t be cast on it and break the illusion.
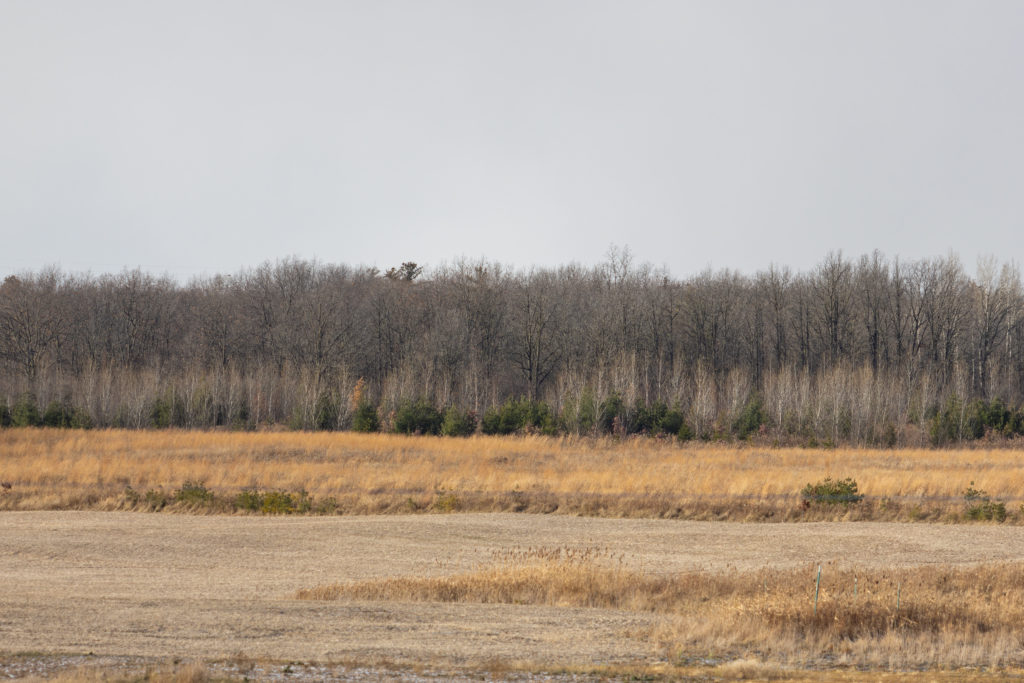
I recently read an article by Jason Shron in Model Railway Hobbyist about modelling in between seasons and thought this would be a great way to try it out. I took a photo on a overcast day in November for the backdrop. Snow hadn’t fallen yet but the leaves were totally gone. I had it printed at a Fed-Ex store on sticky matte vinyl and stuck it on a 11X19 piece of Masonite that fits in a groove I made in the back of the diorama and is free standing.
Here is the completed diorama:

Photography Setup
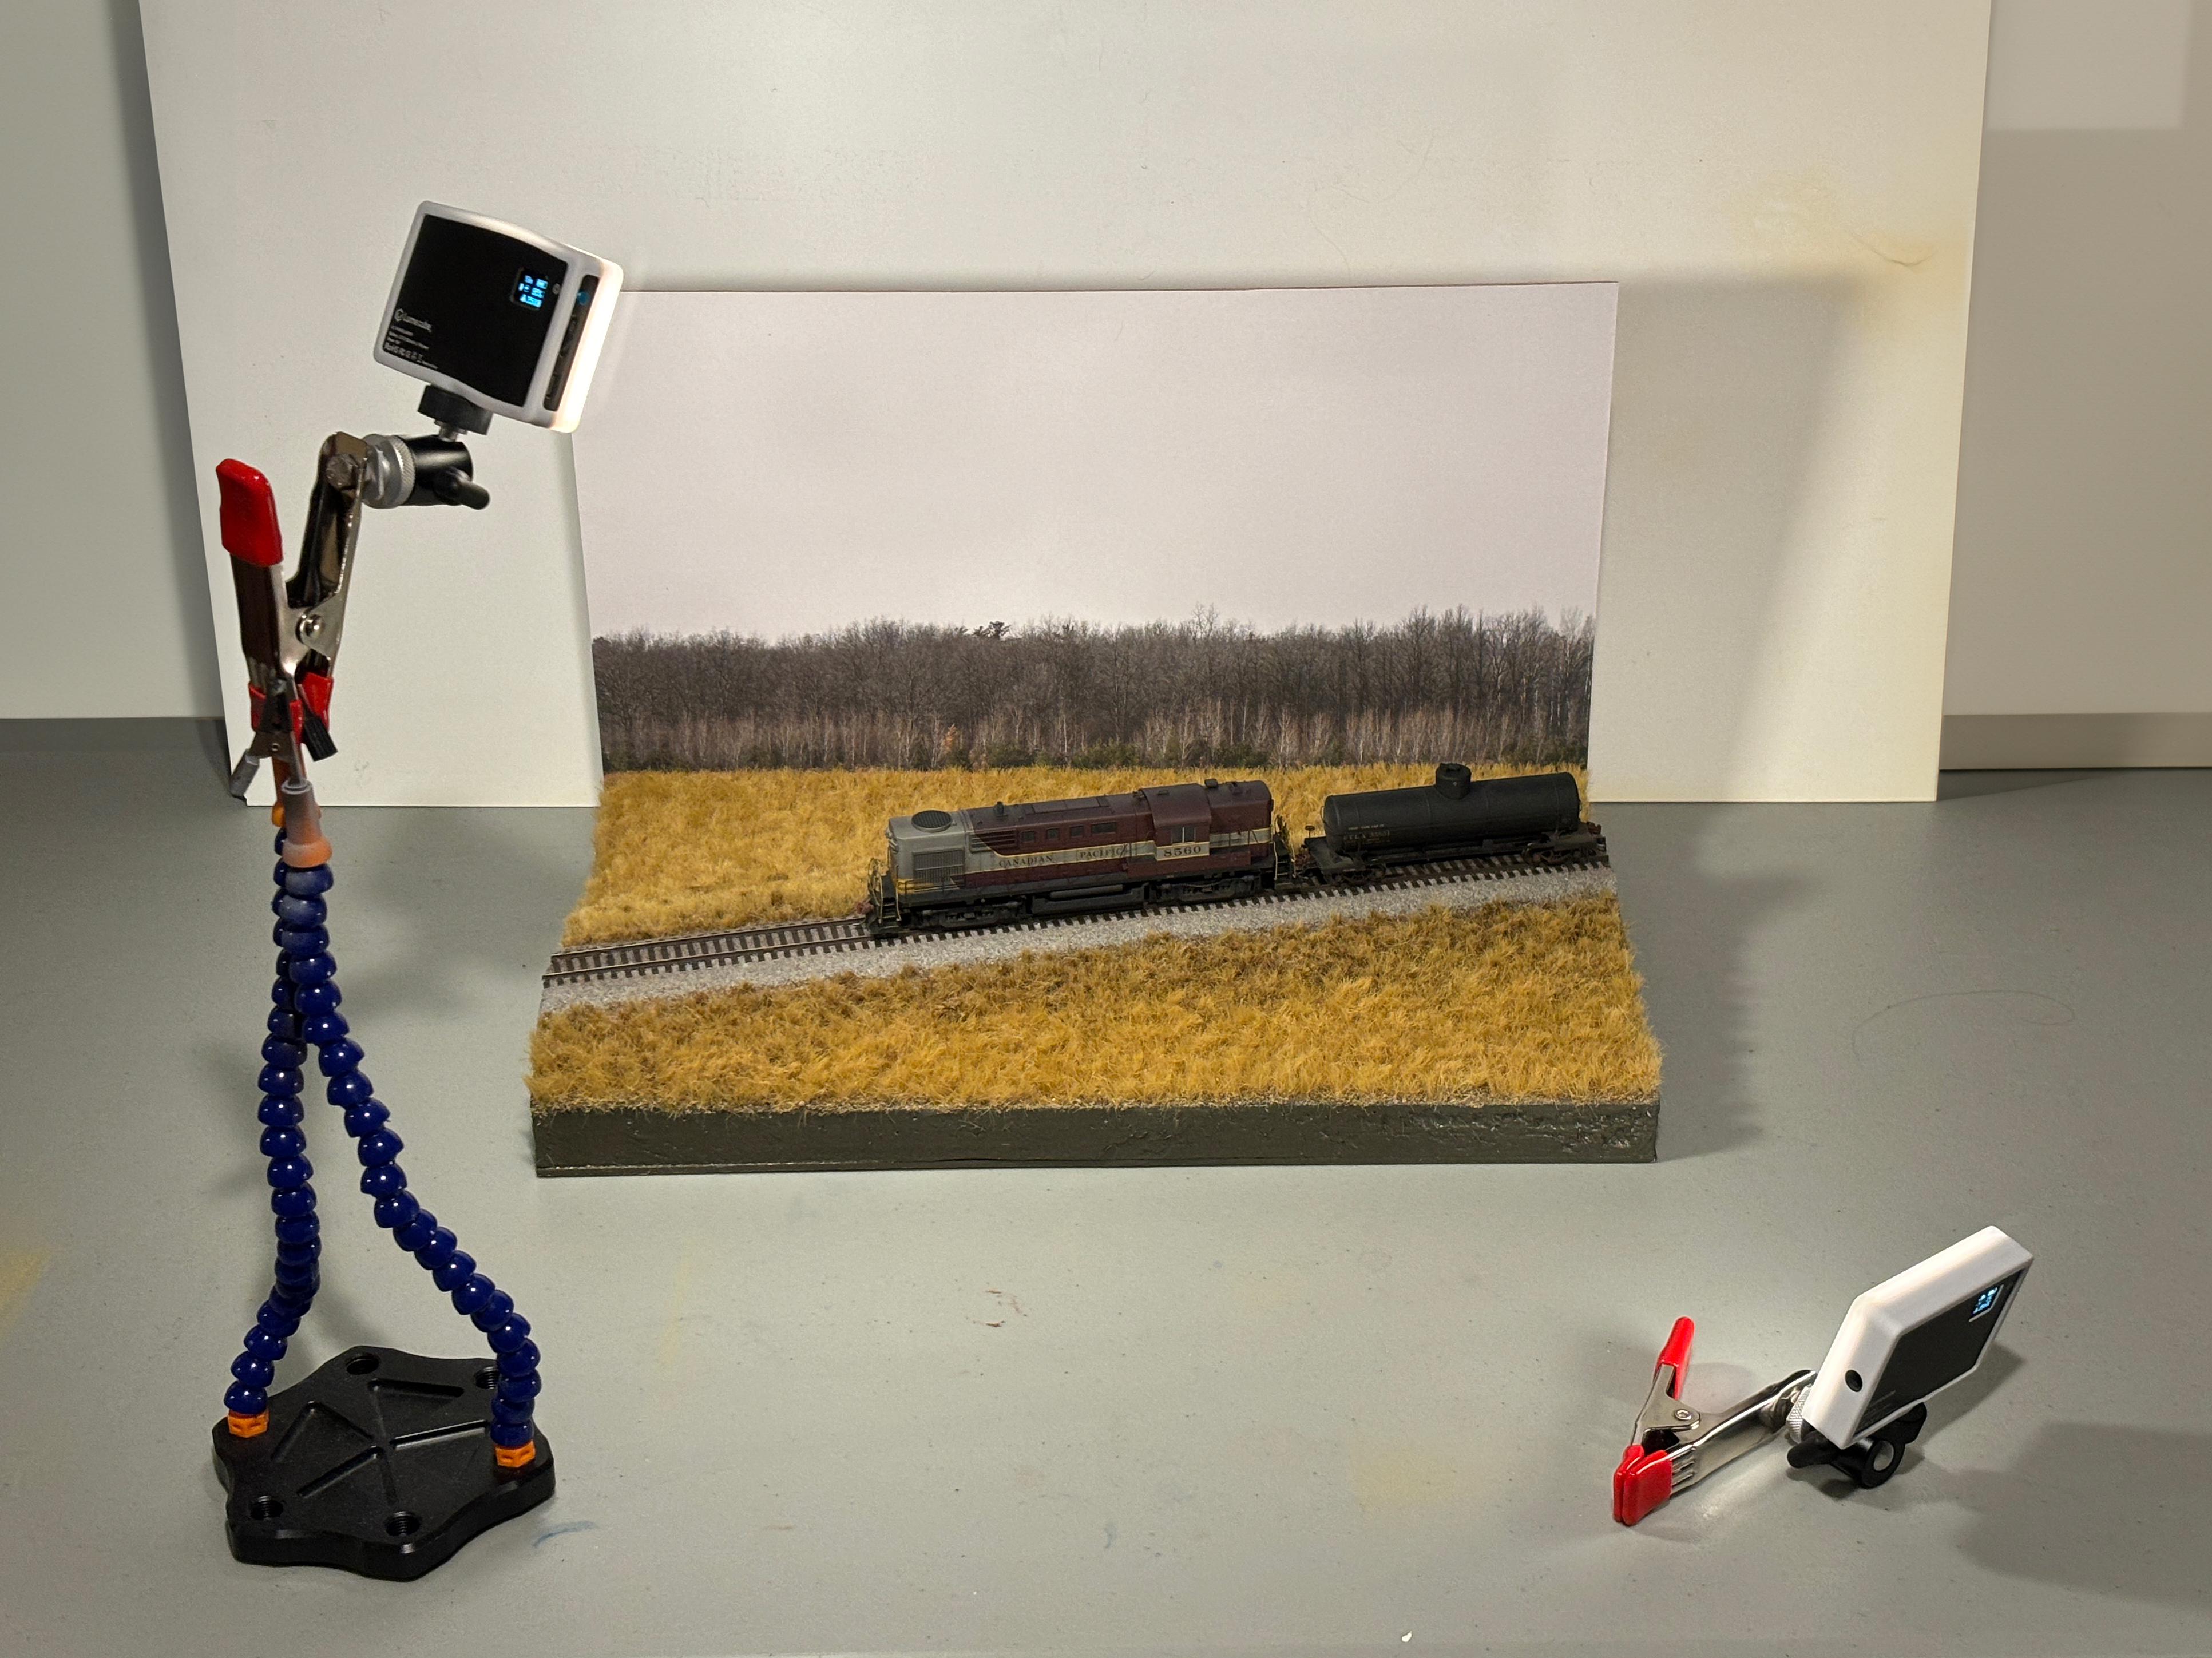
To light the diorama I used small LED lights called Lumecubes that I attached to small spring clamps. I like these lights for small projects as they are battery powered and able to adjust brightness and colour temperature to match other lights.

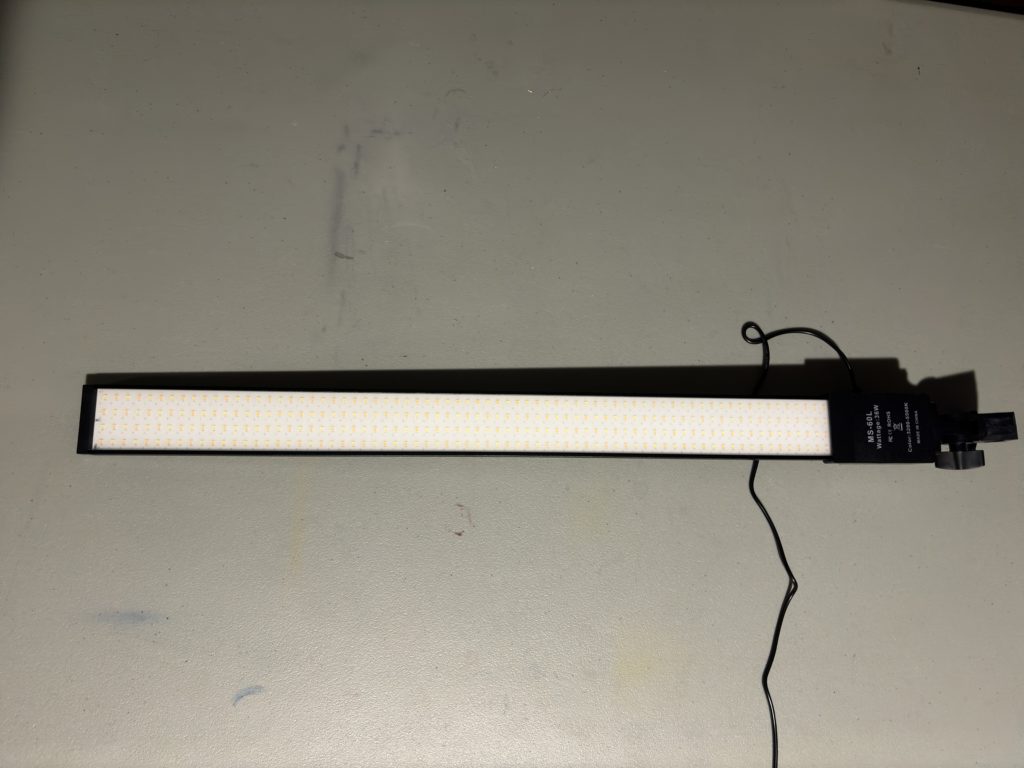
Usually I set one light up to mimic the light from the sun, and another down low to help reduce dark shadows under locomotives and rolling stock – we work hard to put detail down there and its a shame to not see it. I learned quickly that overcast days need diffused light and ended up adding an additional large LED light to try minimize hard shadows. This was harder than I expected but with some trial and error I think I got the feel of it.
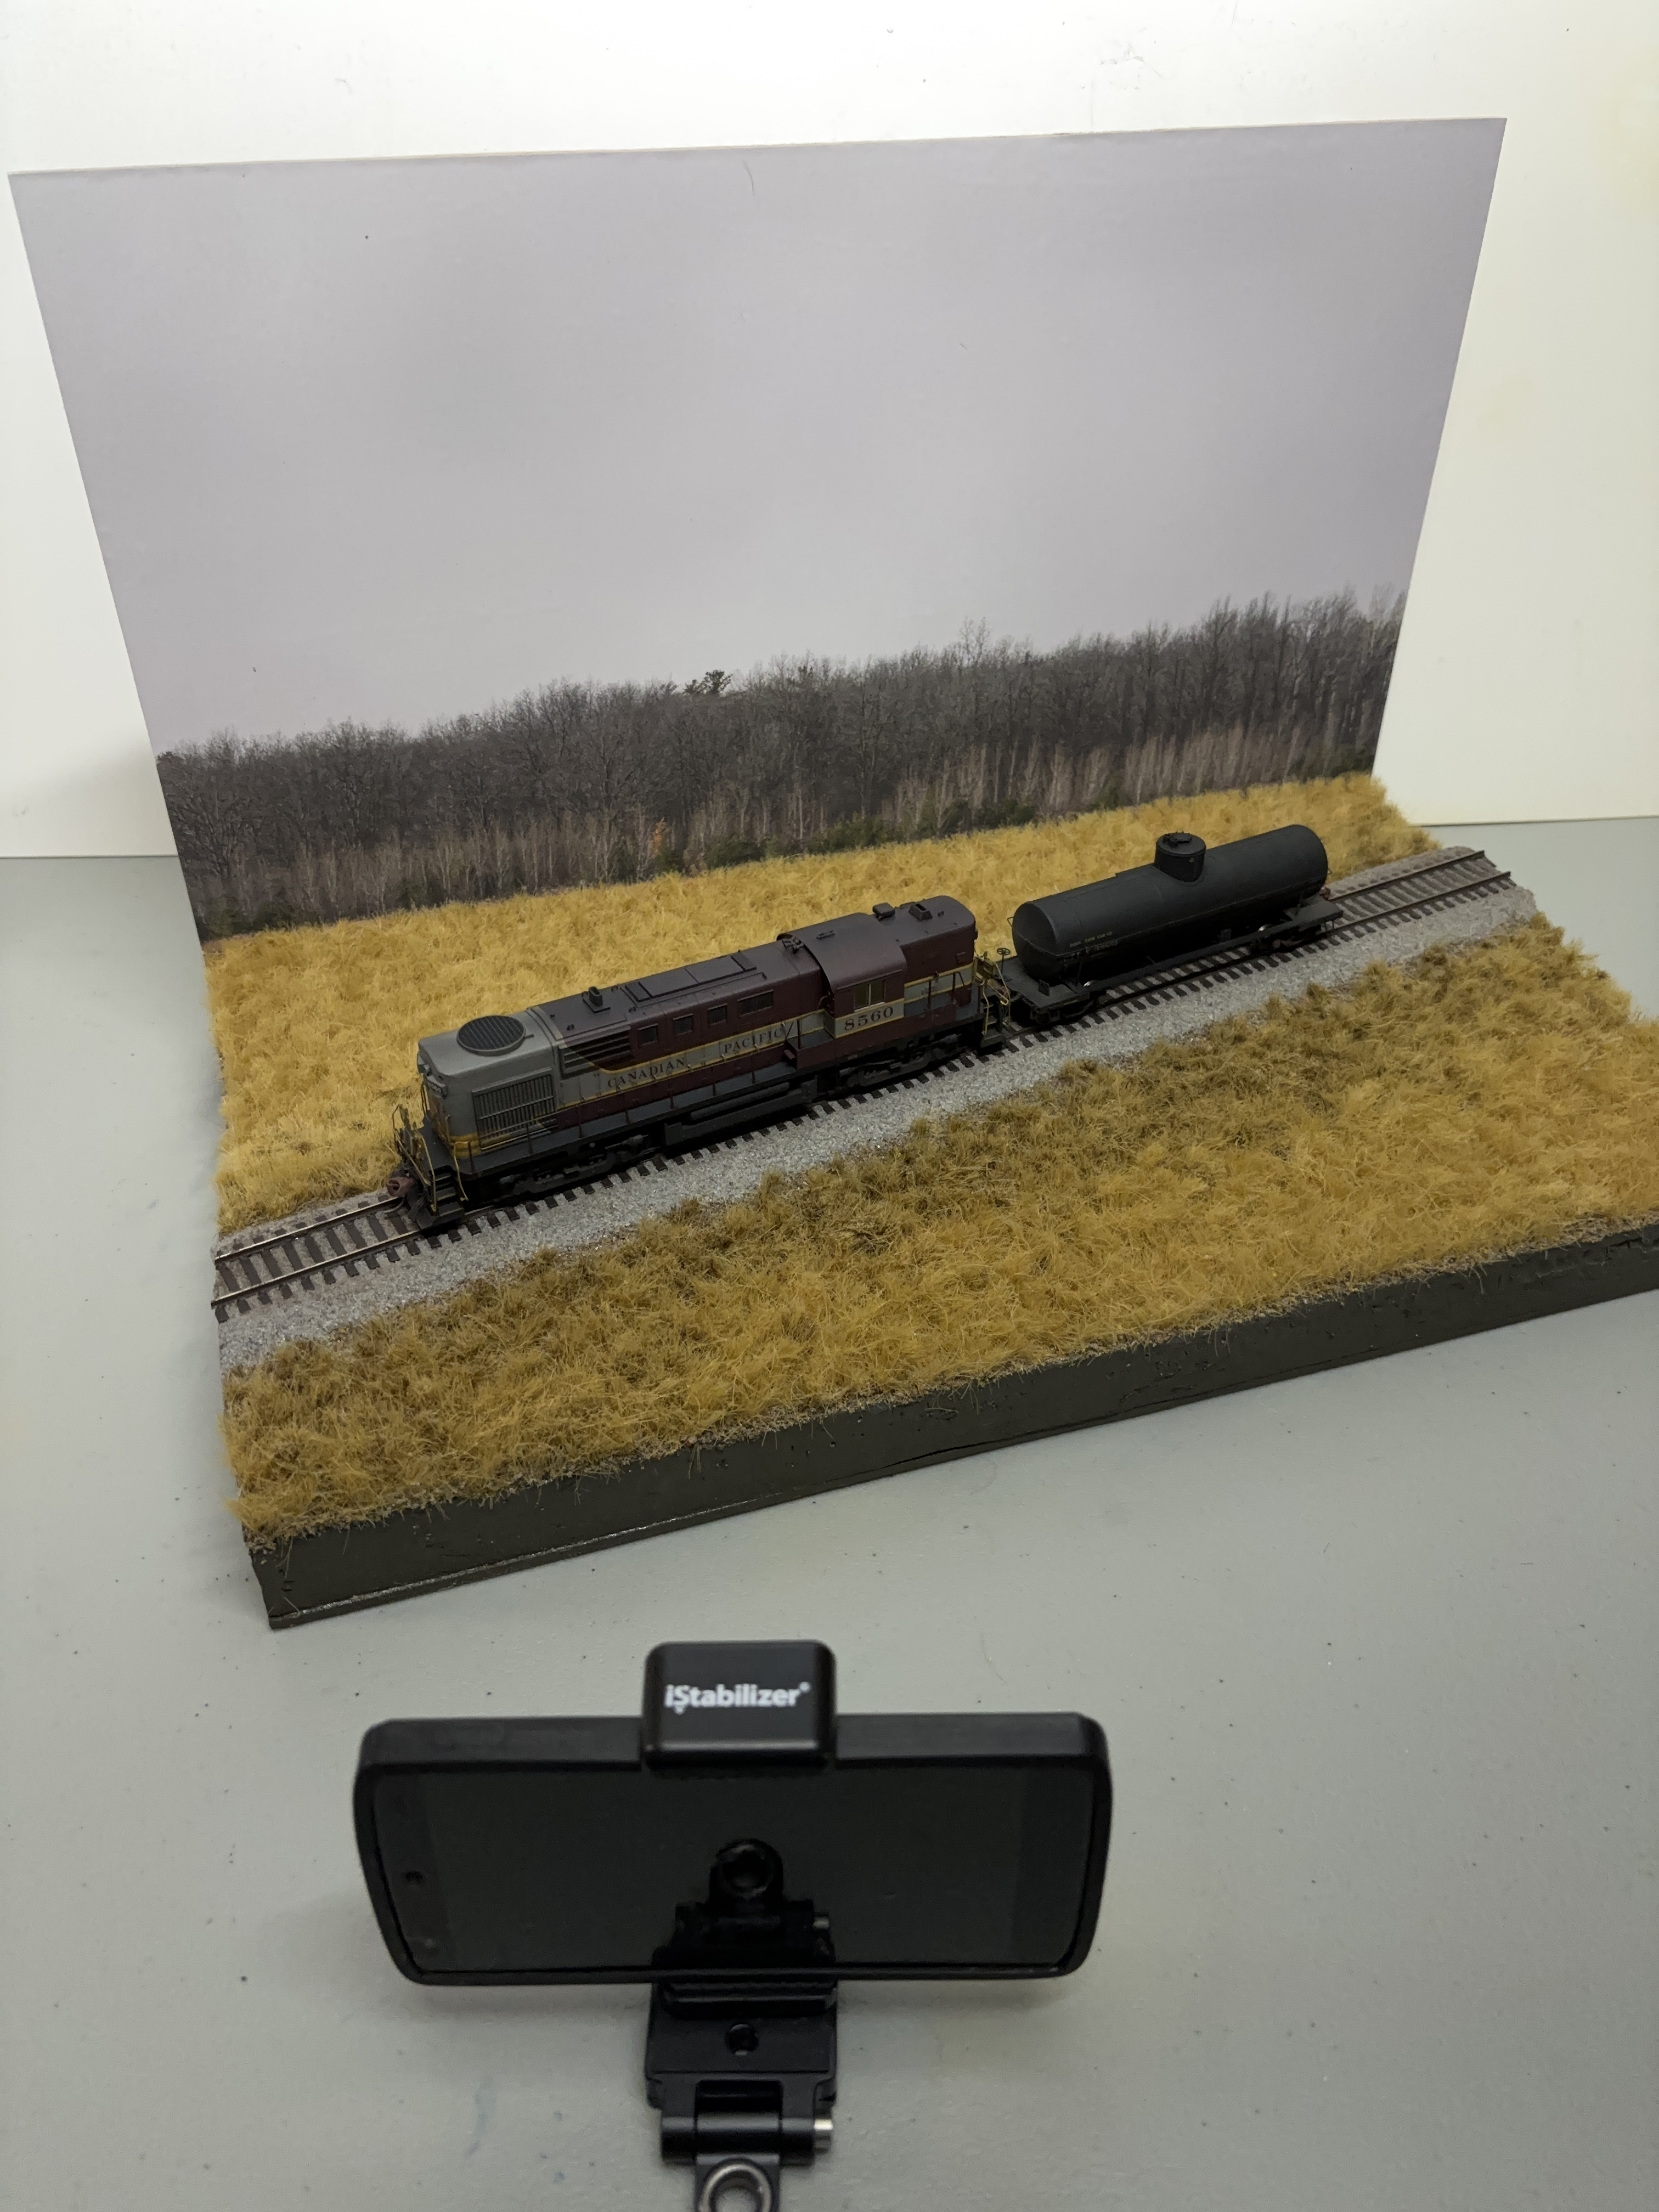
A camera or smartphone is usually higher than eye level at 1:87 scale. Because the rails are raised in this diorama I am able to position a camera lower and get a more realistic angle of view. The sloping edge lets me get a camera closer and still be able to keep all details in focus. By having the camera lower and closer with a small aperture I am able to create a greater sense of scale while keeping everything in focus.
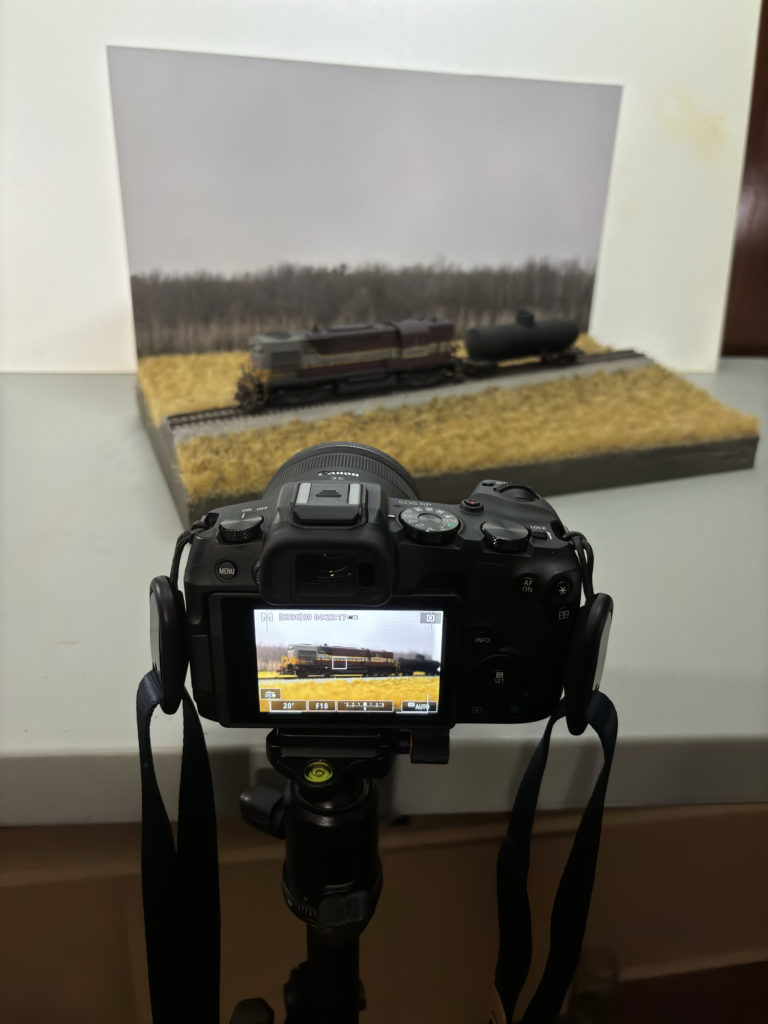
Photos from this low angle look more like how we see the world and have a greater sense of perspective. It really doesn’t matter if you use a smartphone or dedicated camera, these days both can work as long as you can manually control your camera settings. One problem with putting any camera this small so close to what you are photographing is that things go out of focus within a few inches. Having the backdrop close helps.
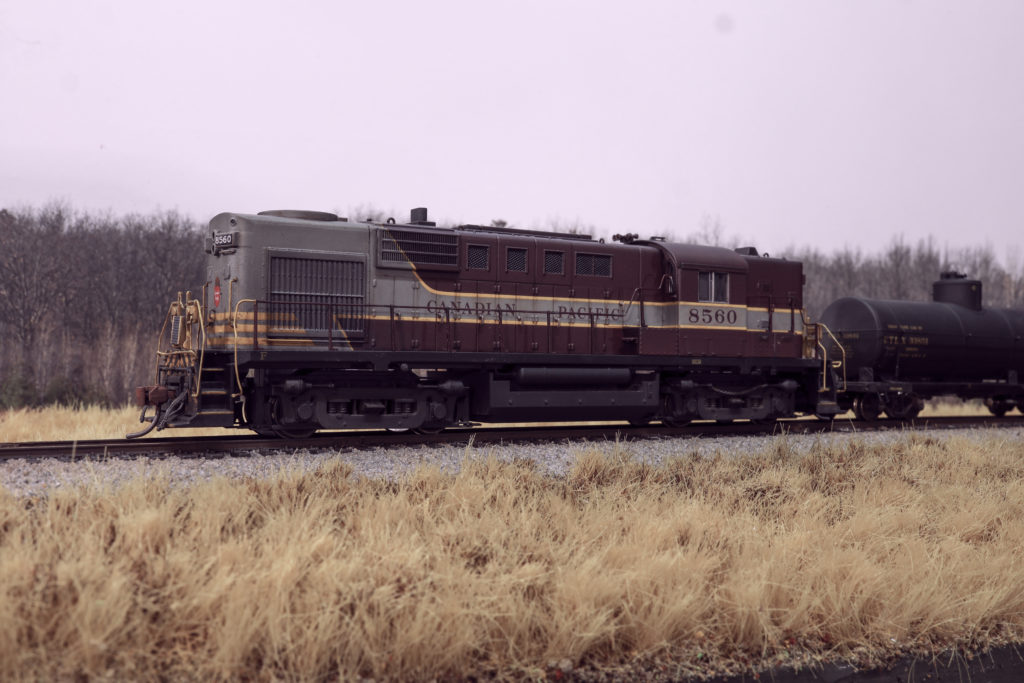
For me, this is a great result that is quick and fairly easy to setup. If you look closely you will notice how details go out of focus quickly behind the locomotive which isn’t realistic. In order to get totally convincing results you need to take multiple photos using different points of focus and use an editing software to stack them together.
Focus Stacking

A free image editor like https://www.photopea.com/ is perfect for this. Press File> Open and open one of your images. Next, press File> Open And Place and select all of the photos you want to stack. They will be imported into the image you just opened as new layers on the lower right side of Photopea.
In the Layers panel on the lower right side of Photopea, select all the layers by clicking on the first layer, holding shift and click on the last layer. Next, press Edit> Auto Align. Each image will be moved to align with each other.
To complete the process press, Edit> Auto Blend. Photopea will automatically detect parts of each photo layer that are in focus and combine them together to make one image. If the results aren’t perfect, you can manually refine what parts of each layer are included by editing the Masks, painting black or white to hide or reveal each detail.

Editing The Photo
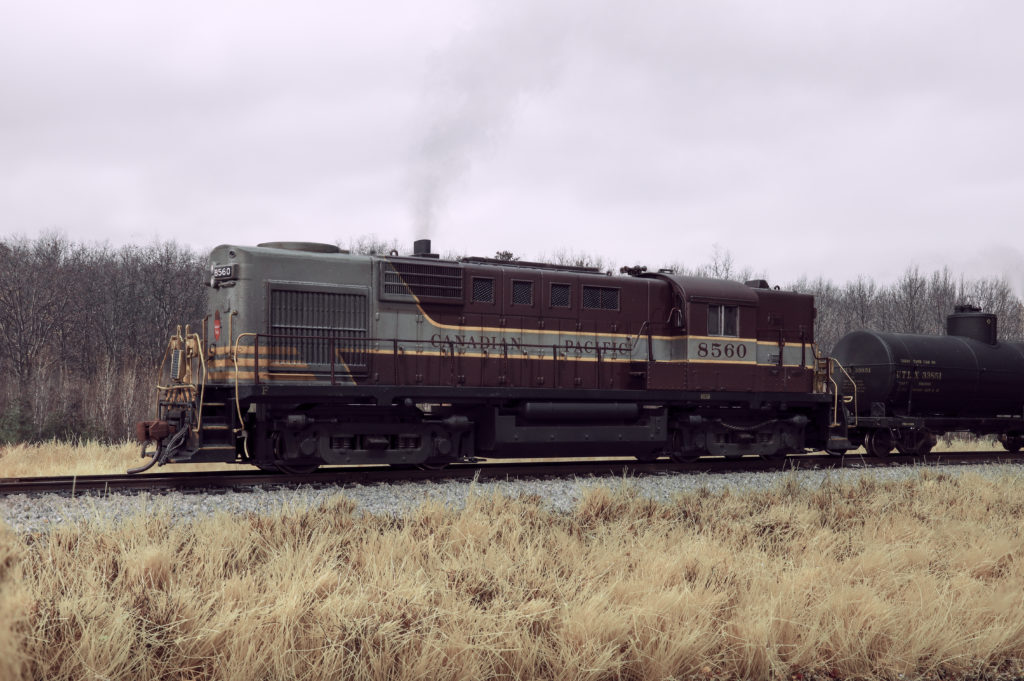
To finish the photo I like to add a bit of exhaust. This is a photo of an Alco RS-10 so you could probably add a lot of smoke and be realistic. I searched on the web, found something I thought could work and opened it as a layer in Photopea. I roughly erased the parts of the smoke I didn’t want and set the layer blending menu at the top of the layers panel to multiply and lowered the opacity and fill so the smoke looks translucent. I used a similar method to add a sky, because the backdrop is grey it easily blends. I also added headlights on a separate layer zooming in and carefully using a soft brush. These are small details but they work together to create a more realistic look.

To make the colours, shadows and highlights look more realistic, I added a few adjustment layers just to get the look right. There is no one answer to get any photo right. It just takes some experimenting. By adding adjustment layers instead of directly editing the image you can delete the layer anytime without permanently affecting your photo.

Finally, this program is browser based so be sure to press File> Save As PSD to save an editable version of your project. To share your photo you will want to press File> Export As>jpg in order to have a file you can view on any computer.
Below is the full sized results. I went for an older looking photo colour effect. The last steps take some time to master and are subtle but when combined together I think it makes a convincing result.
With the backdrop, lighting and editing skills there are so many options to create reasonably realistic photos of models. By changing the model and the kind of light I can create a wide variety of moods using these techniques. In the photo below, I tried a light angle that isn’t ideal for photography but in the real world we can’t just move a locomotive to make a better photo.
