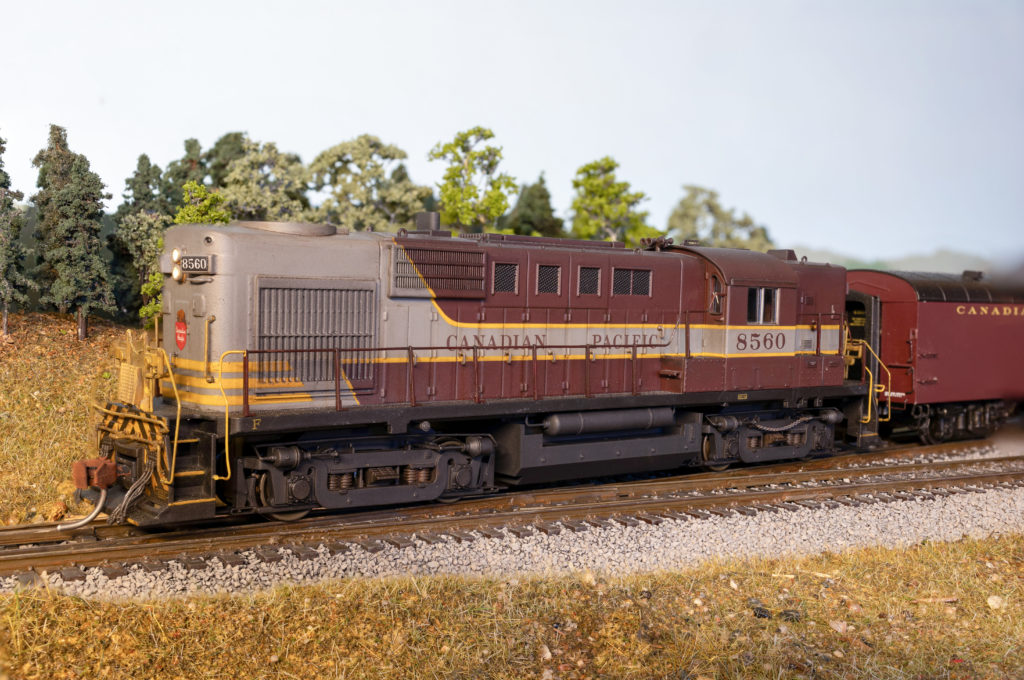
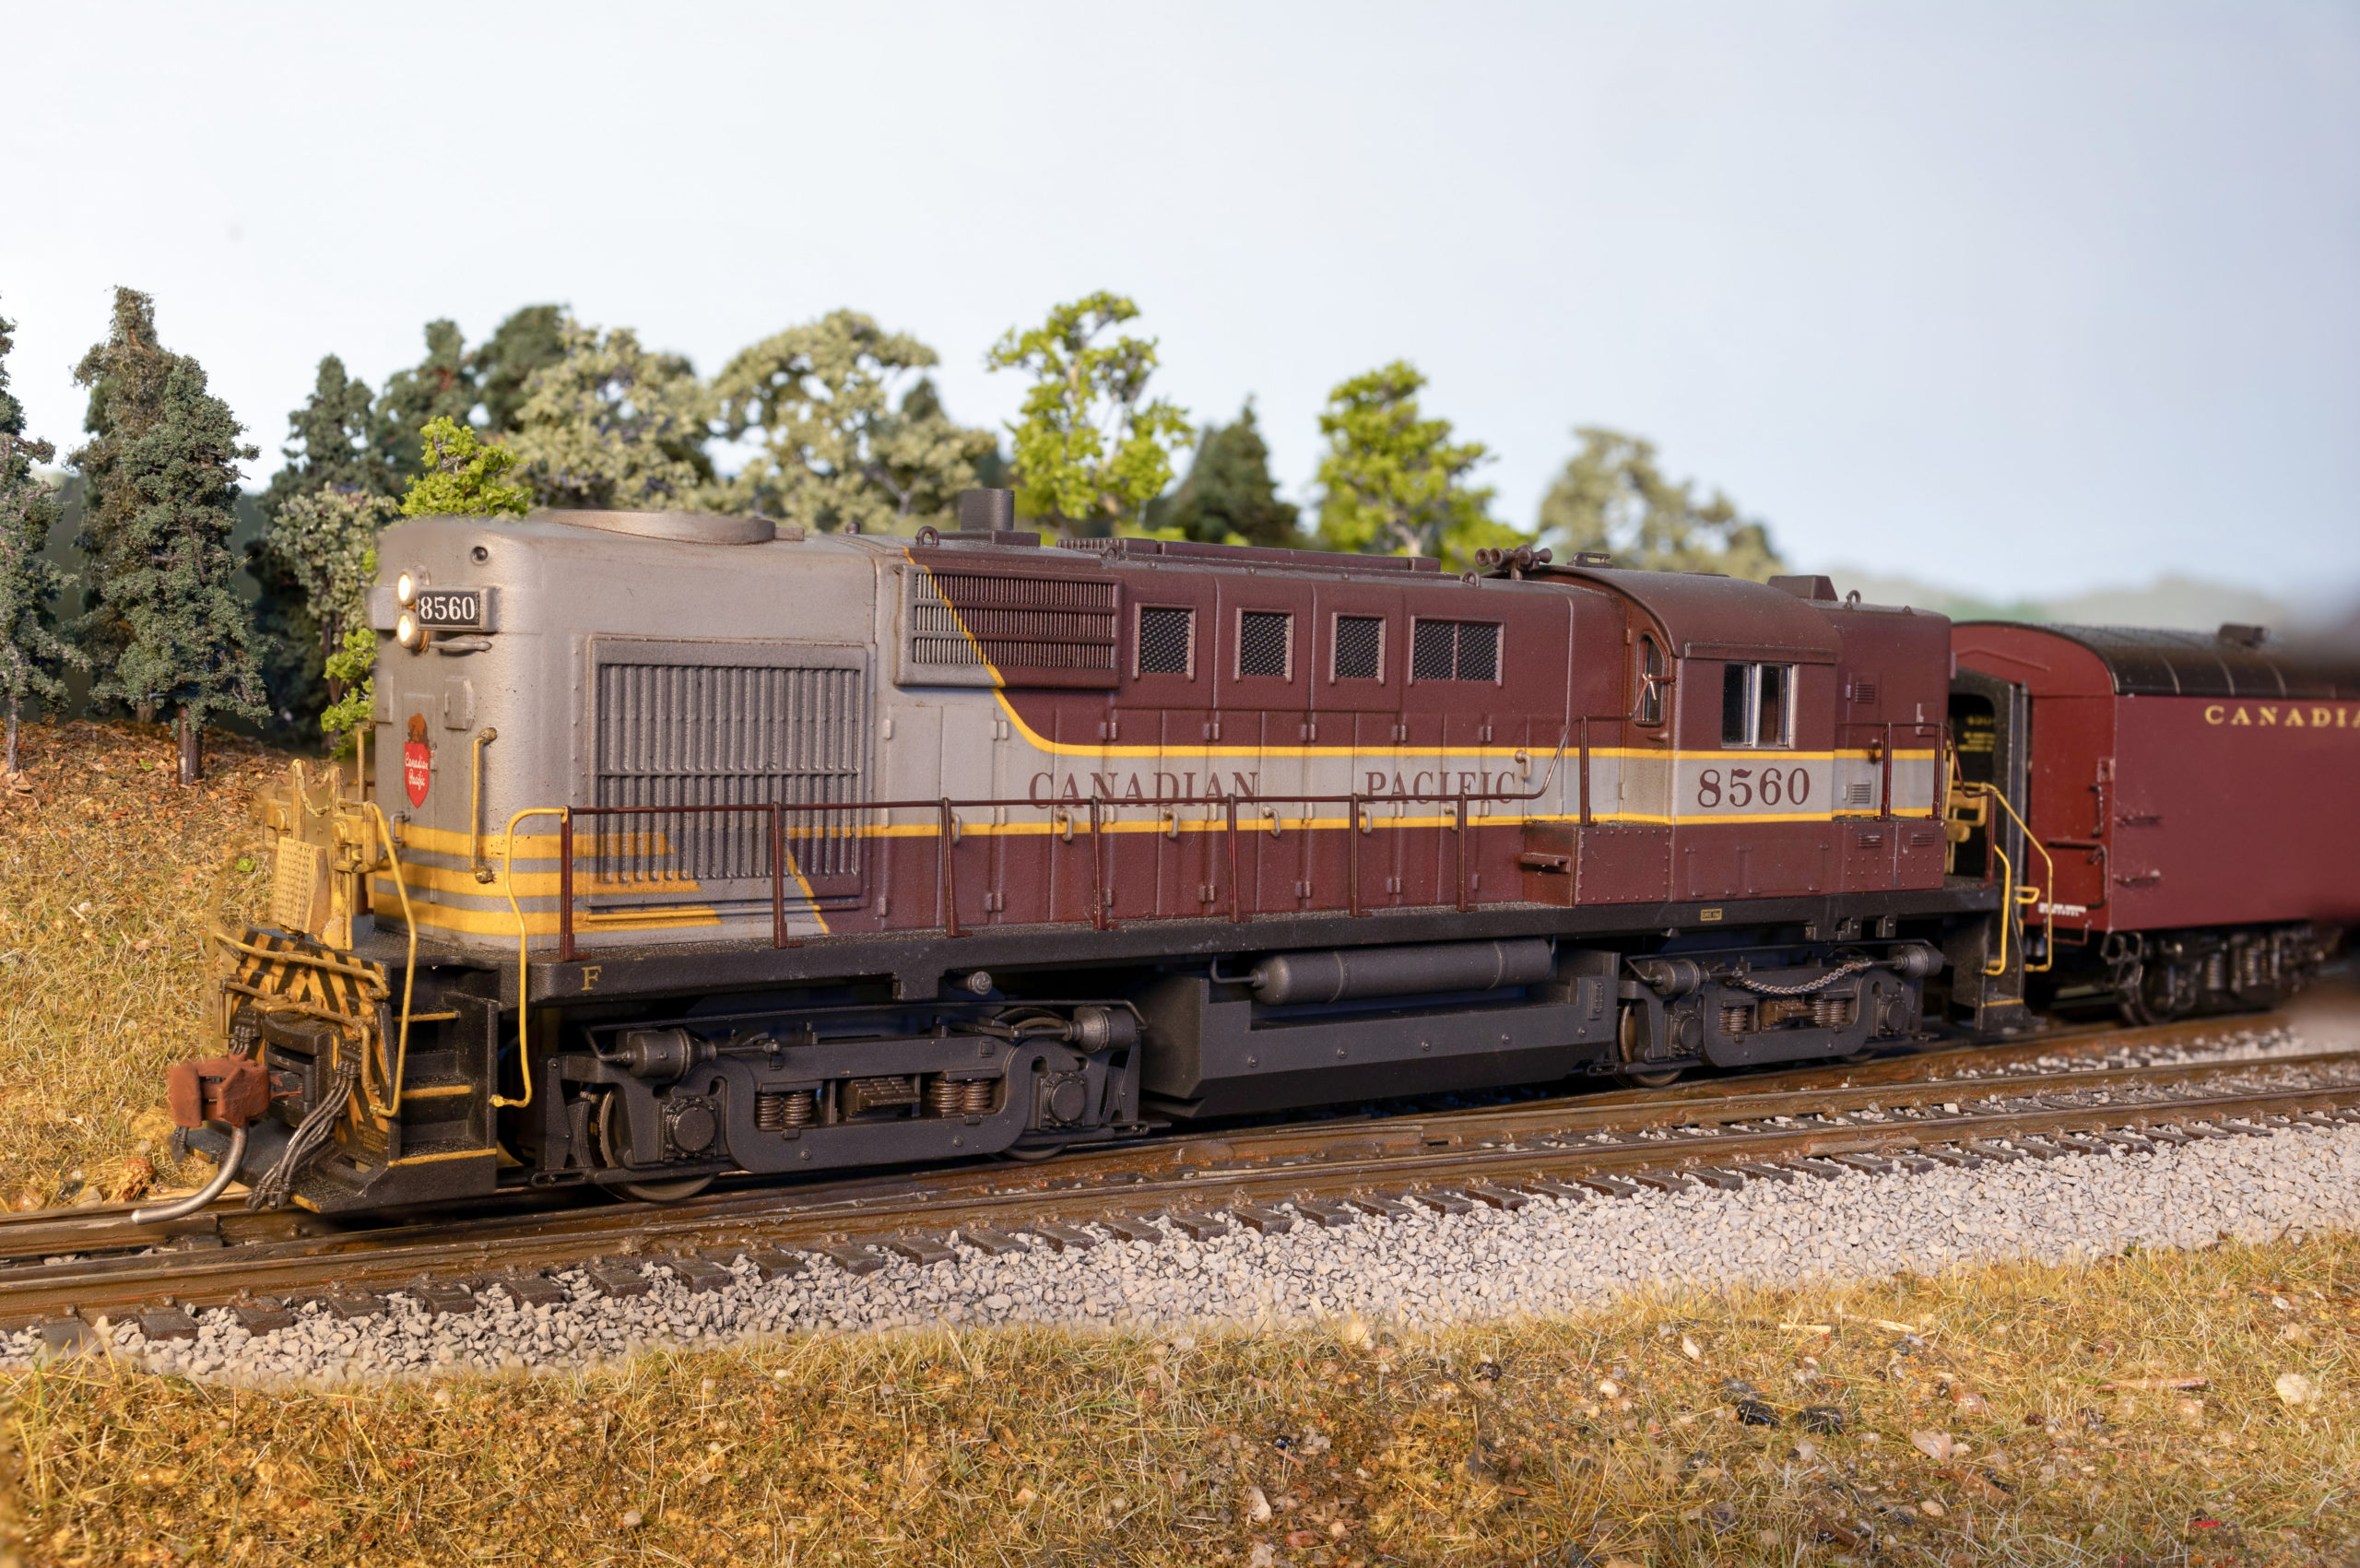
There aren’t many photographs of Little Current yard in the years I am modelling and even fewer photos that include locomotives with any amount of detail. There are however a few and I plan to use these photos to model some of the locomotives for this layout.
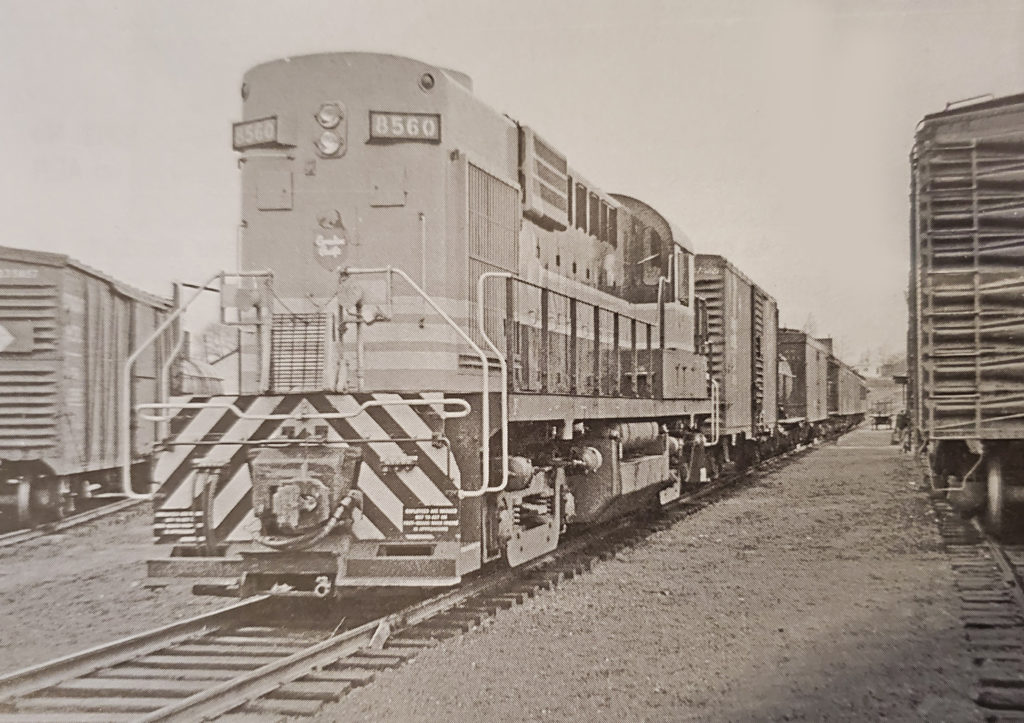
This RS-10 is the only one I’ve seen pictured at little current station but there were serveral in the area at the time of dieselization on the Little Current Subdivision.
When I see a photo that has few details, I try to think of why a photo might have been taken. Is this train significant? Is the date significant? Is the locomotive something new? I don’t see any people in the photo so I have to assume the locomotive was an important subject to the photographer. I don’t know any of the answers to these questions. The locomotive looks quite clean and there is enough reflections on the surface of it to see that the paint is pretty new. This locomotive was built by Montreal Locomotive Works in 1956 so we can get an approximate idea.
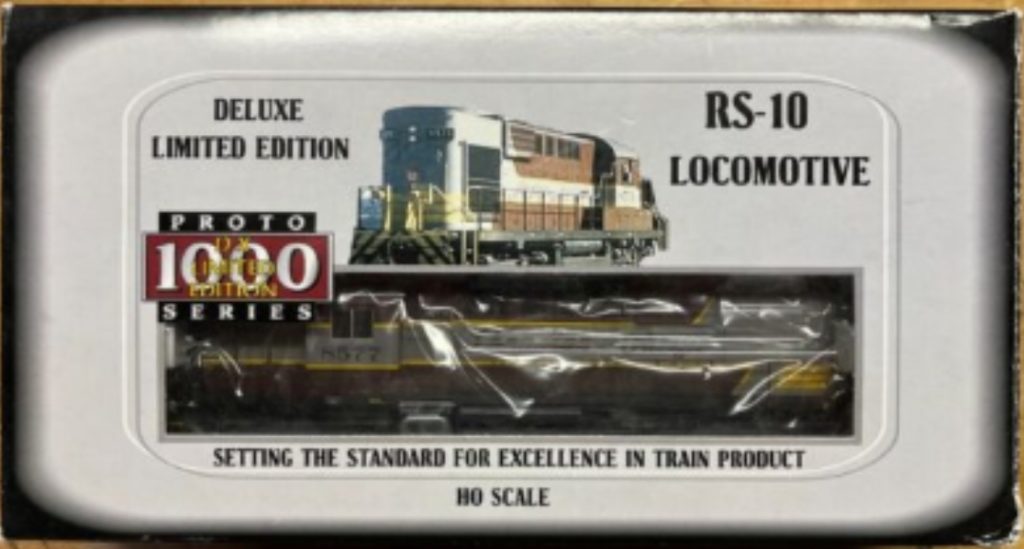
With so few photos of locomotives at Little Current Station I really wanted to make a model version of 8560. I was recently able to buy a number of second hand Proto 1000 RS-10’s that I plan to use on the layout. Some of these models had the stem generator details that would work for this specific locomotive. Over the next few months I plan to put all of them together for the layout but will start with 8560 first. The models are pretty good but need some small changes to make them accurate CPR models, more reliable at switching speeds as well as detail painting and weathering.
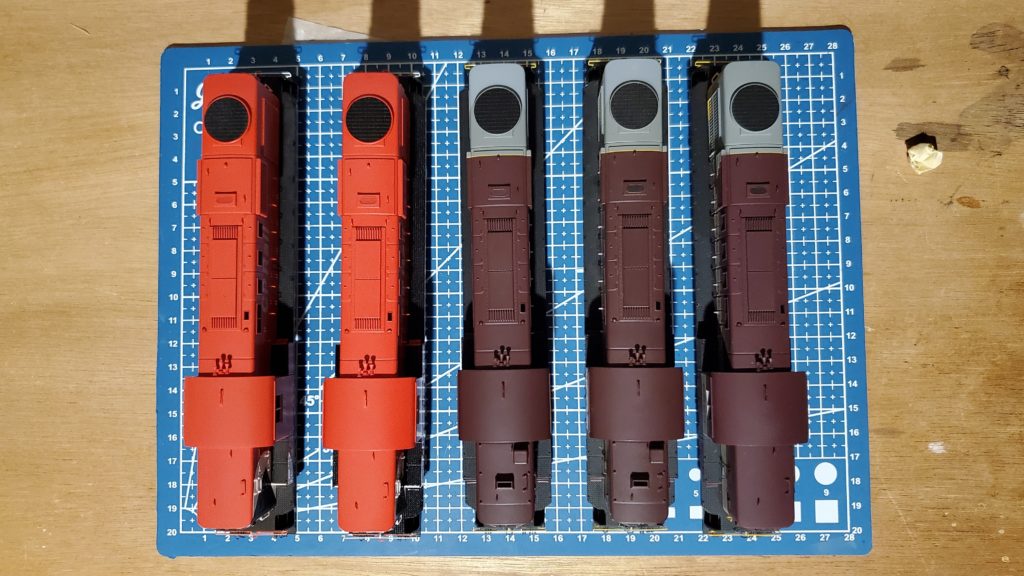
My plan is to work on this model so it has a good level of accurate detail. The locomotives on my layout get handled regularly and moved between my modular layout and other locations so it needs to be tough enough to travel, reasonably detailed and run very reliably. I’m going to post my progress here to share and as a way to refer to what I did for my future self. The photos below were taken on several models that I am working on so the locomotive number may look different but the steps are the same.
Shell Details
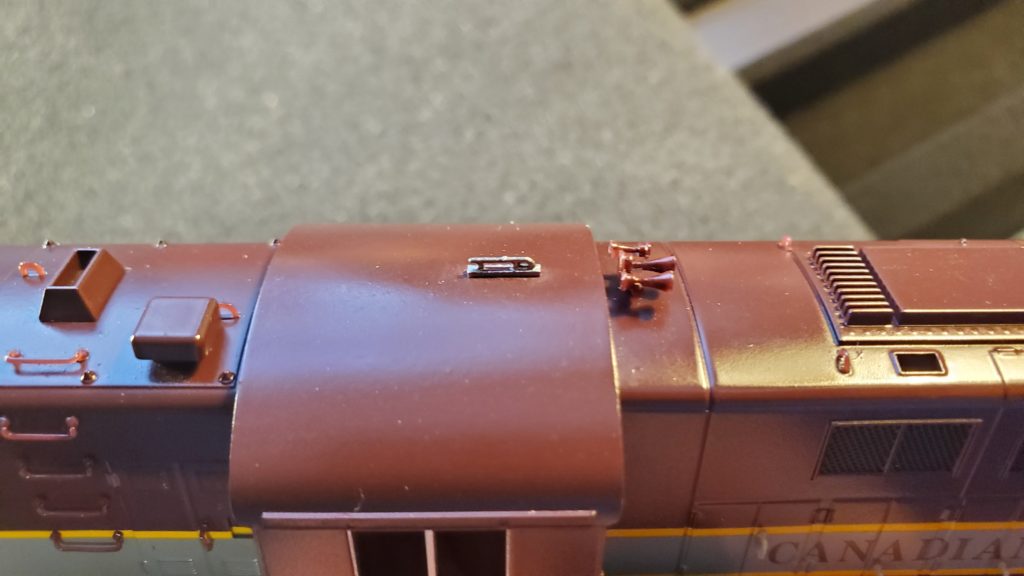
Out of the box the model is a good start. Its painted in the right CPR block lettering and has a good amount of detail. Unfortunately the model has the bell in the wrong location, so it will have to be removed and filled. I’ll also fill the sunshade attachment holes as I don’t see them in the photo.
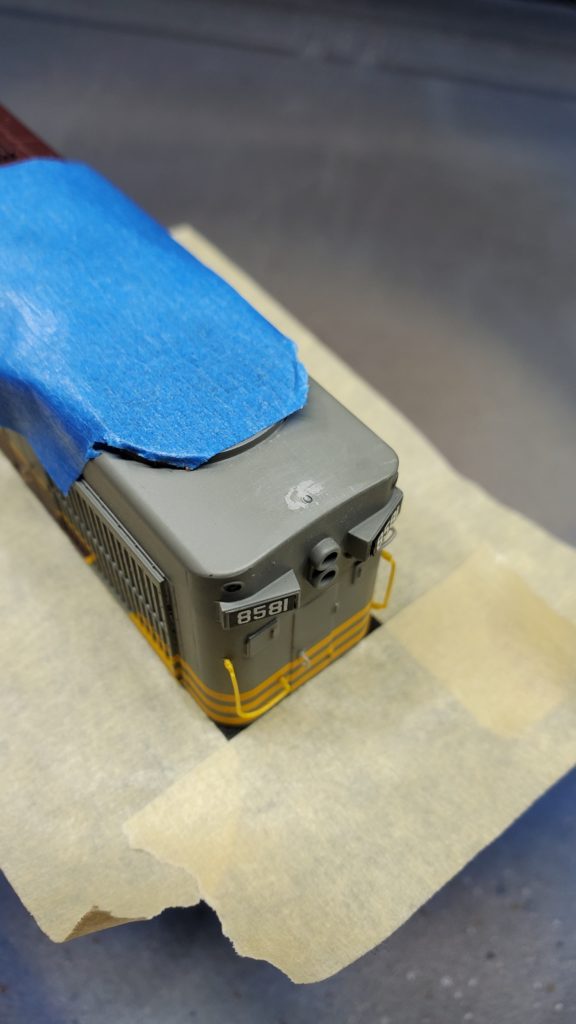
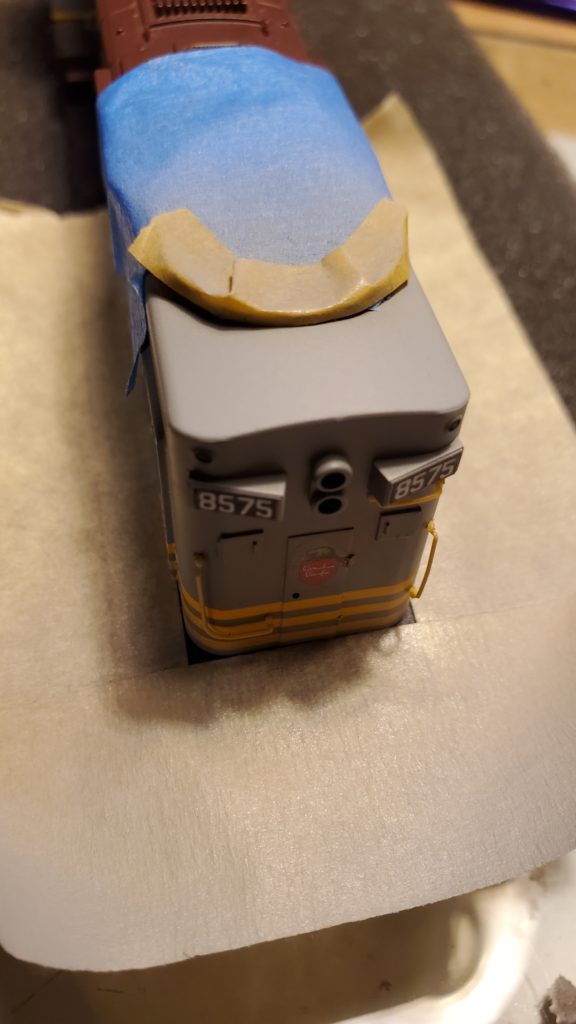
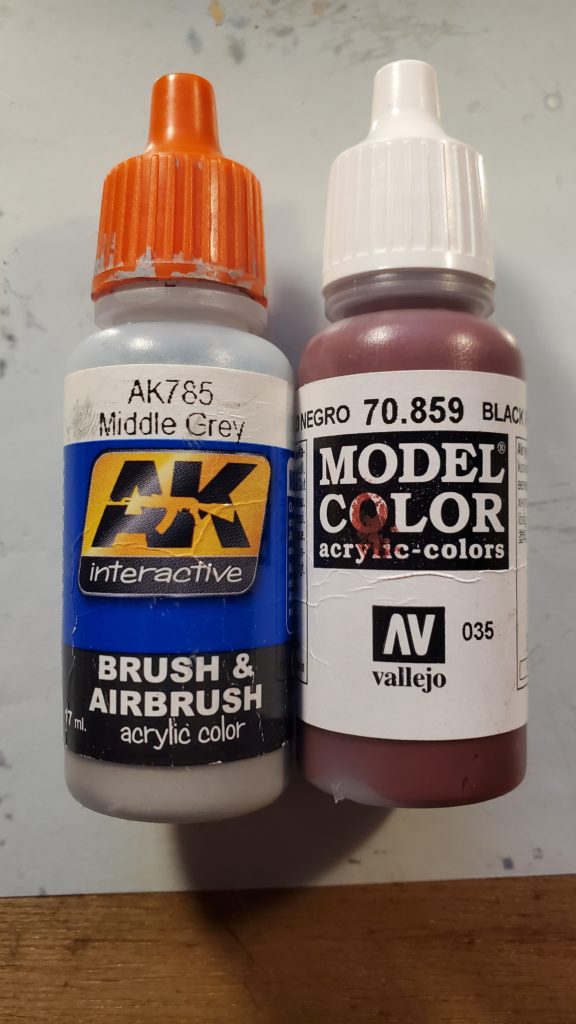
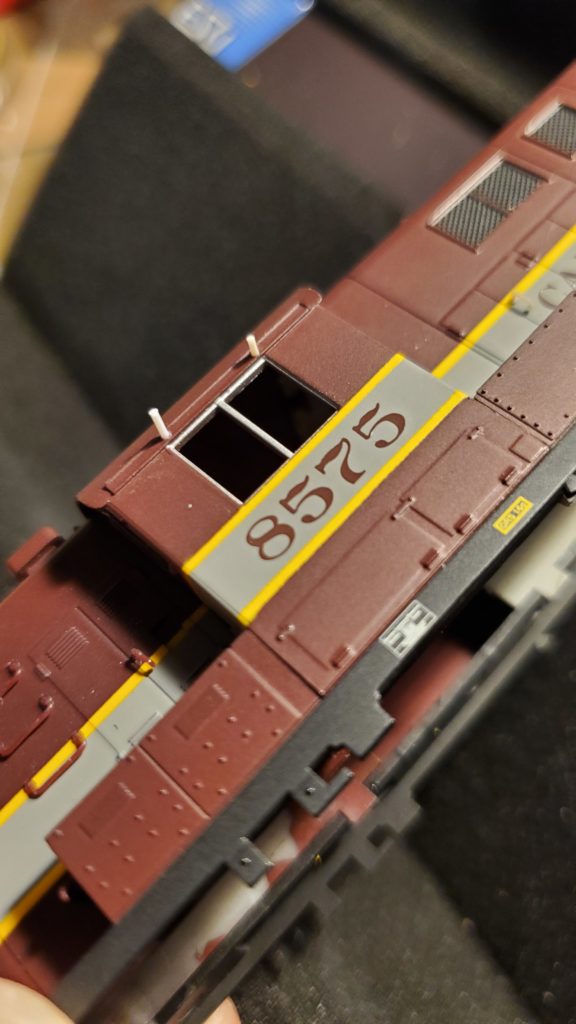
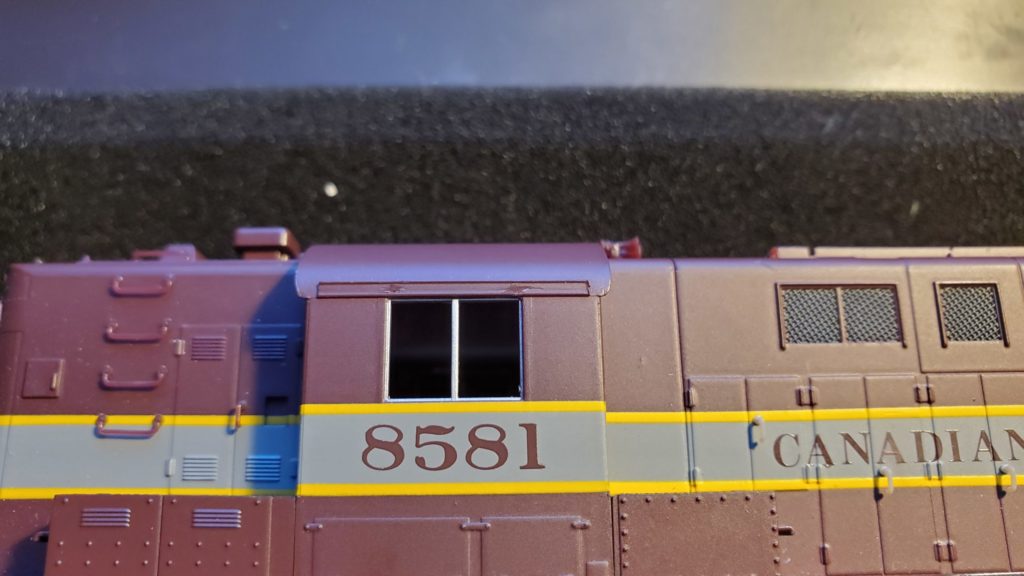
The pad printing for the locomotive numbers and other details comes off easily with Walthers Solvaset Decal Setting Solution. I like to soak the printing I want to remove with the solution soaked in paper towel until it softens, then use a dull toothpick to gently rub away the printing. The trick is to keep the printing wet and wipe it away with a wet cotton swab. If you let the printing dry on the model it will stick and you will need to repeat the process again.
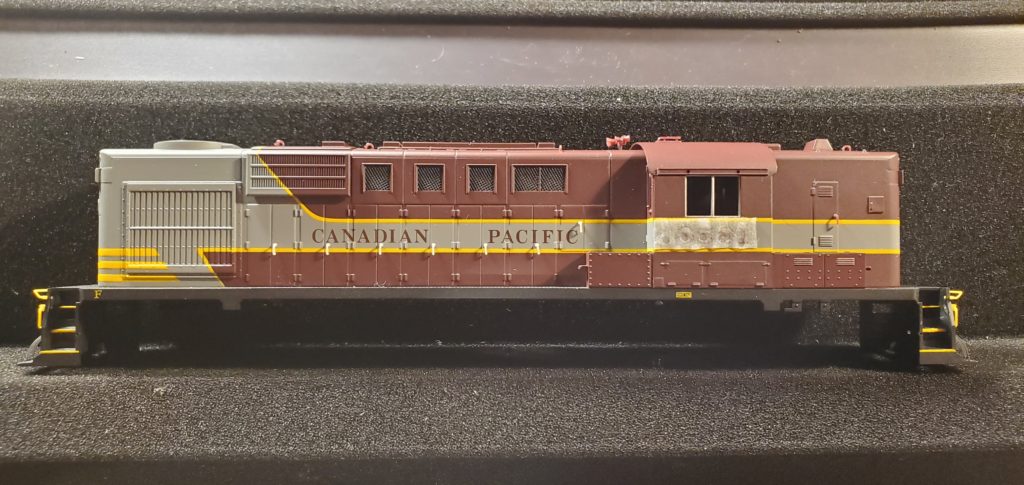
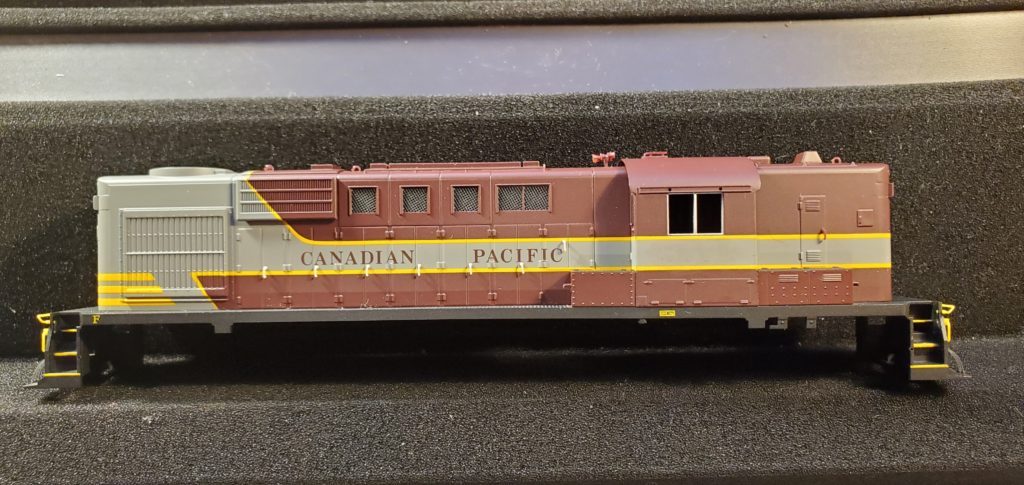
New Road Numbers were decaled on along with an N scale beaver shield on the nose of the locomotive. N scale beaver shield from an F unit decal set matched the size I see in photos I’m using.
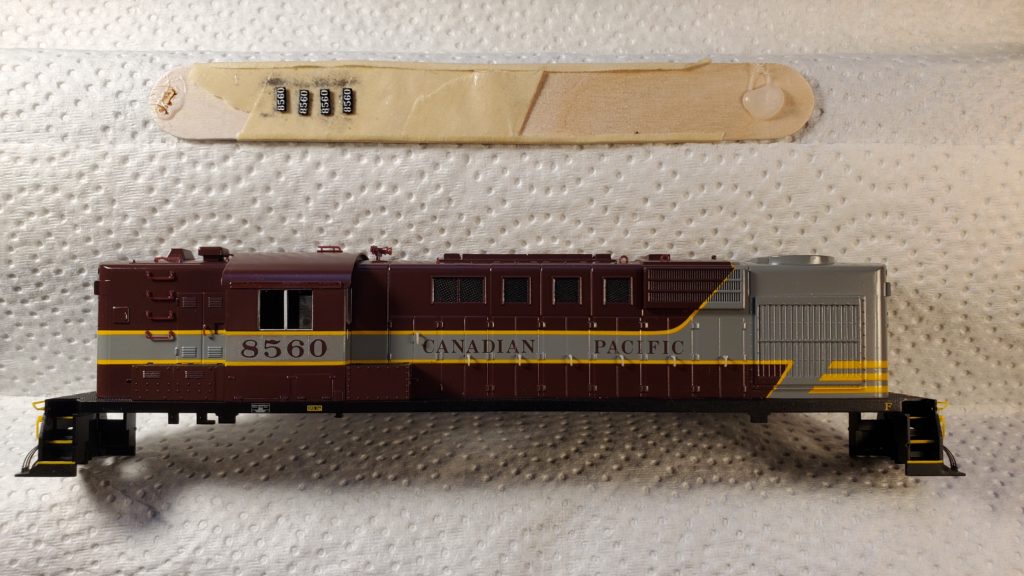
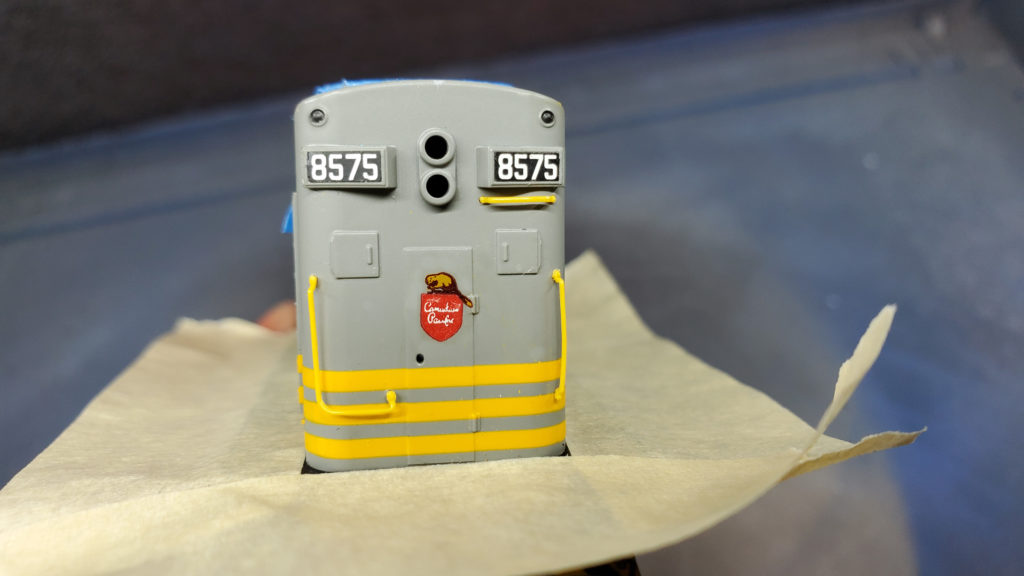
Decals are applied on top of a gloss clearcoat with microset. When dry I gently apply microsol to help the decals settle into all the surface details of the model. All decals are sealed with a gloss clearcoat, ready for panel lining and weathering.
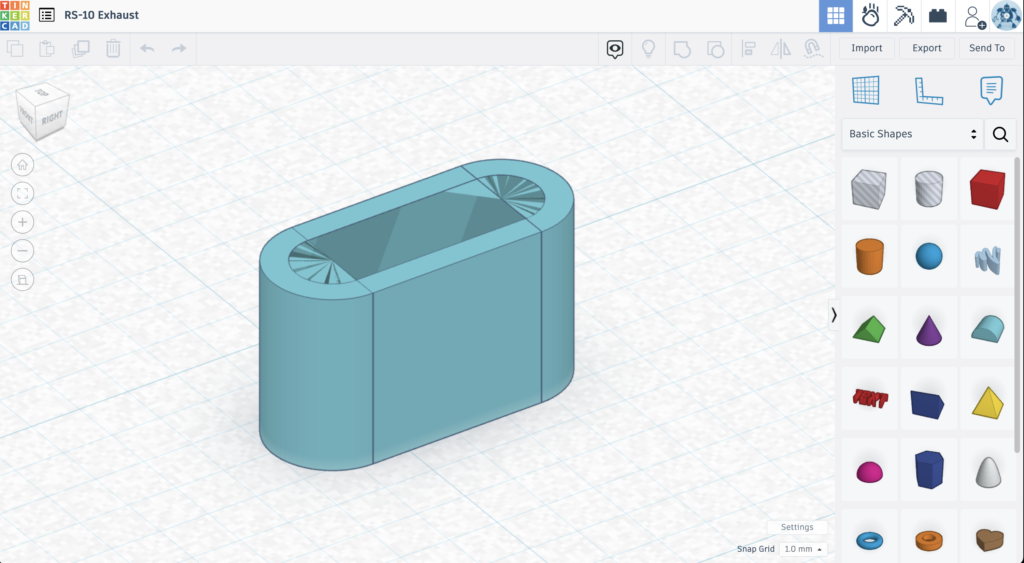
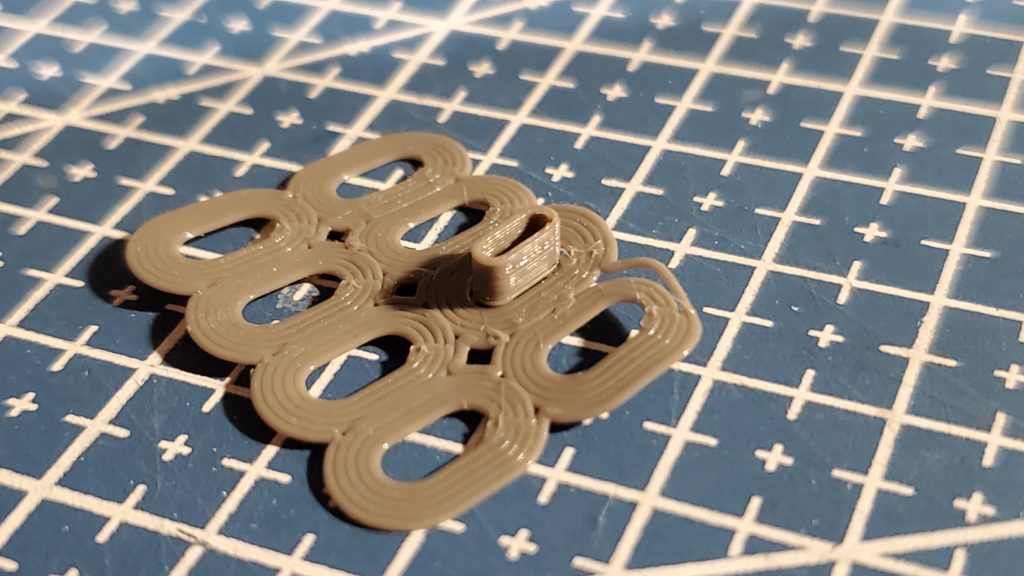
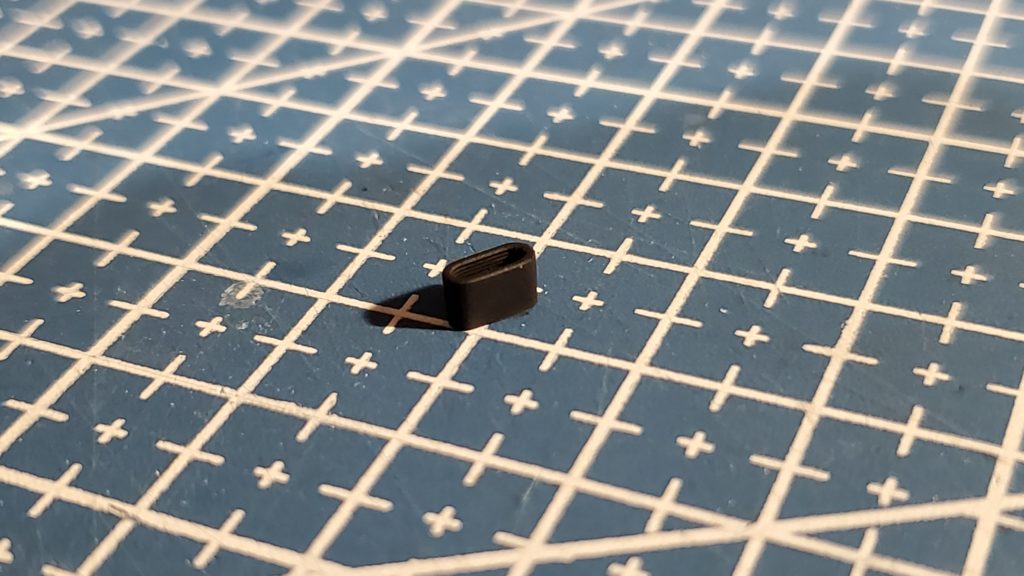
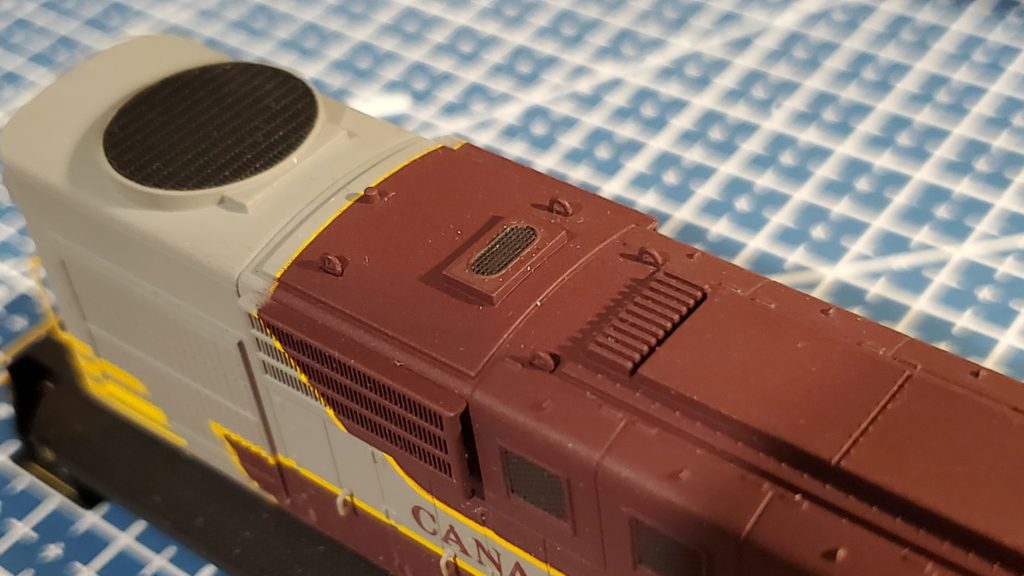
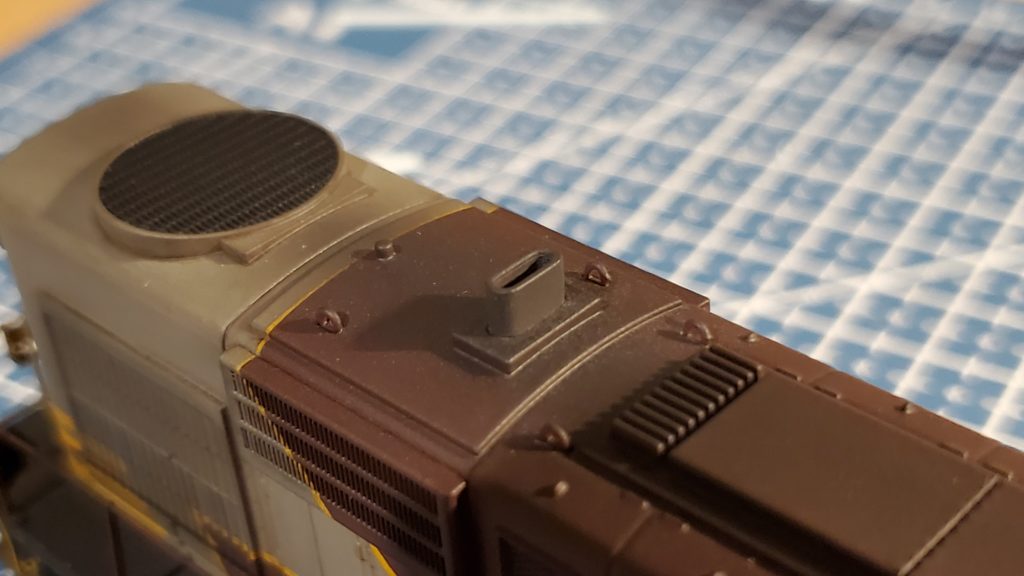
The exhaust stack on this model does not seem to match the RS-10’s with a steam generator like 8560. When I looked at a number of different RS-10’s in the 8500 series there was some variation on their stacks. I 3D printed an exhaust stack that I measured to fit the opening on the model using TinkerCAD. I don’t own a resin printer so my 3D prints need to be carefully sanded to remove layer lines.
The hand rails on this model are made out of slippery plastic that is always hard to get paint to stick to. The plastic is also translucent on the Maroon and Grey CPR models which looks distracting. For this model I used a combination of a dark grey oil wash on the hand rails to bring out the detail and stop the light passing through so easily. In some spots I used maroon acrylic and painted over the parts but I have a feeling this may peel off in a few years.
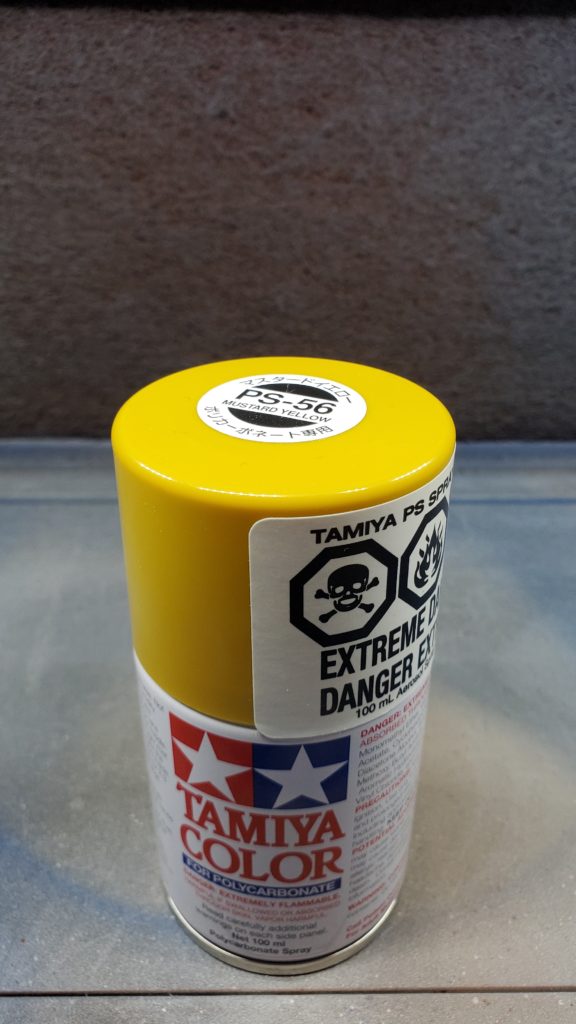
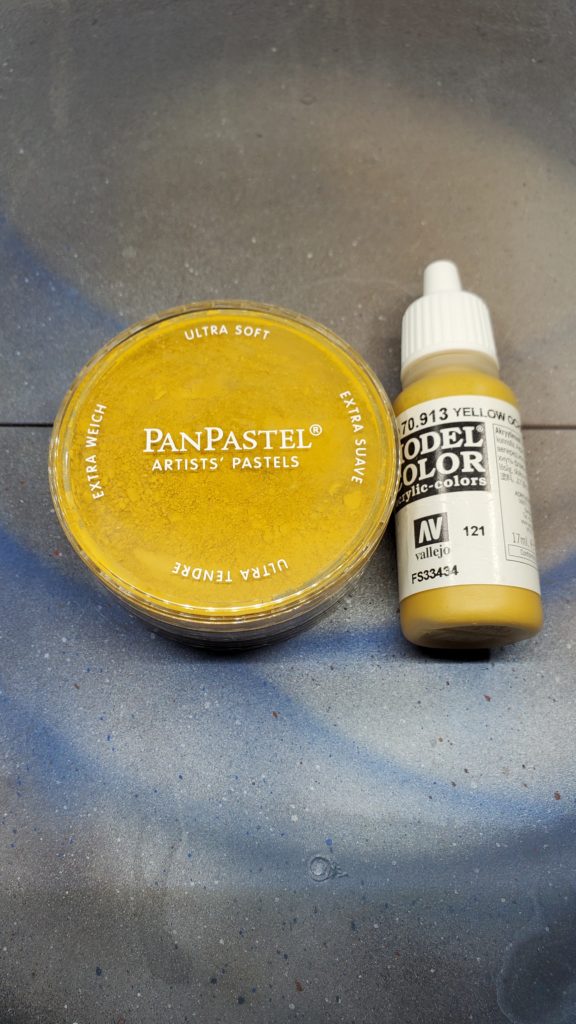
Canadain Pacific locomotives in the maroon and grey scheme have yellow hand rail ends. Over time the any yellow paint added for this detail seems to peel off slippery plastic the railing. This time I am trying Tamiya for polycarbonate Mustard yellow, decanted into a cup and brush painted on the railings. We will see how it works out in a few years but so far so good. The paint gets the same wash as the rest of the locomotive as well as yellow ochre pan pastel. I will touch up any chipped paint in the future with vallejo yellow ochre.
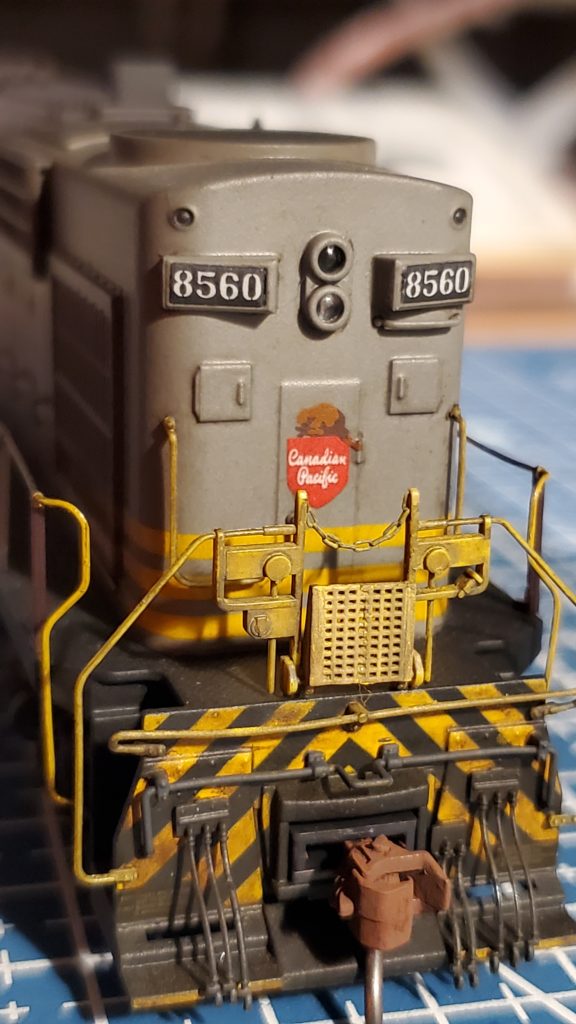
The antenna on these models were also carefully hand panted painted a metallic silver acrylic colour. The antenna is made out of the same plastic as the hand rails but because it doesn’t get bumped or flexed I think this paint will stick.
DCC Conversion
This RS-10 locomotive will be converted to DCC with a capacitor and sound. 8560 will be the locomotive I use most on the layout. I have recorded sounds of highway 6 and I want the experience of a locomotive working in Little Current Yard to sound like the actual place at that time.
Prepping the Life Lile/Proto 1000 chassis involves disconnecting the power leads and removing the circuit board. The space this circuit board occupies will be more than enough for the DCC conversion
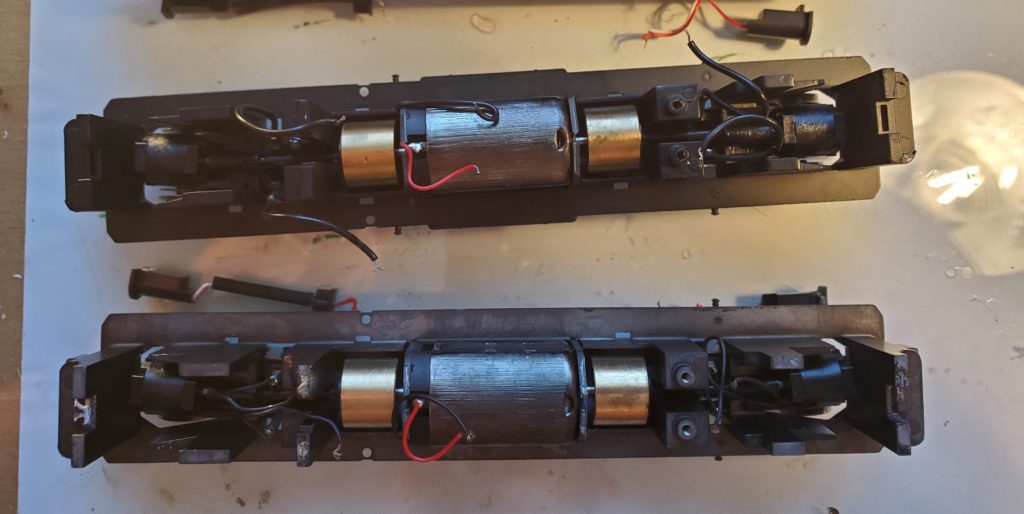
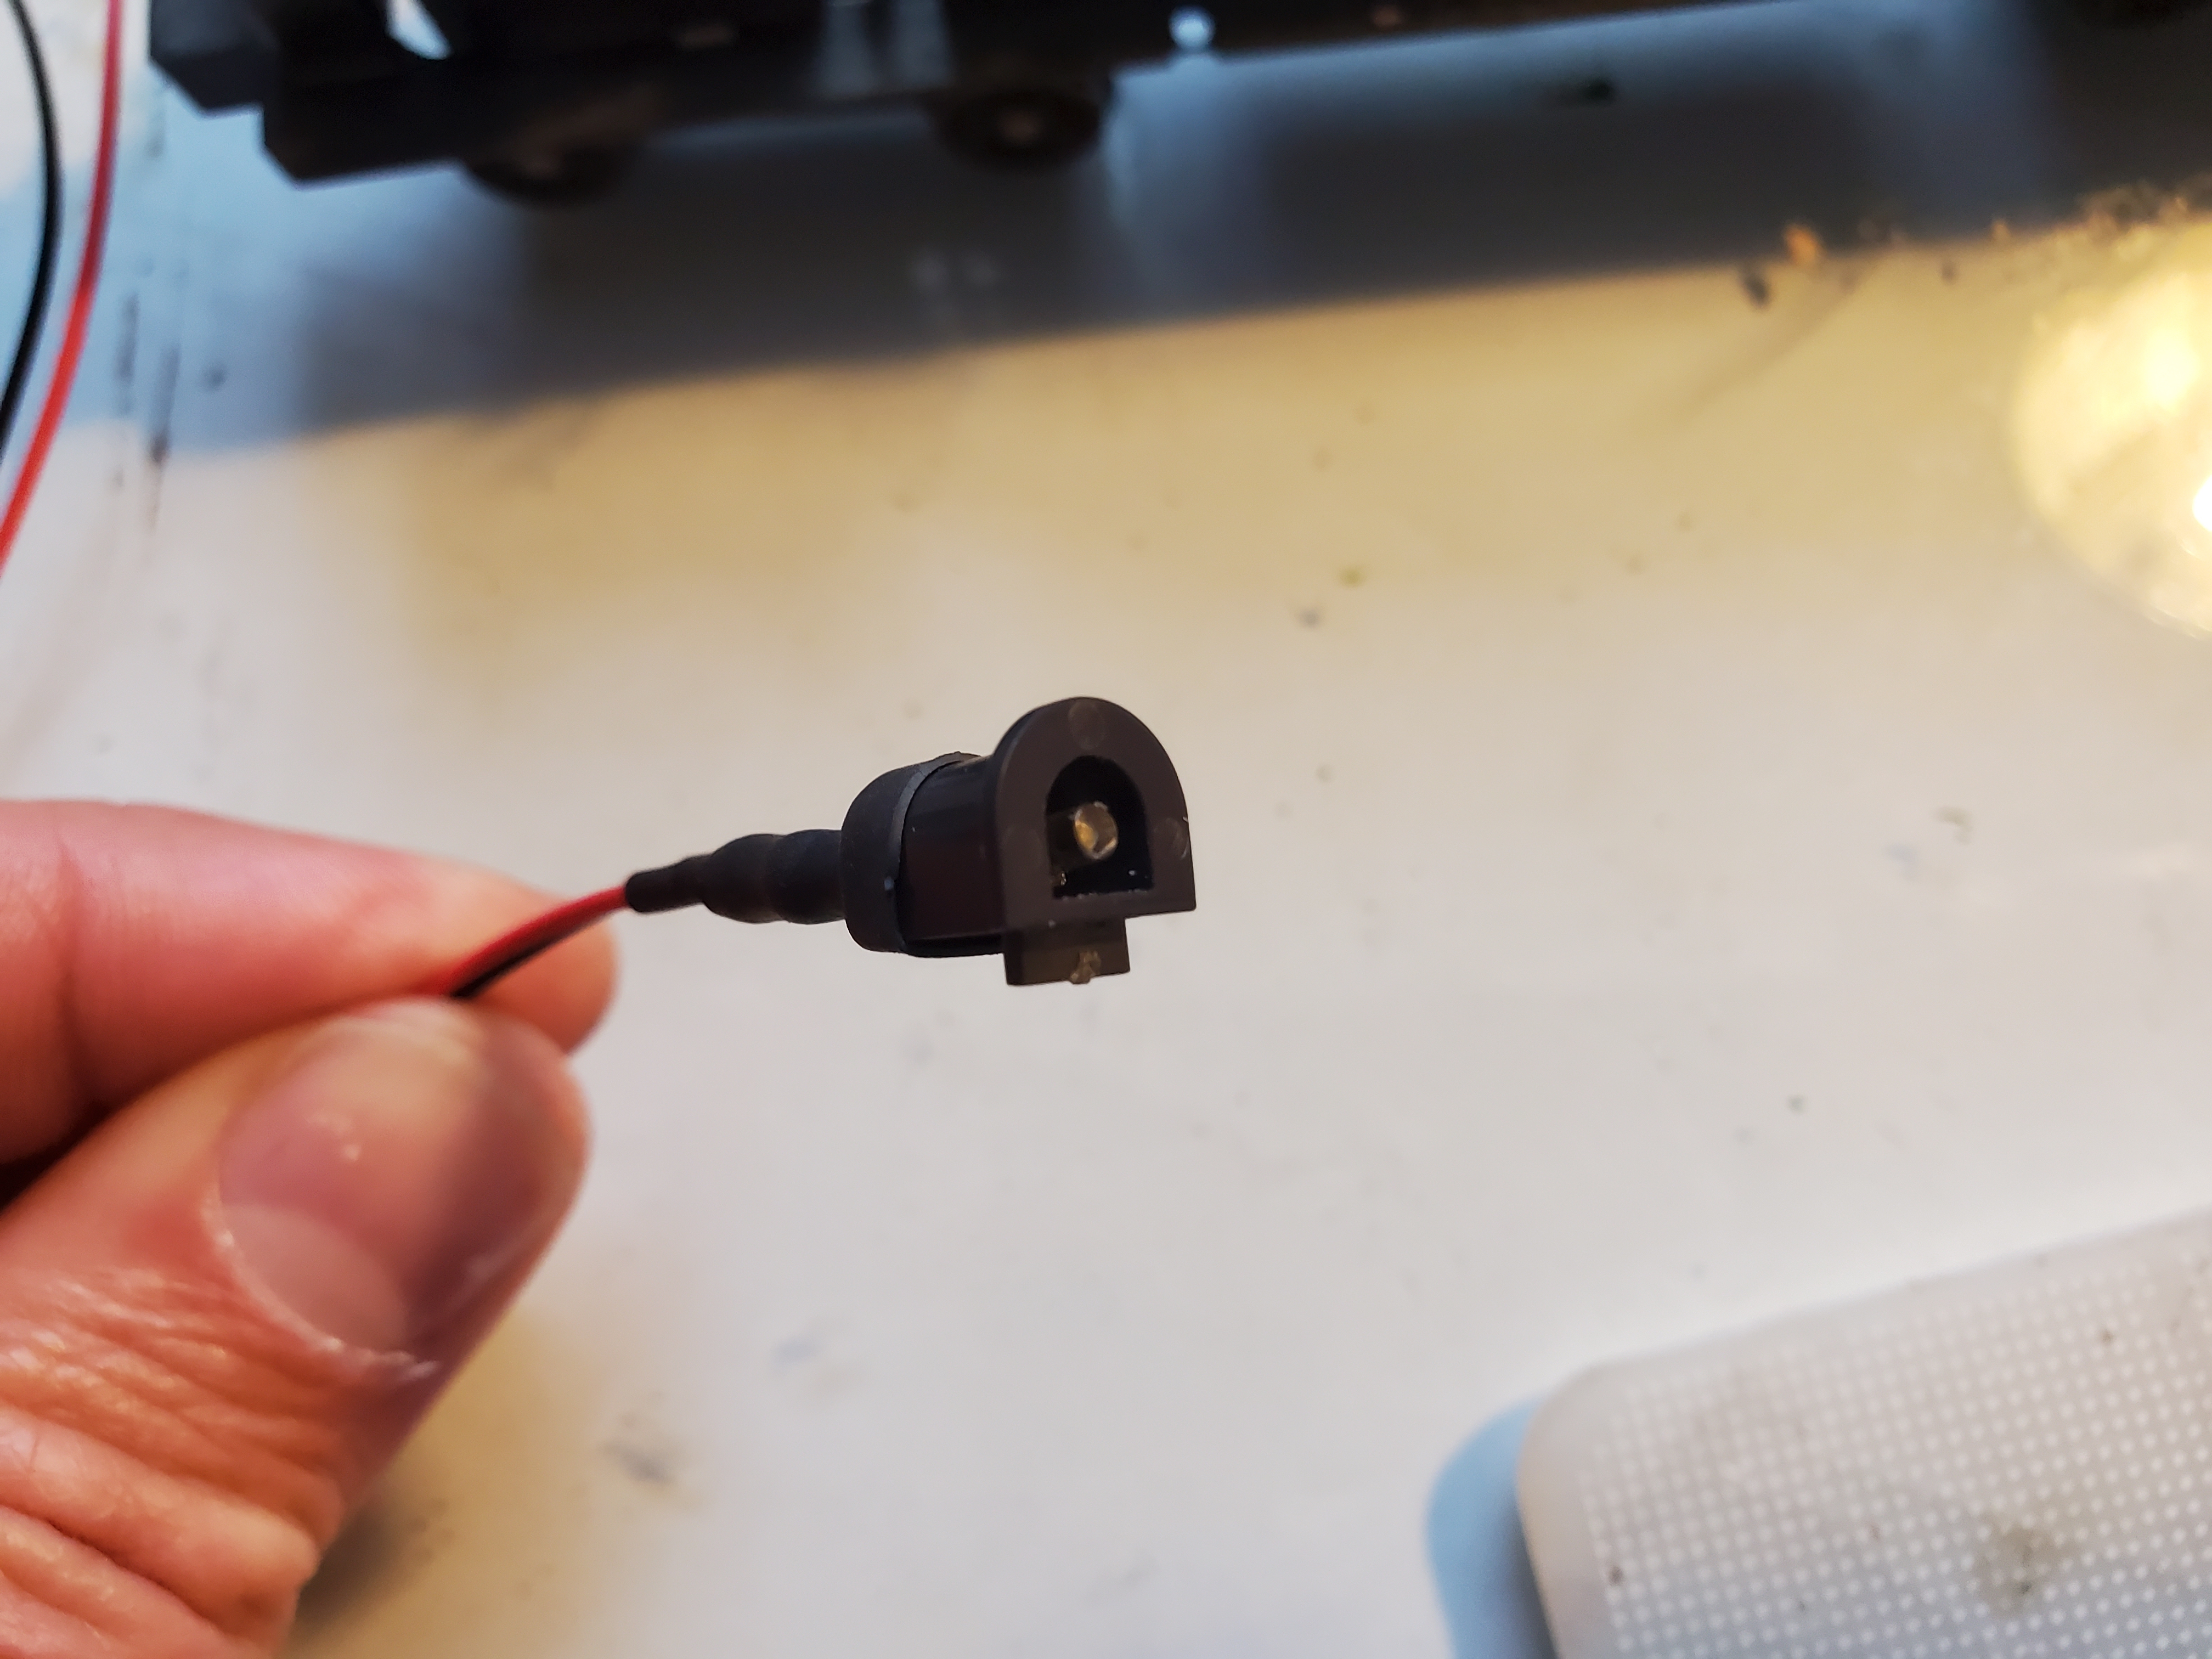
The original incandescent bulbs will be replaced with warm LED lighting. I cut open the original bulb holder and fit a small LED inside. the cut opening makes more room for the leads. The bulb makes a good friction fit and I use heat shrink tubing on the back to secure the wiring and resistor away from the gear towers.
A piece of black styrene replaces the circuit board that spanned the space over the motor. I wired a 8 pin plug that mounts to this piece of styrene so I can change decoders if I ever need to.
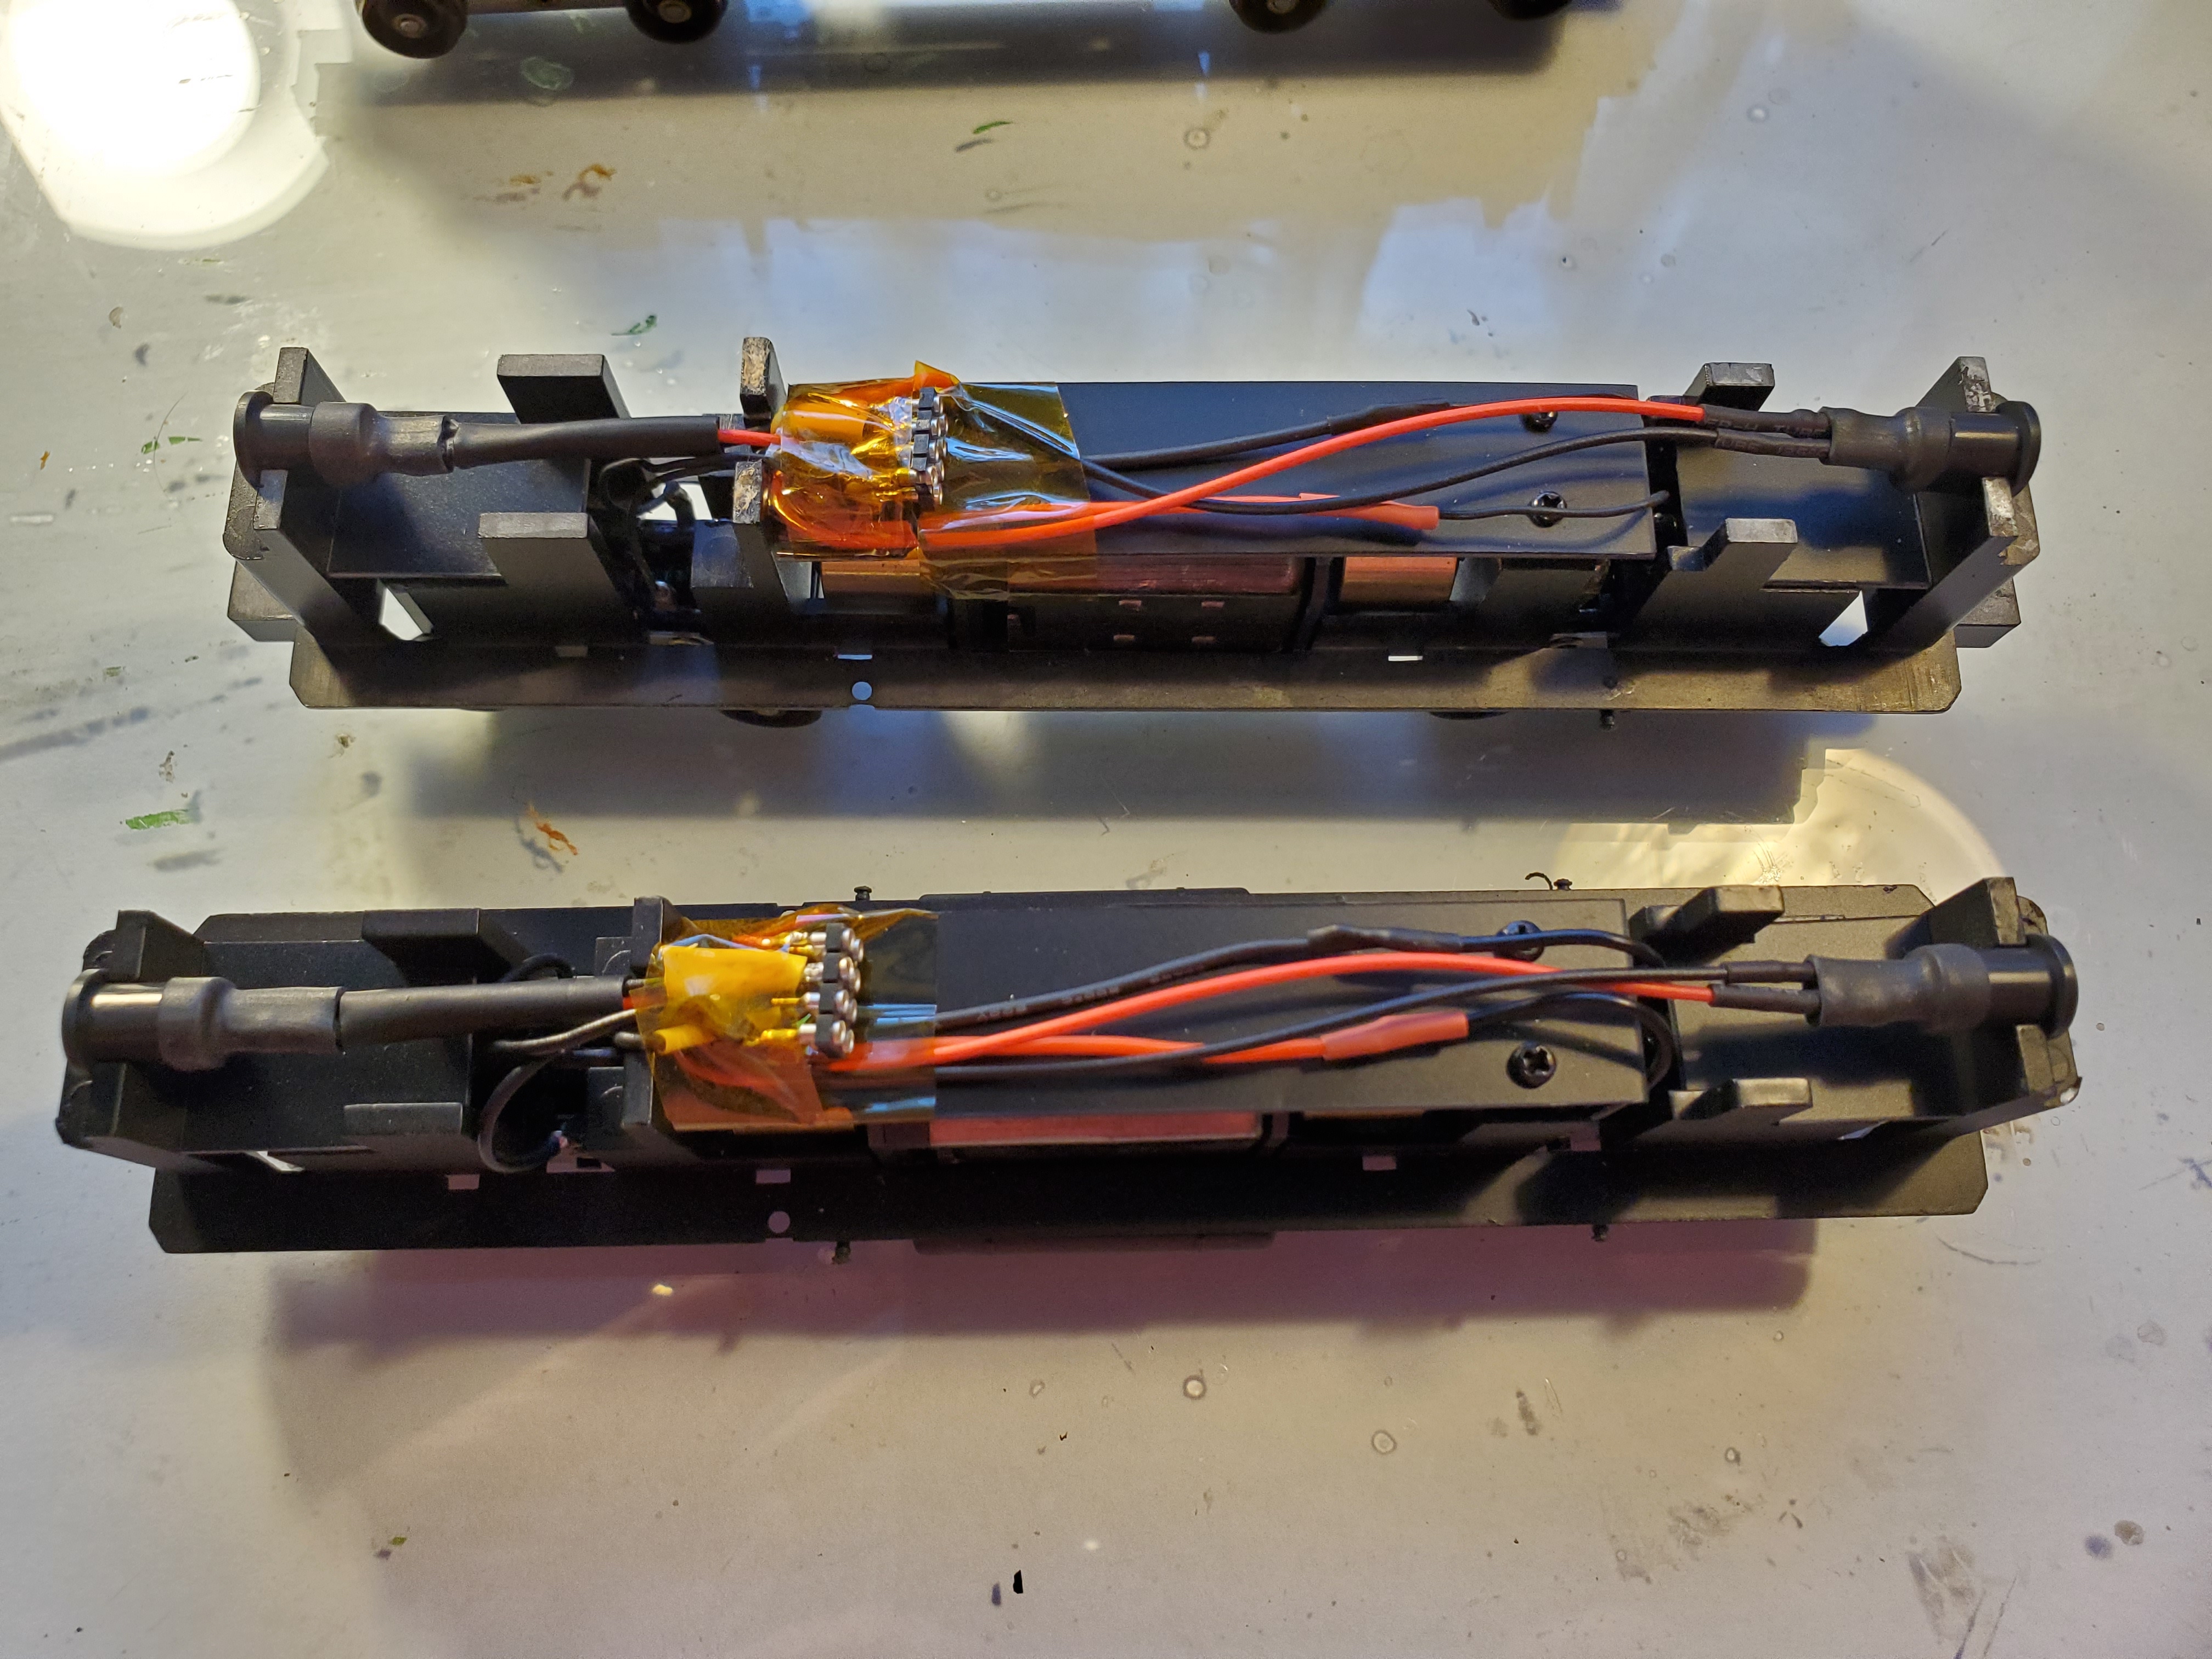
A small piece of black styrene can also be friction fit to snap into the area above the grear towers. These pieces of styrene hold the sugar cube speaker and keep alive capacitor and just fit under the wiring for the lighting. The bulb holder snaps out and the styrene can be removed. I like keeping them removable so the whole locomotive can be cleaned, and serviced as needed. With careful cutting, fiting and filing I’ve had no problem with them staying in place.
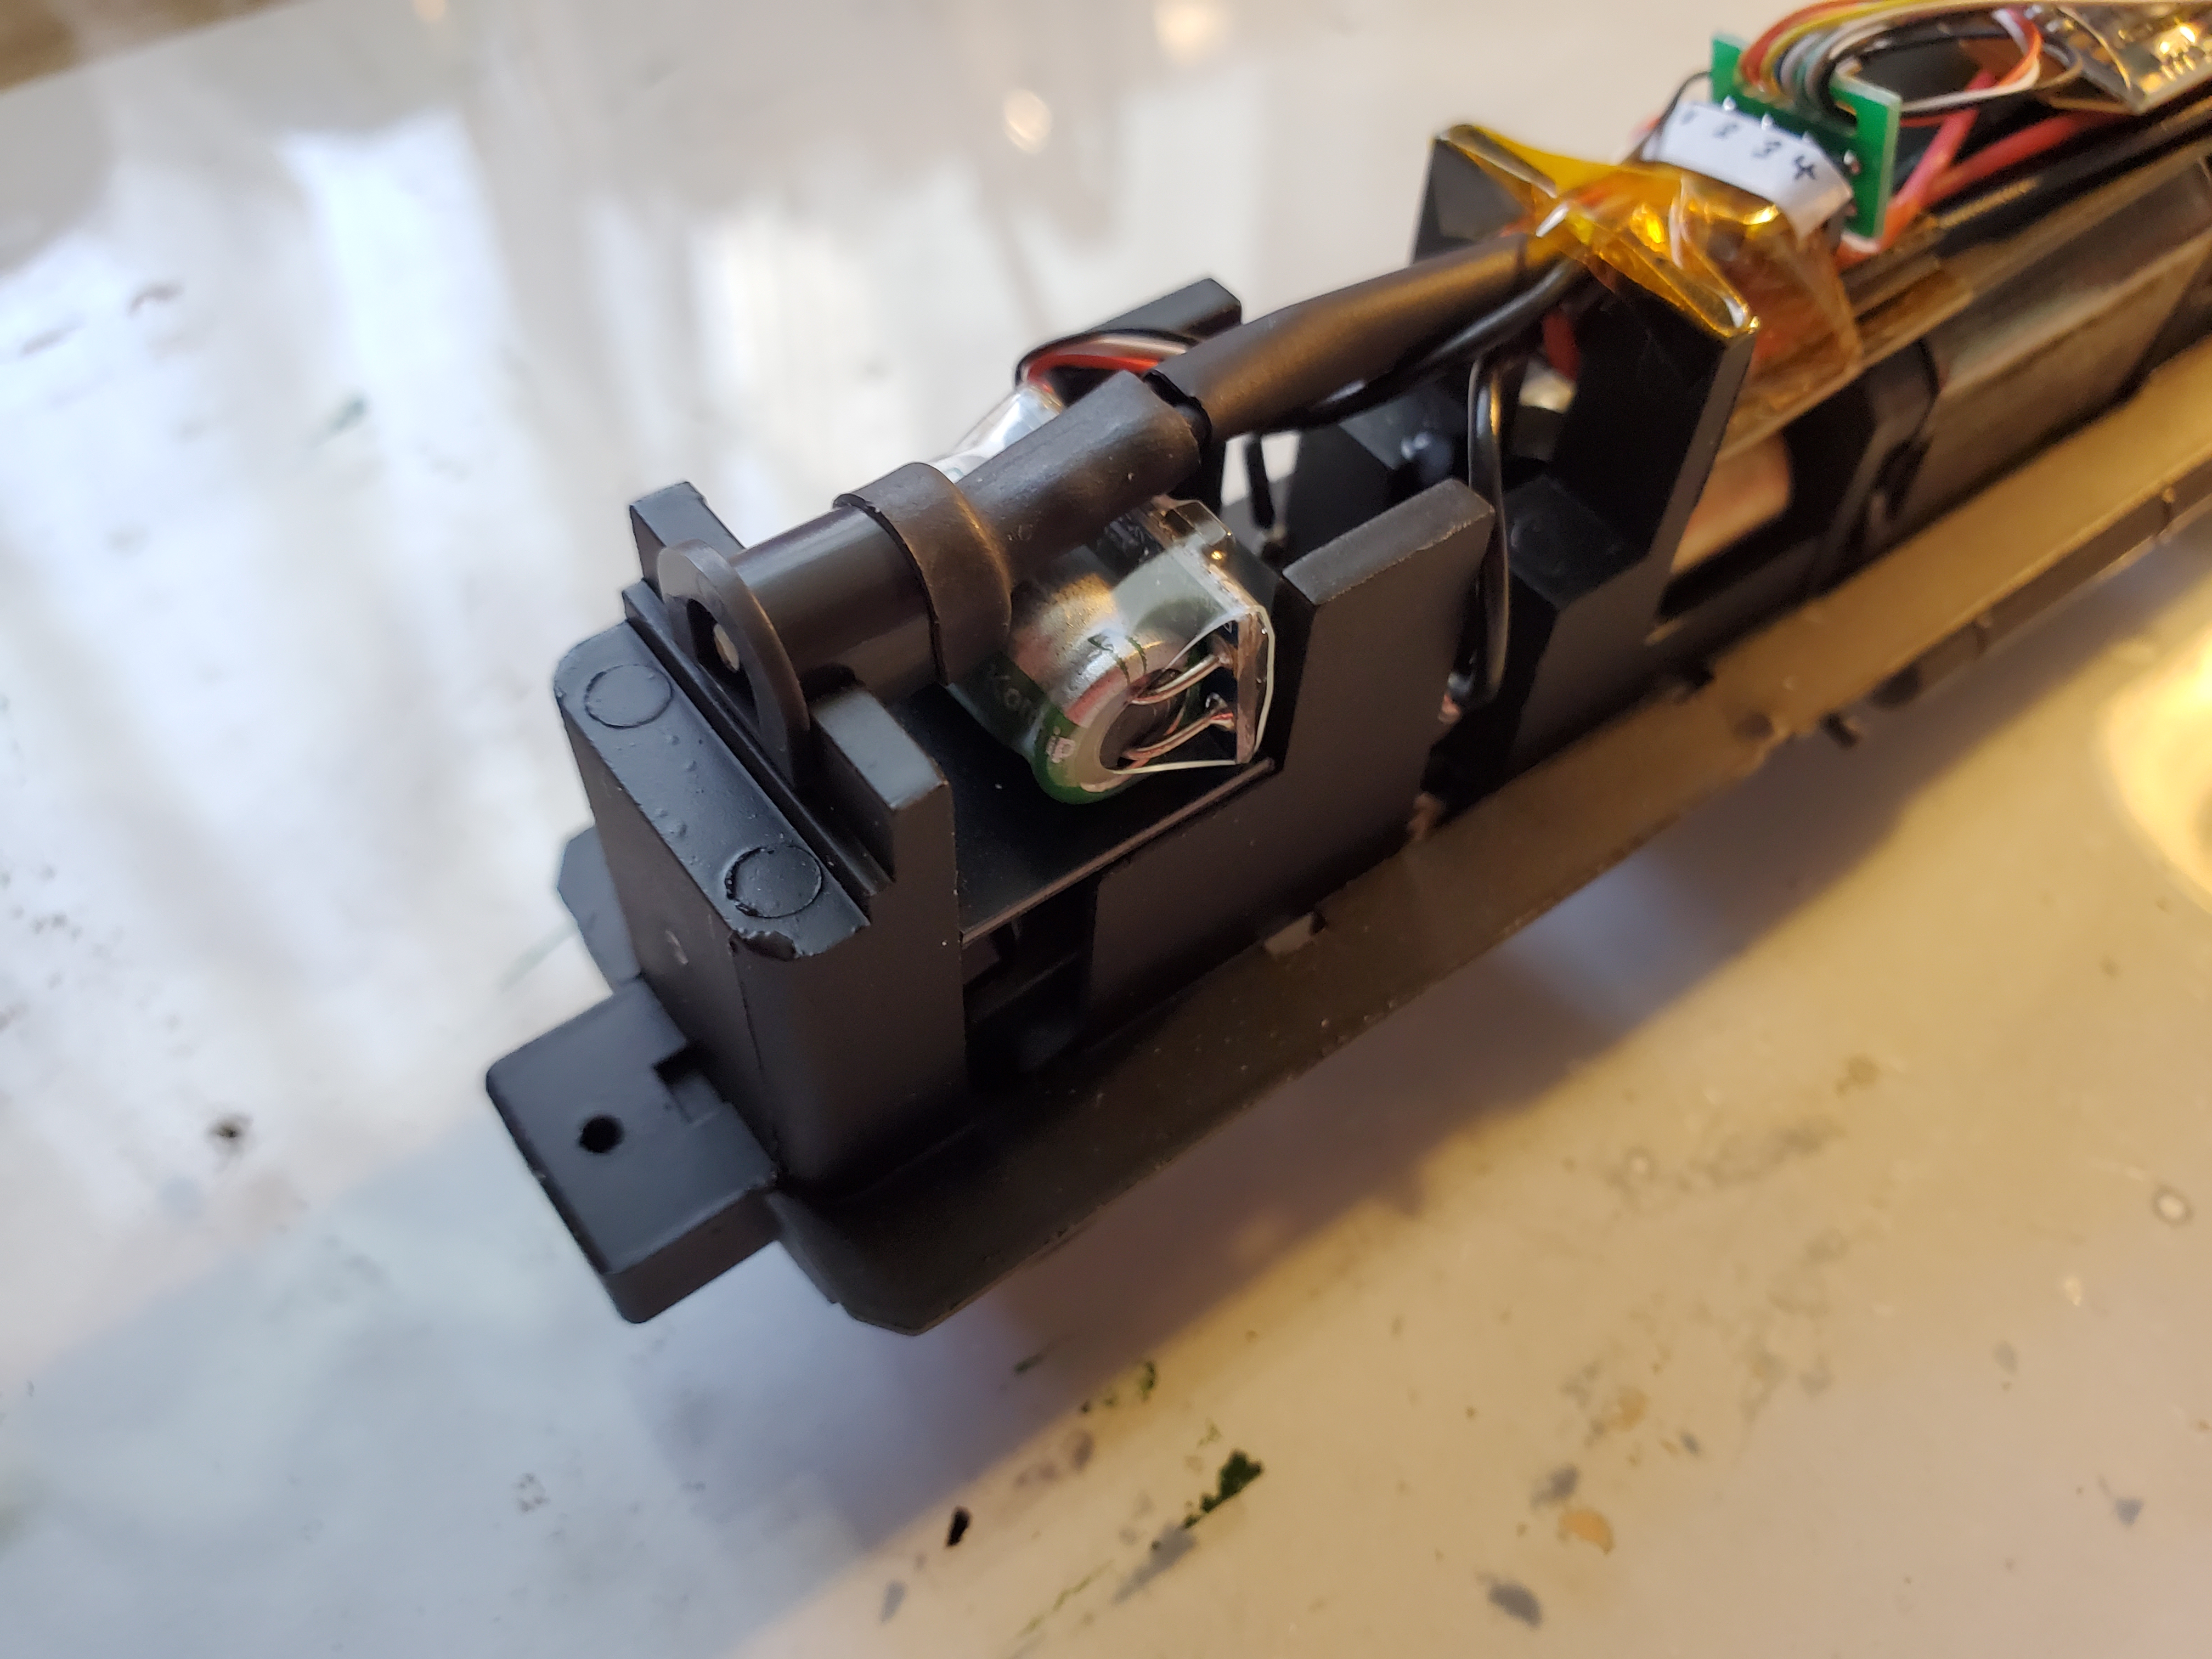
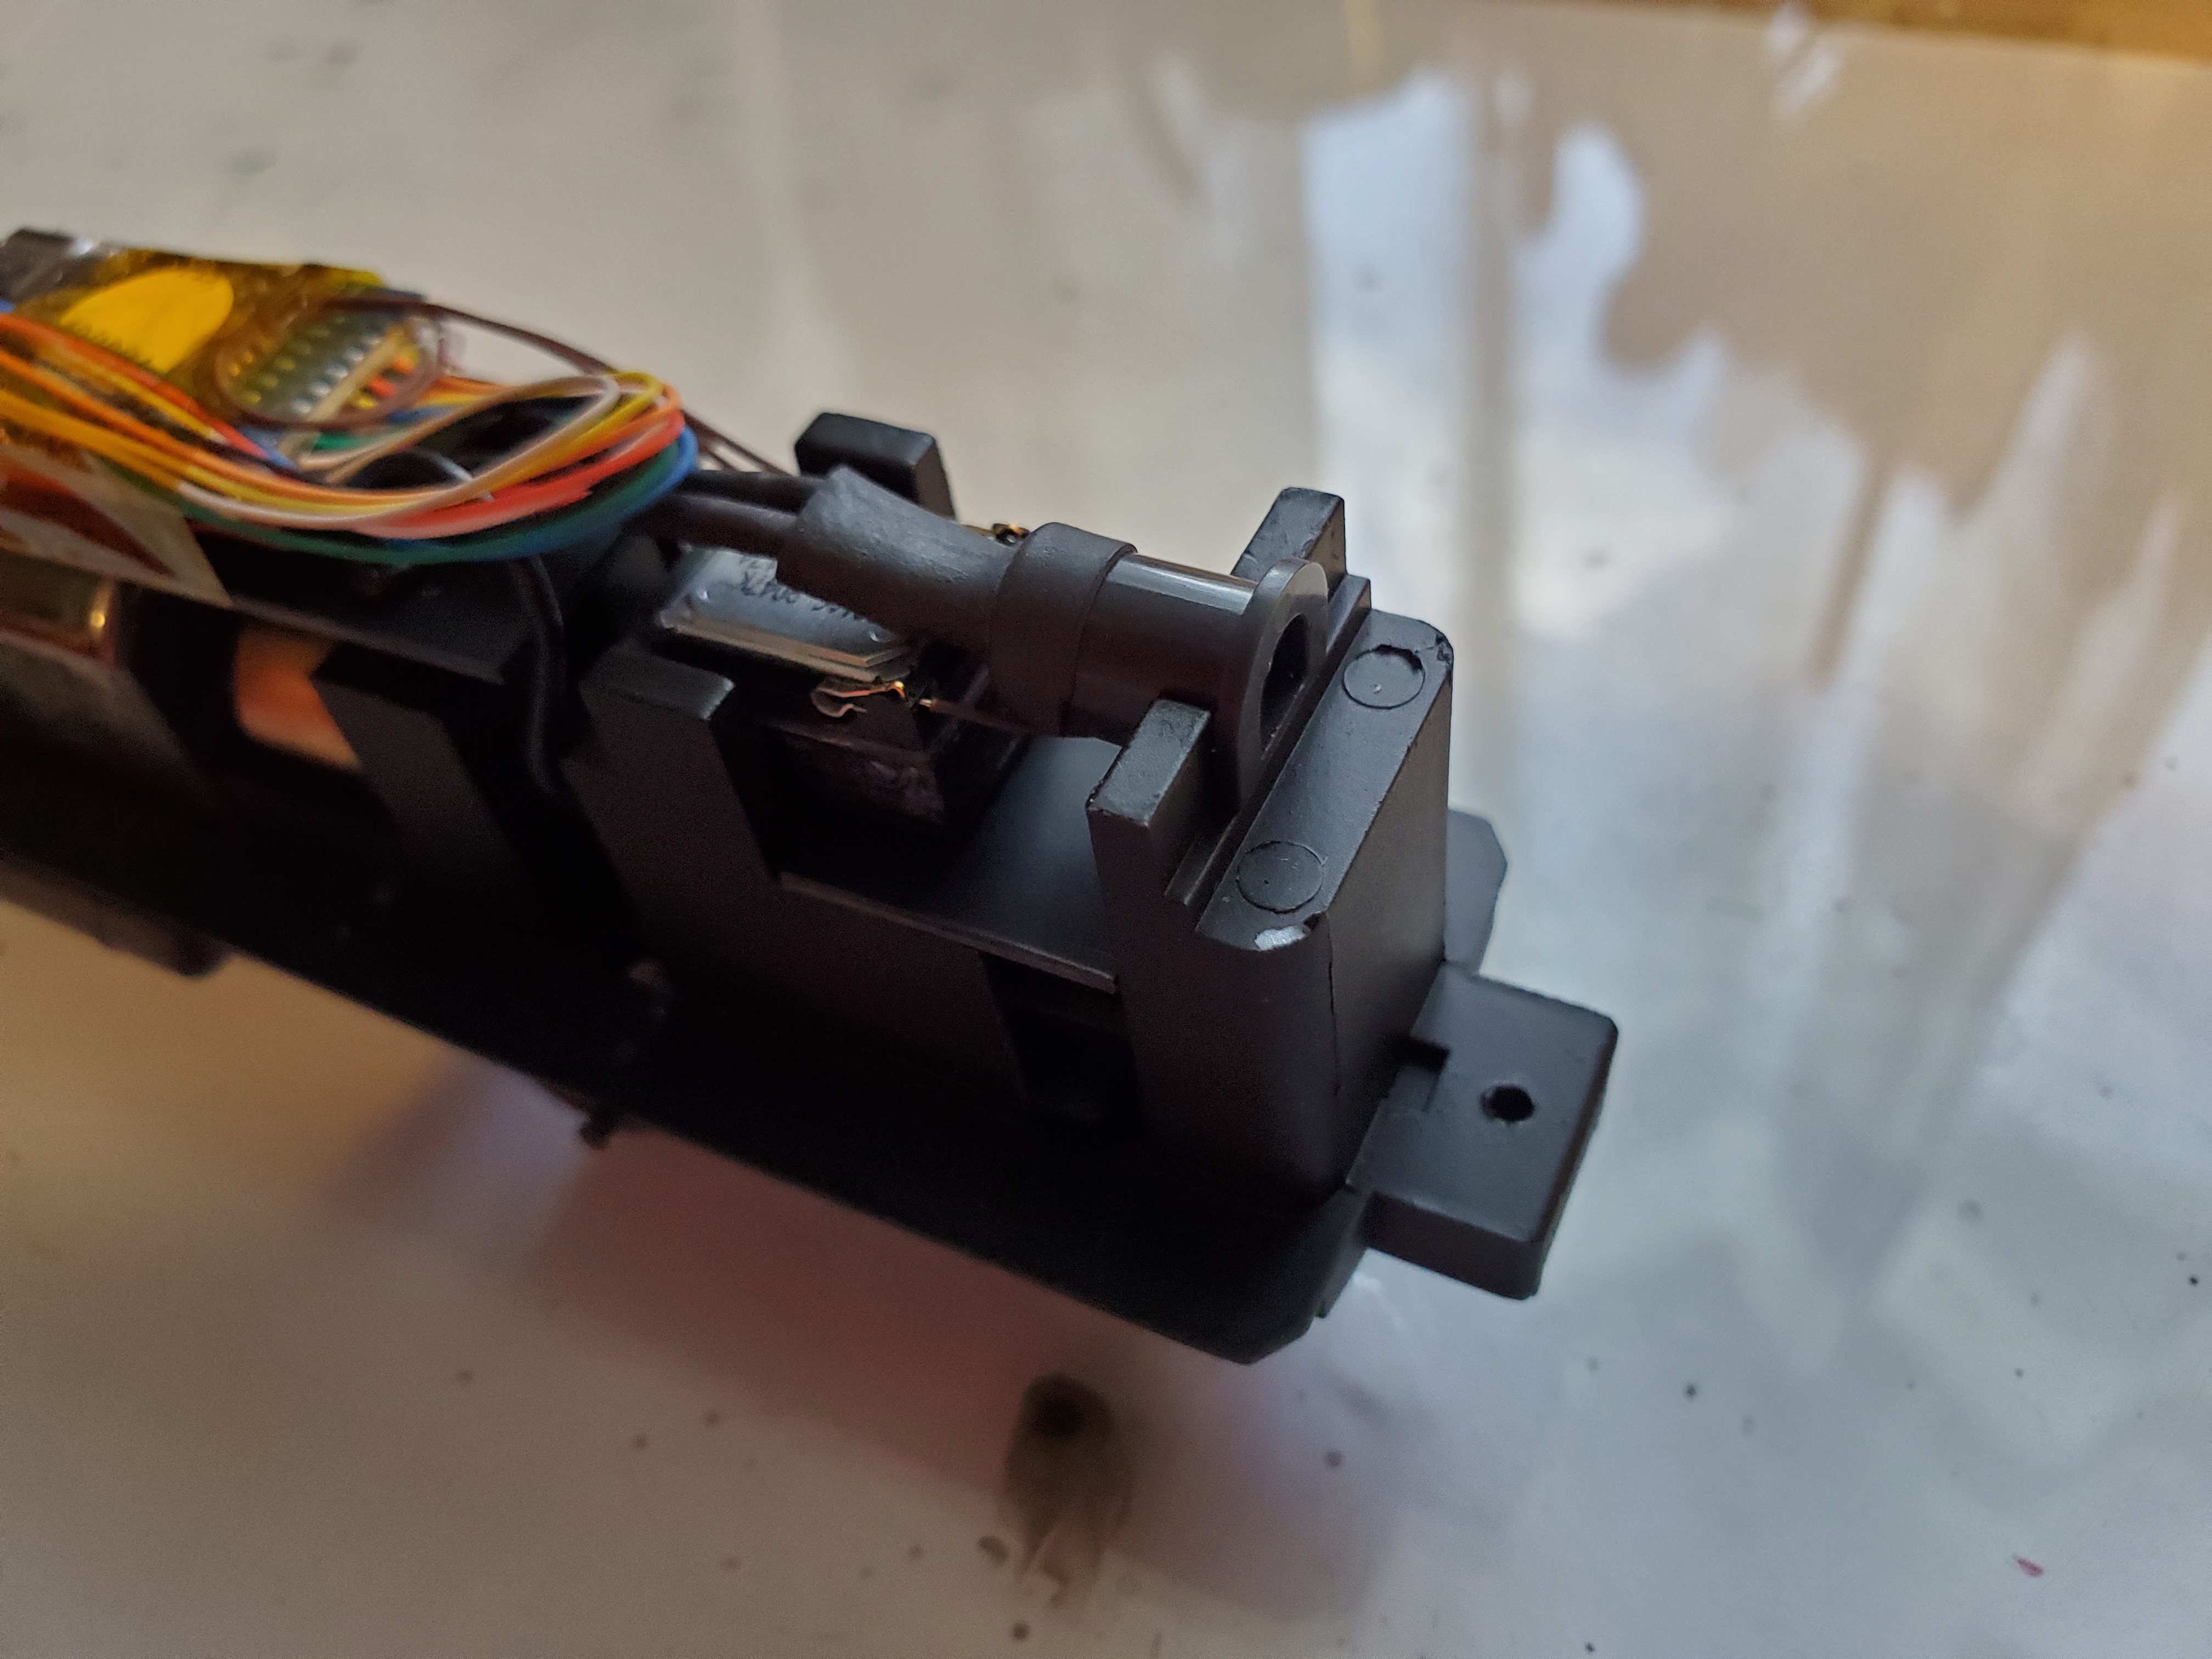
The sound file was a combination of prime mover sounds from the ESU website. I used their editor to put them together. Here is a direct link to the sound file: https://drive.google.com/file/d/1oxLmwysxo_xsS41Reo0q4mWz1_DRZZ4a/view?usp=sharing
Weathering
With the shell and chassis ready the locomotive is ready for weathering. In the photo of the full size 8560 at little current yard the locomotive is pretty new. I plan to lightly weather this model so it doesn’t look toy like but keep it fairly new looking.
Trucks and fuel tank are painted Tamiya Rubber Black from a aerosol can. I added 40 link per inch chains to the trucks near the break wheel but didn’t run the chain to the body as it would affect how the chassis and shell fit and I like to be able to dissasemble and service my models. I brushed dust coloured powdered chalk on the trucks and fuel tank.
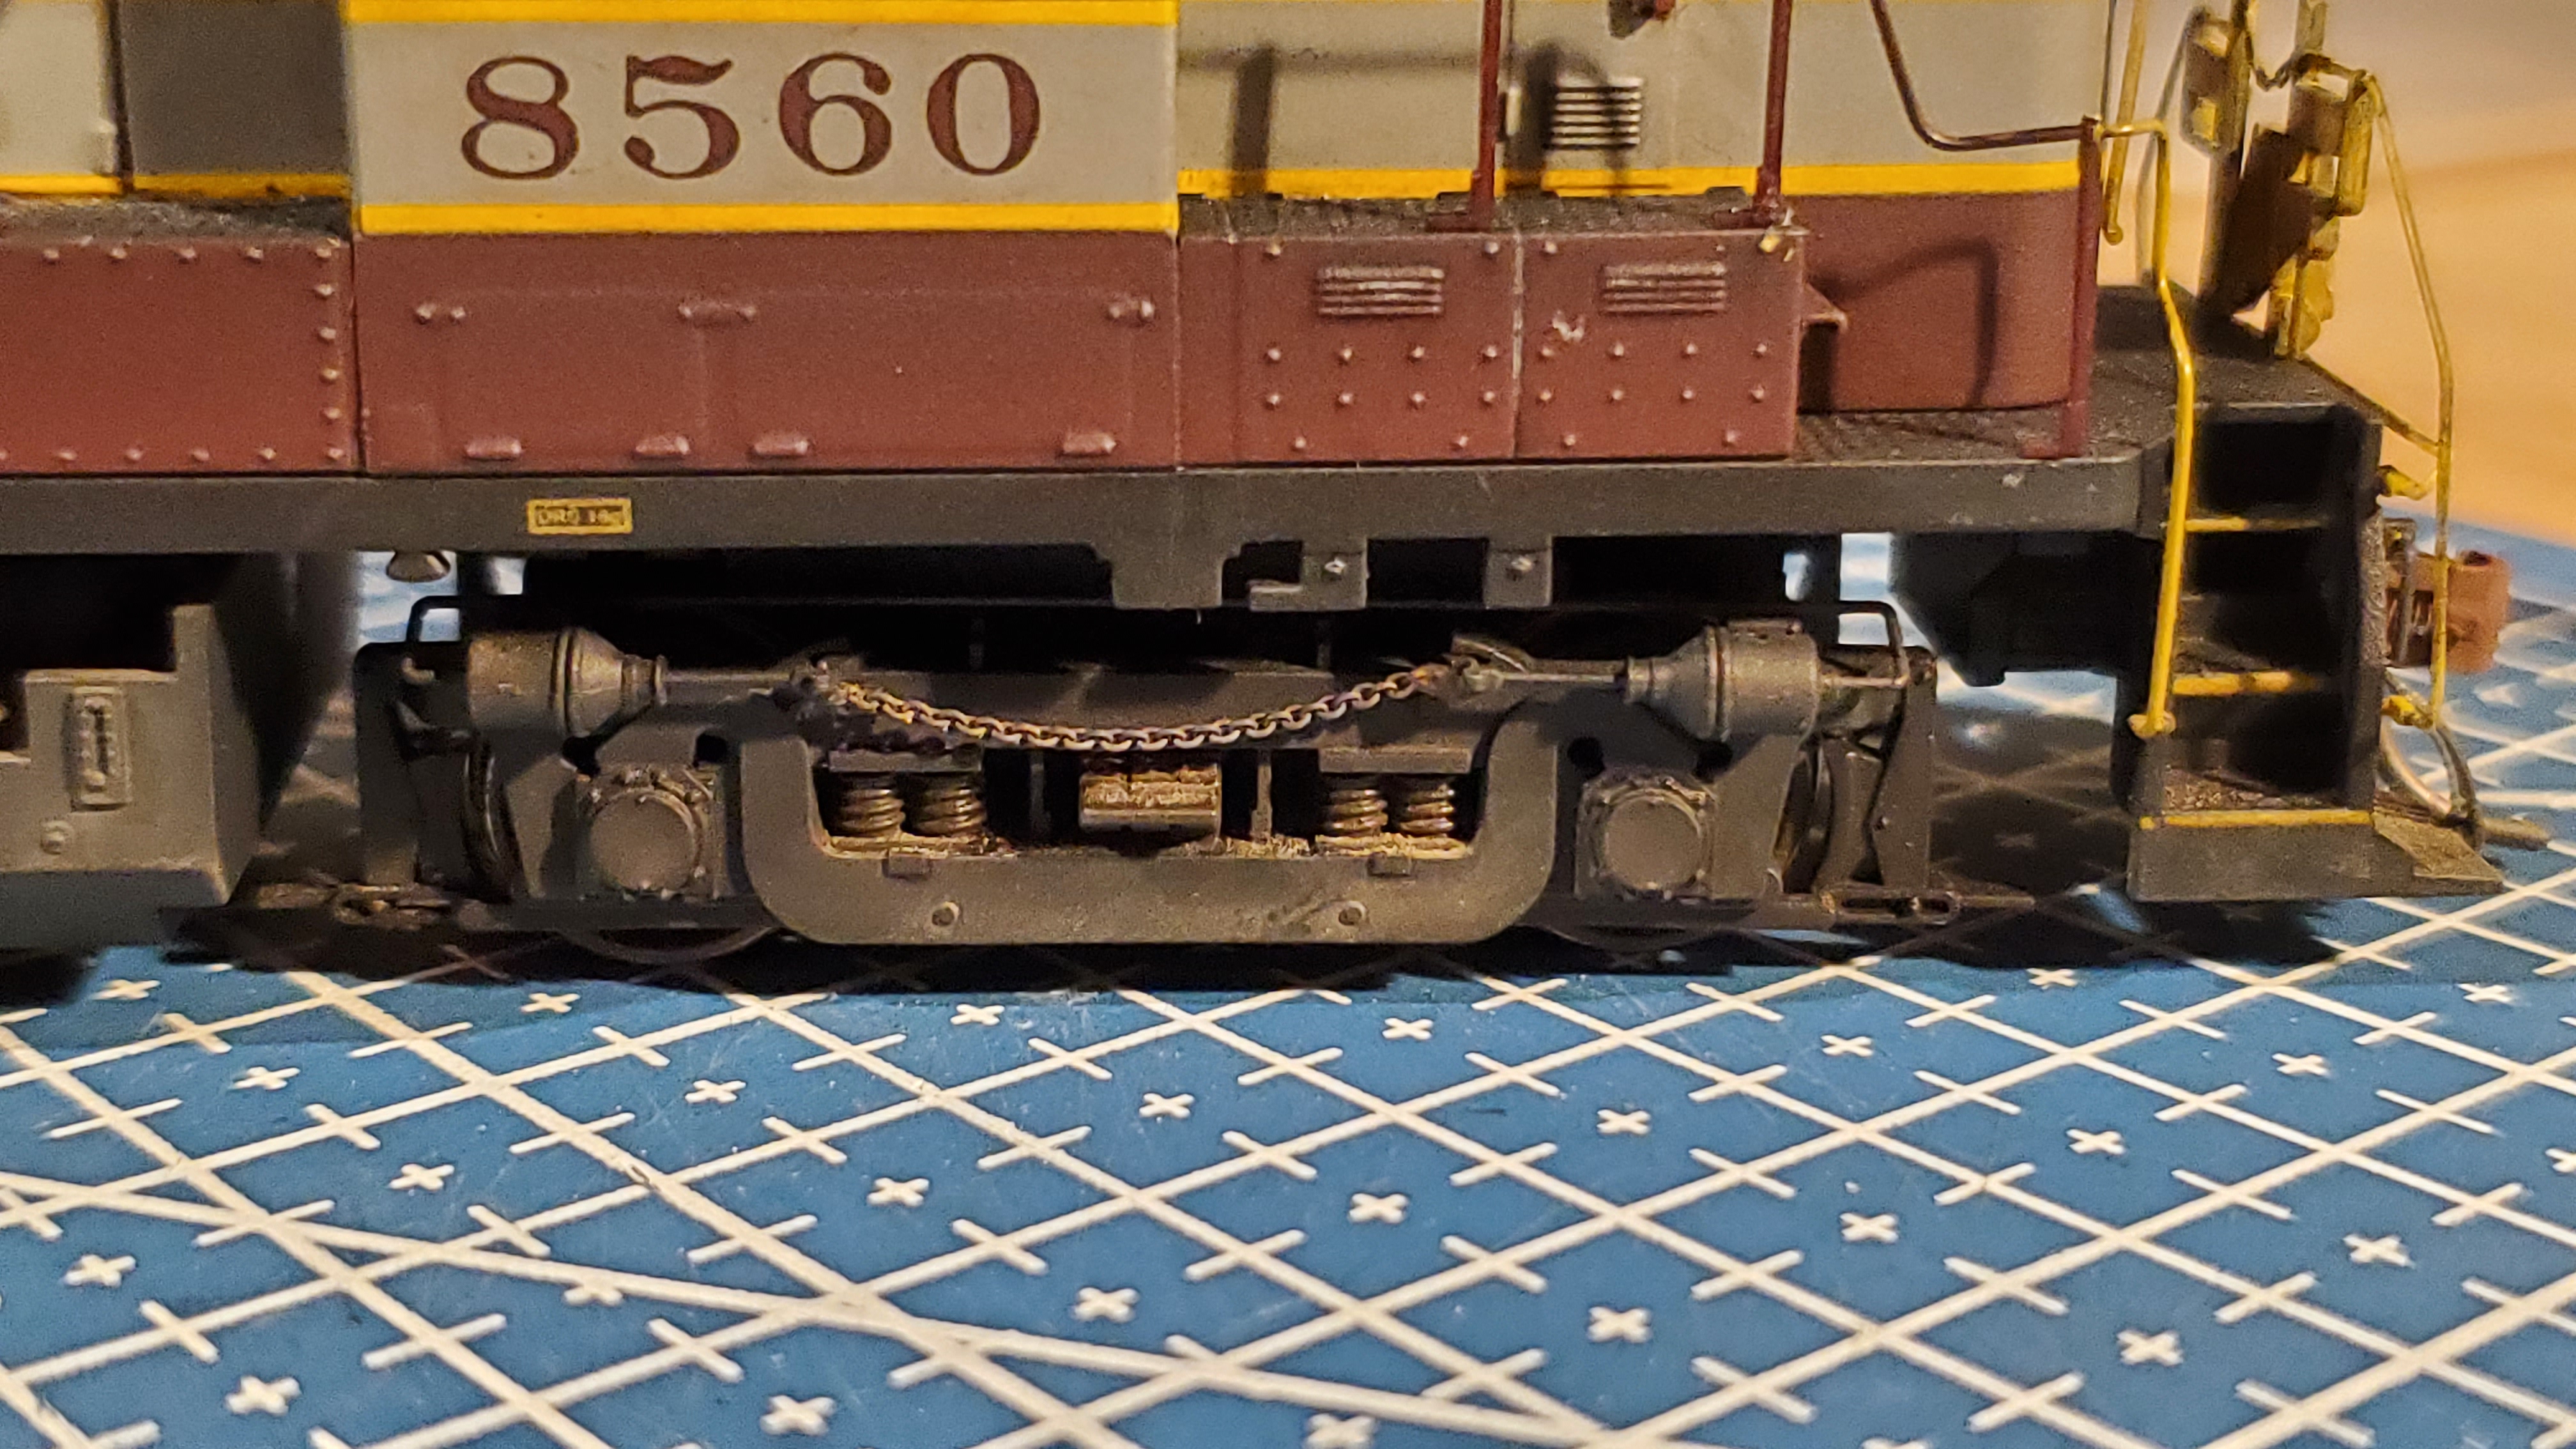
The shell was gloss coated and panel lined lightly with Tamiya black and brown panel liner. Sometimes I use oil paints with the gloss coat instead because they dry slower but I like the how the Tamiya panel liner flows in details, I prefer the oil paints for heavier streaks.
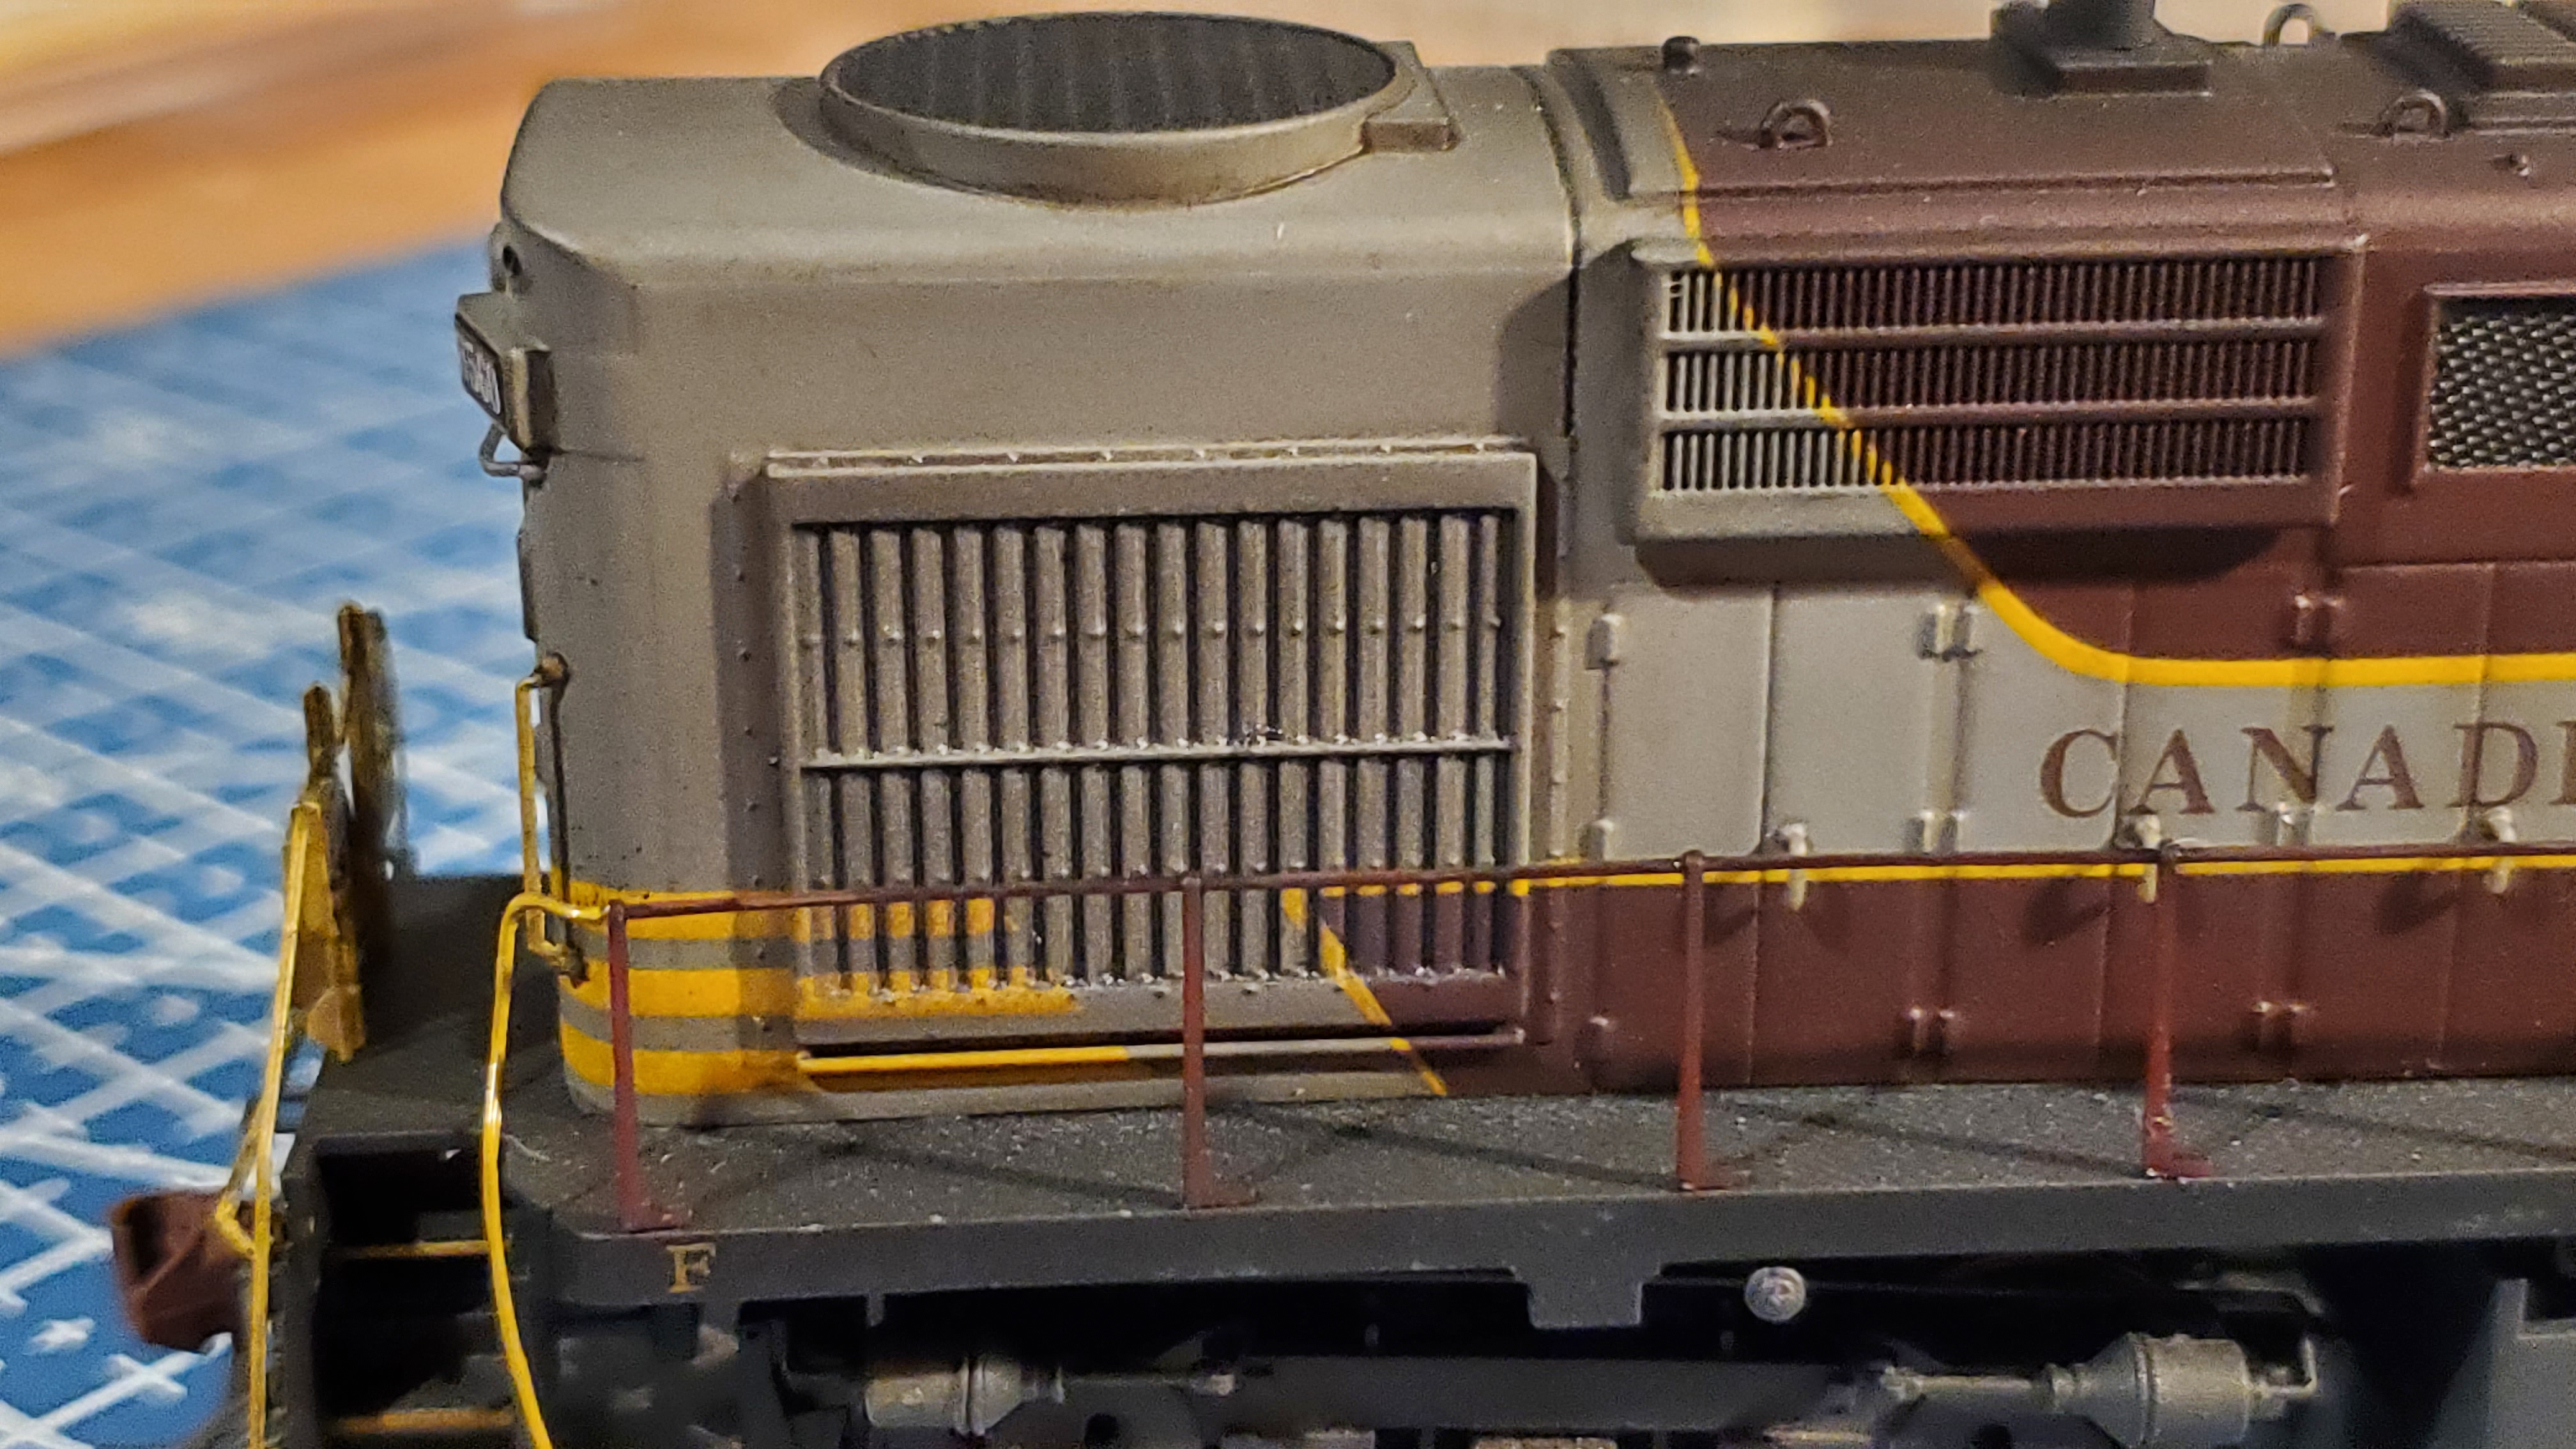
The locomotive shell was coated with a clear dull laquer and I airbushed a thinned black control coat over the whole model to tone down some of the colours, especially the yellow. I sealed the control coat with a clear dull laquer and then then dust and exhaust marks was added using grey and black powdered pastels. I work slowly in layers bulding up the effect. Any mistakes can be removed with a damp cotton swab. When I’m happy the whole model was sealed with a dull clear laquer and reassembled.
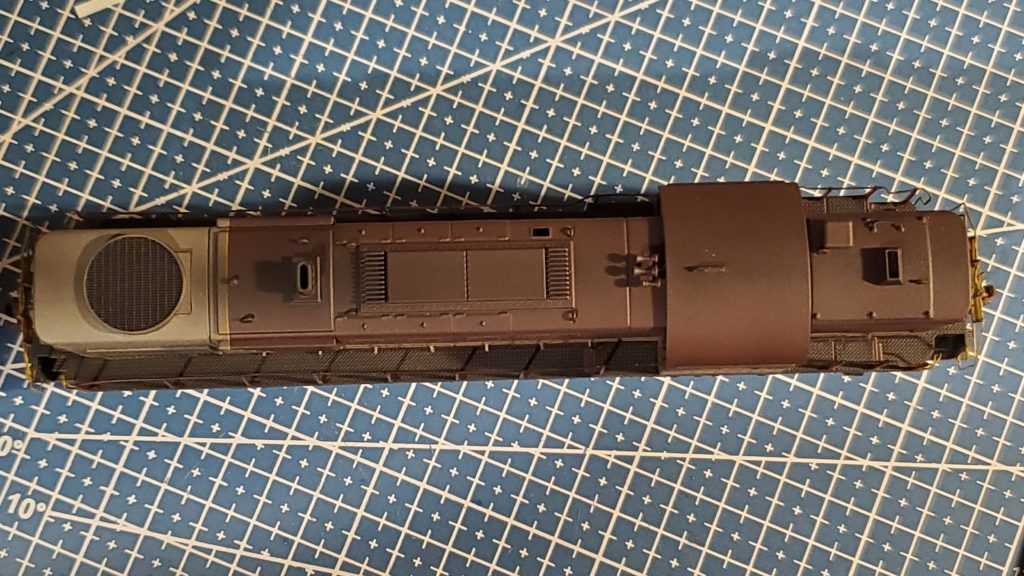
Here is a quick shot of the locomotive on my test track, ready for service at Little Current. I have a few other RS-10 models to finish up including another important regular in Little Current. More to come soon.
