Ballasting track is one of those scenery steps things that really helps make a model railway look complete. I always enjoy the finished results but it can be tedious and I need to hold off on some areas of the layout until I have constructed all of the structures I need (just in case I need to change the track location). Below is the process I used to do the base ballasting to construct the layout including the mistakes I made and how I fixed them. Once I have the full layout ballasted I will go back and add heavier weathering so I can apply it consistently across the whole yard. A lot of what I share on this site allows me to go back so I can remember what I did for the next module and follow the same steps.
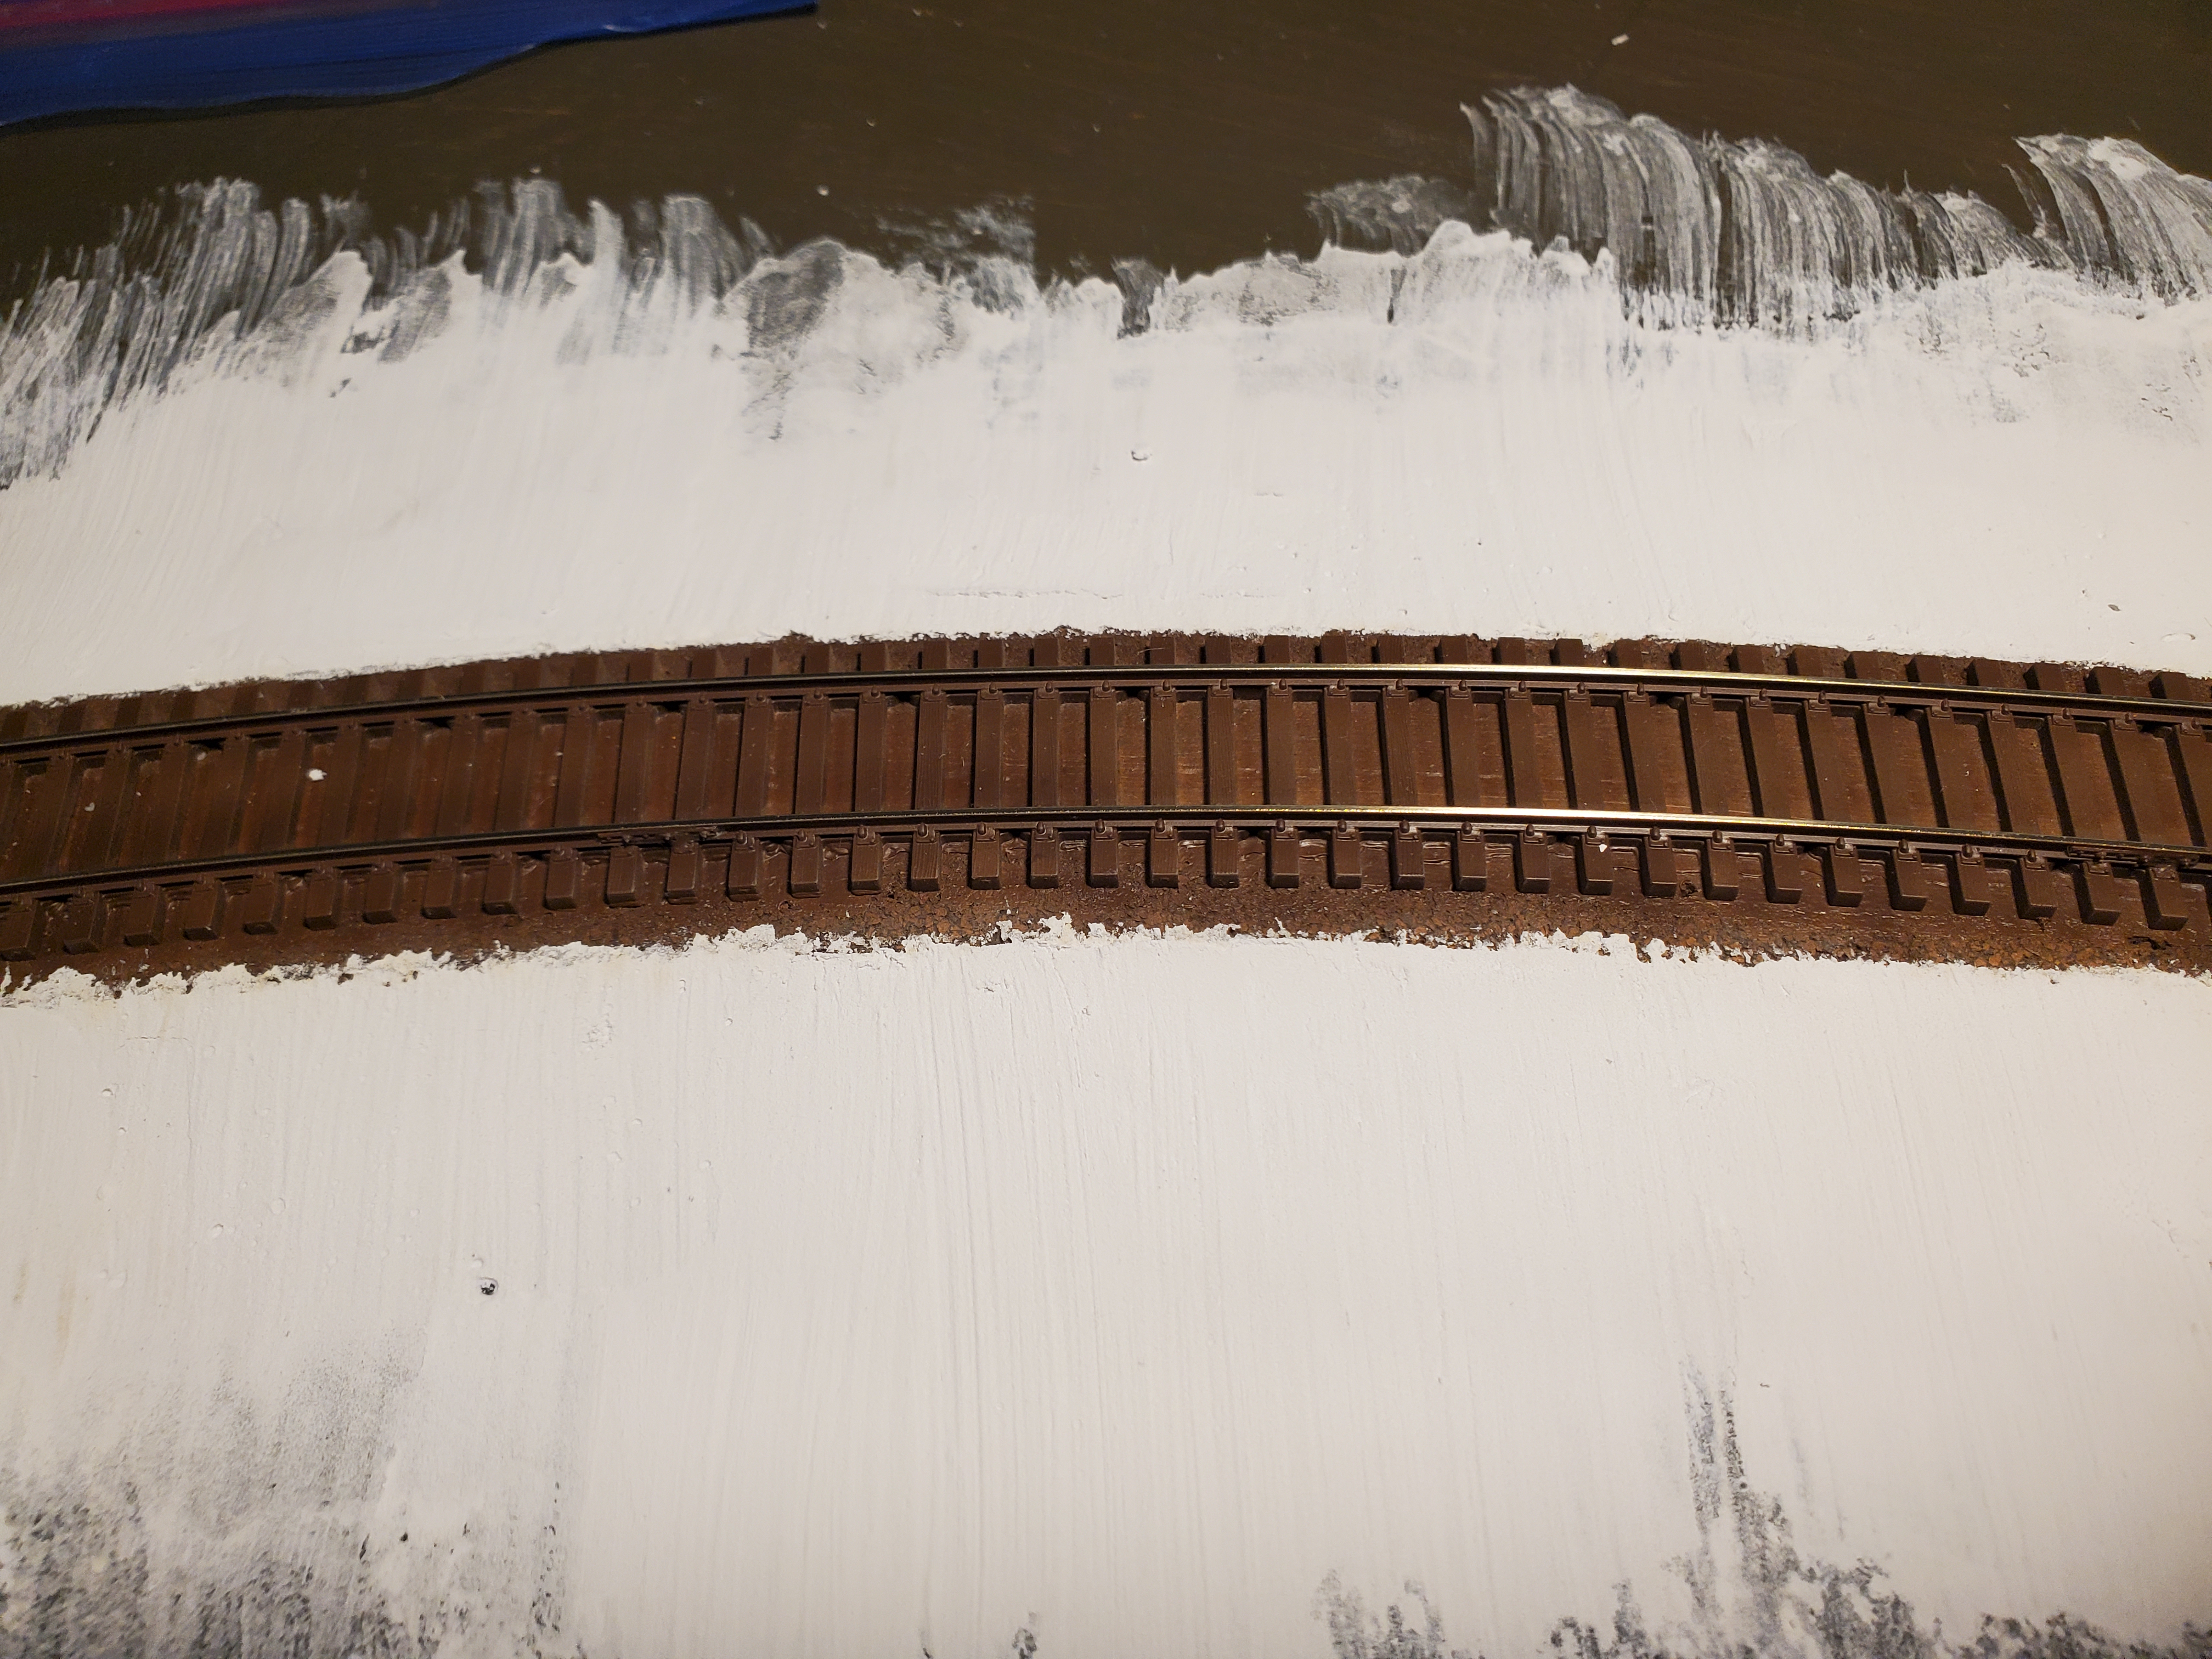
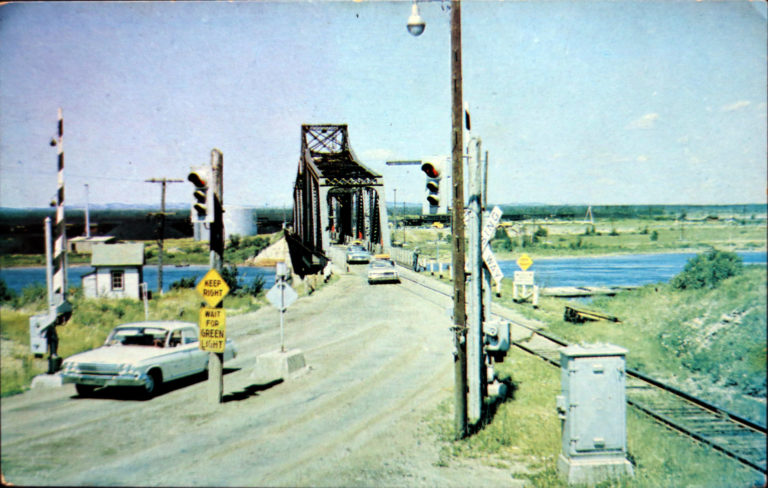
I laid code 83 track on 5mm cork and wired everything up and painted the track with solvent based Tru Colour Railway Tie Brown when I made the 3 modules for this layout. This yard has been around since about 1913. Early photos show a fairly defined and raised roadbed but over time between work in and around the tracks and natural growth the tracks don’t seem to stand very high above the landscape. From the photos I see in the 1950’s the tracks in Little Current don’t have that much of a raised roadbed. I probably should have installed the track on cork no more than 3mm tall but everything is glued and wired in at this point. To feather in the height I used 3M Patch Plus Primer hole repair Kit for drywall. I like this product because it can be put on 5mm thick without cracks and smooths well with a wet paint brush.
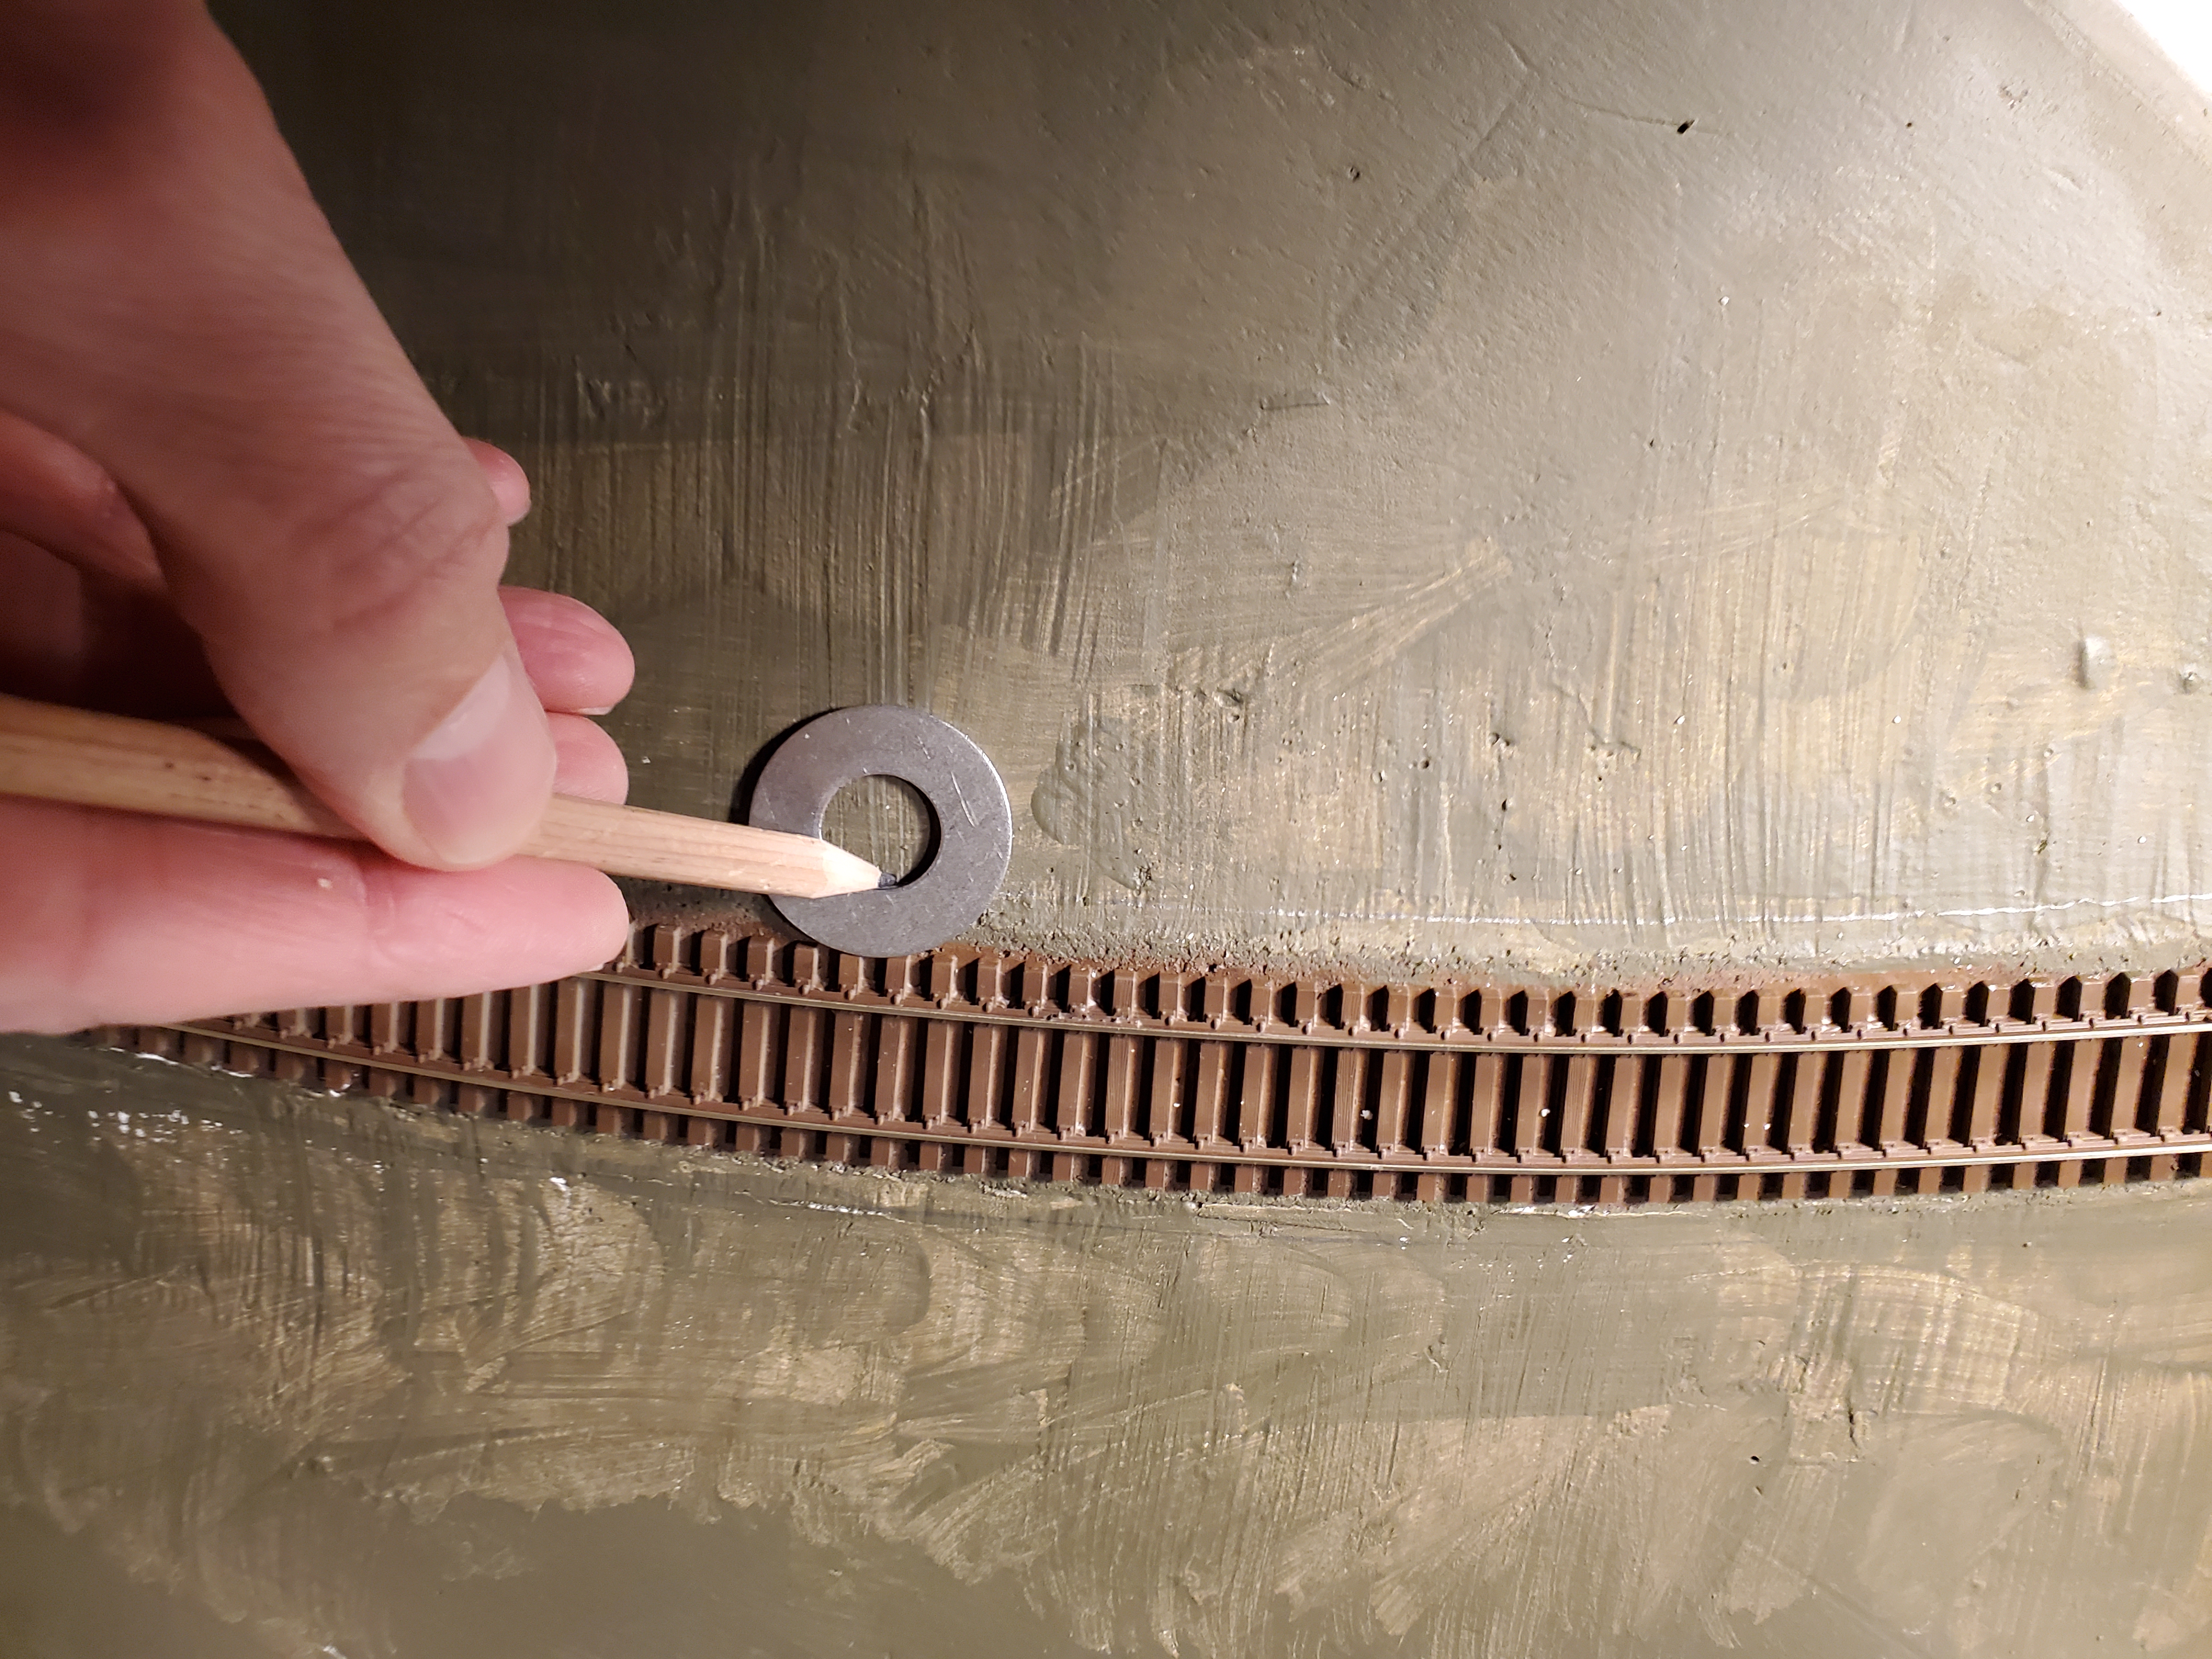
Once the 3M Patch Plus Primer had dried I painted it the same Benjamin Moore 2138-20 Green Grove colour. Using a washer as a spacer, I traced where the edge of where I’d like the ballast to be.
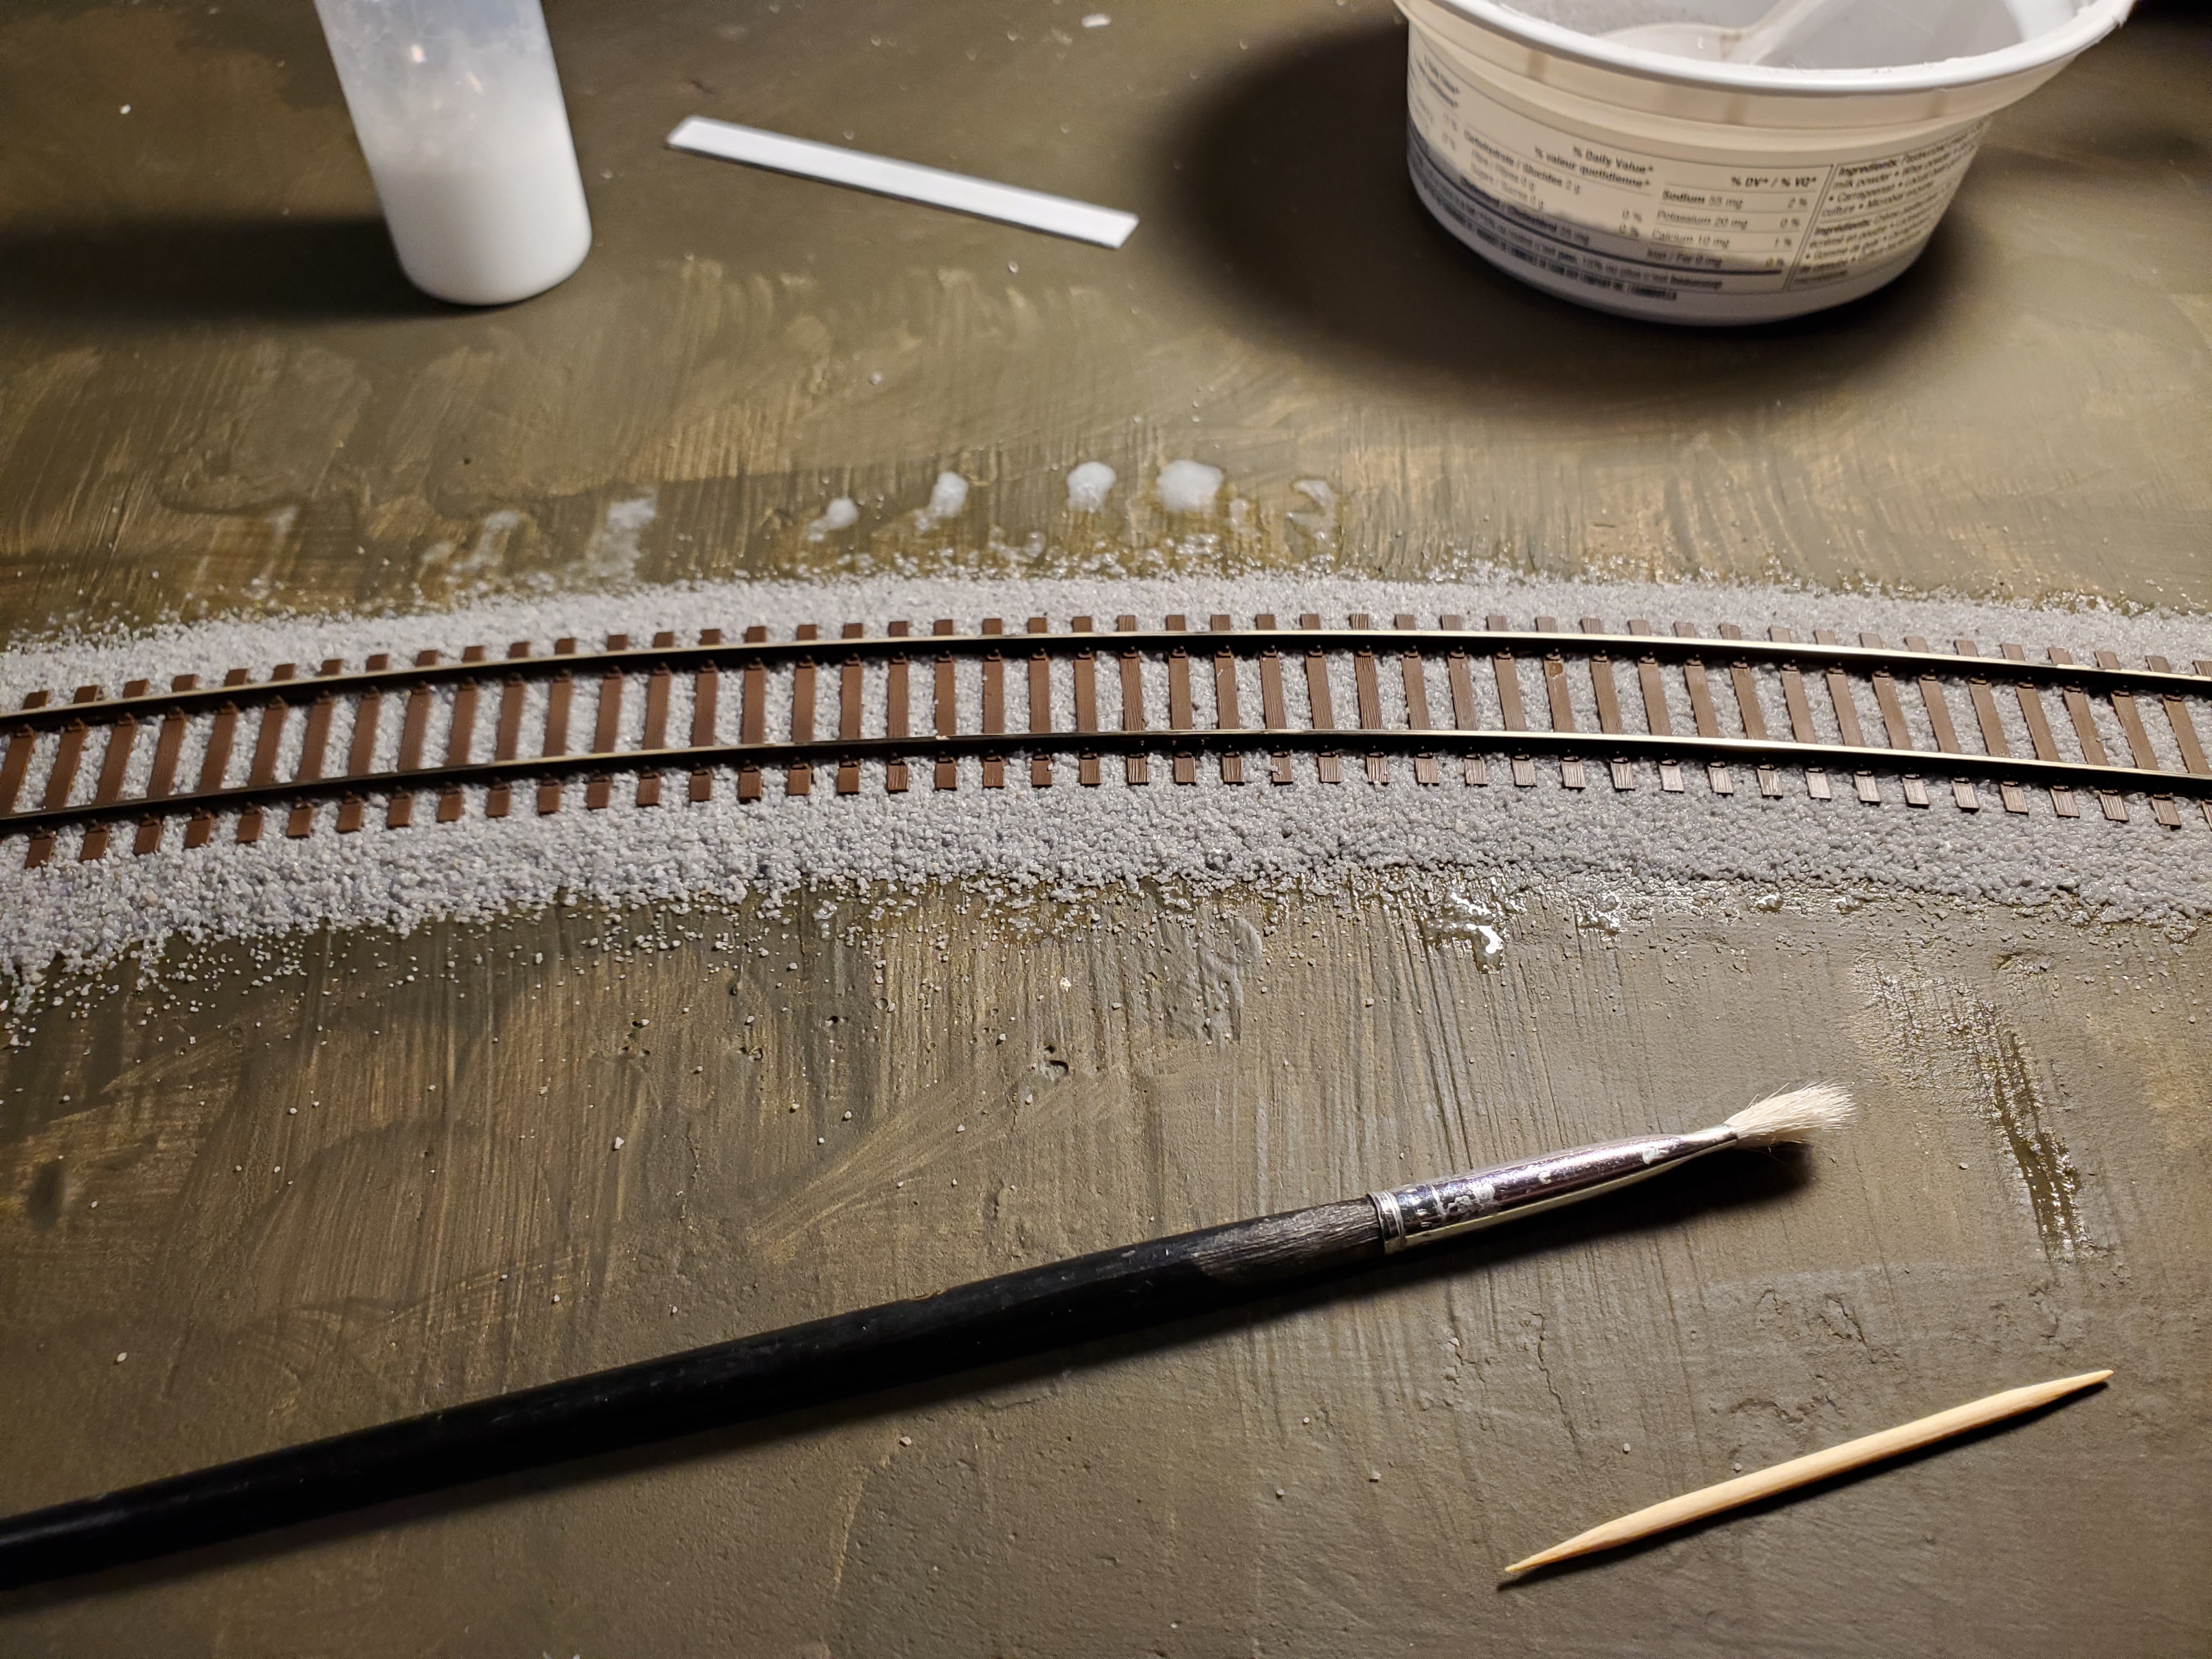
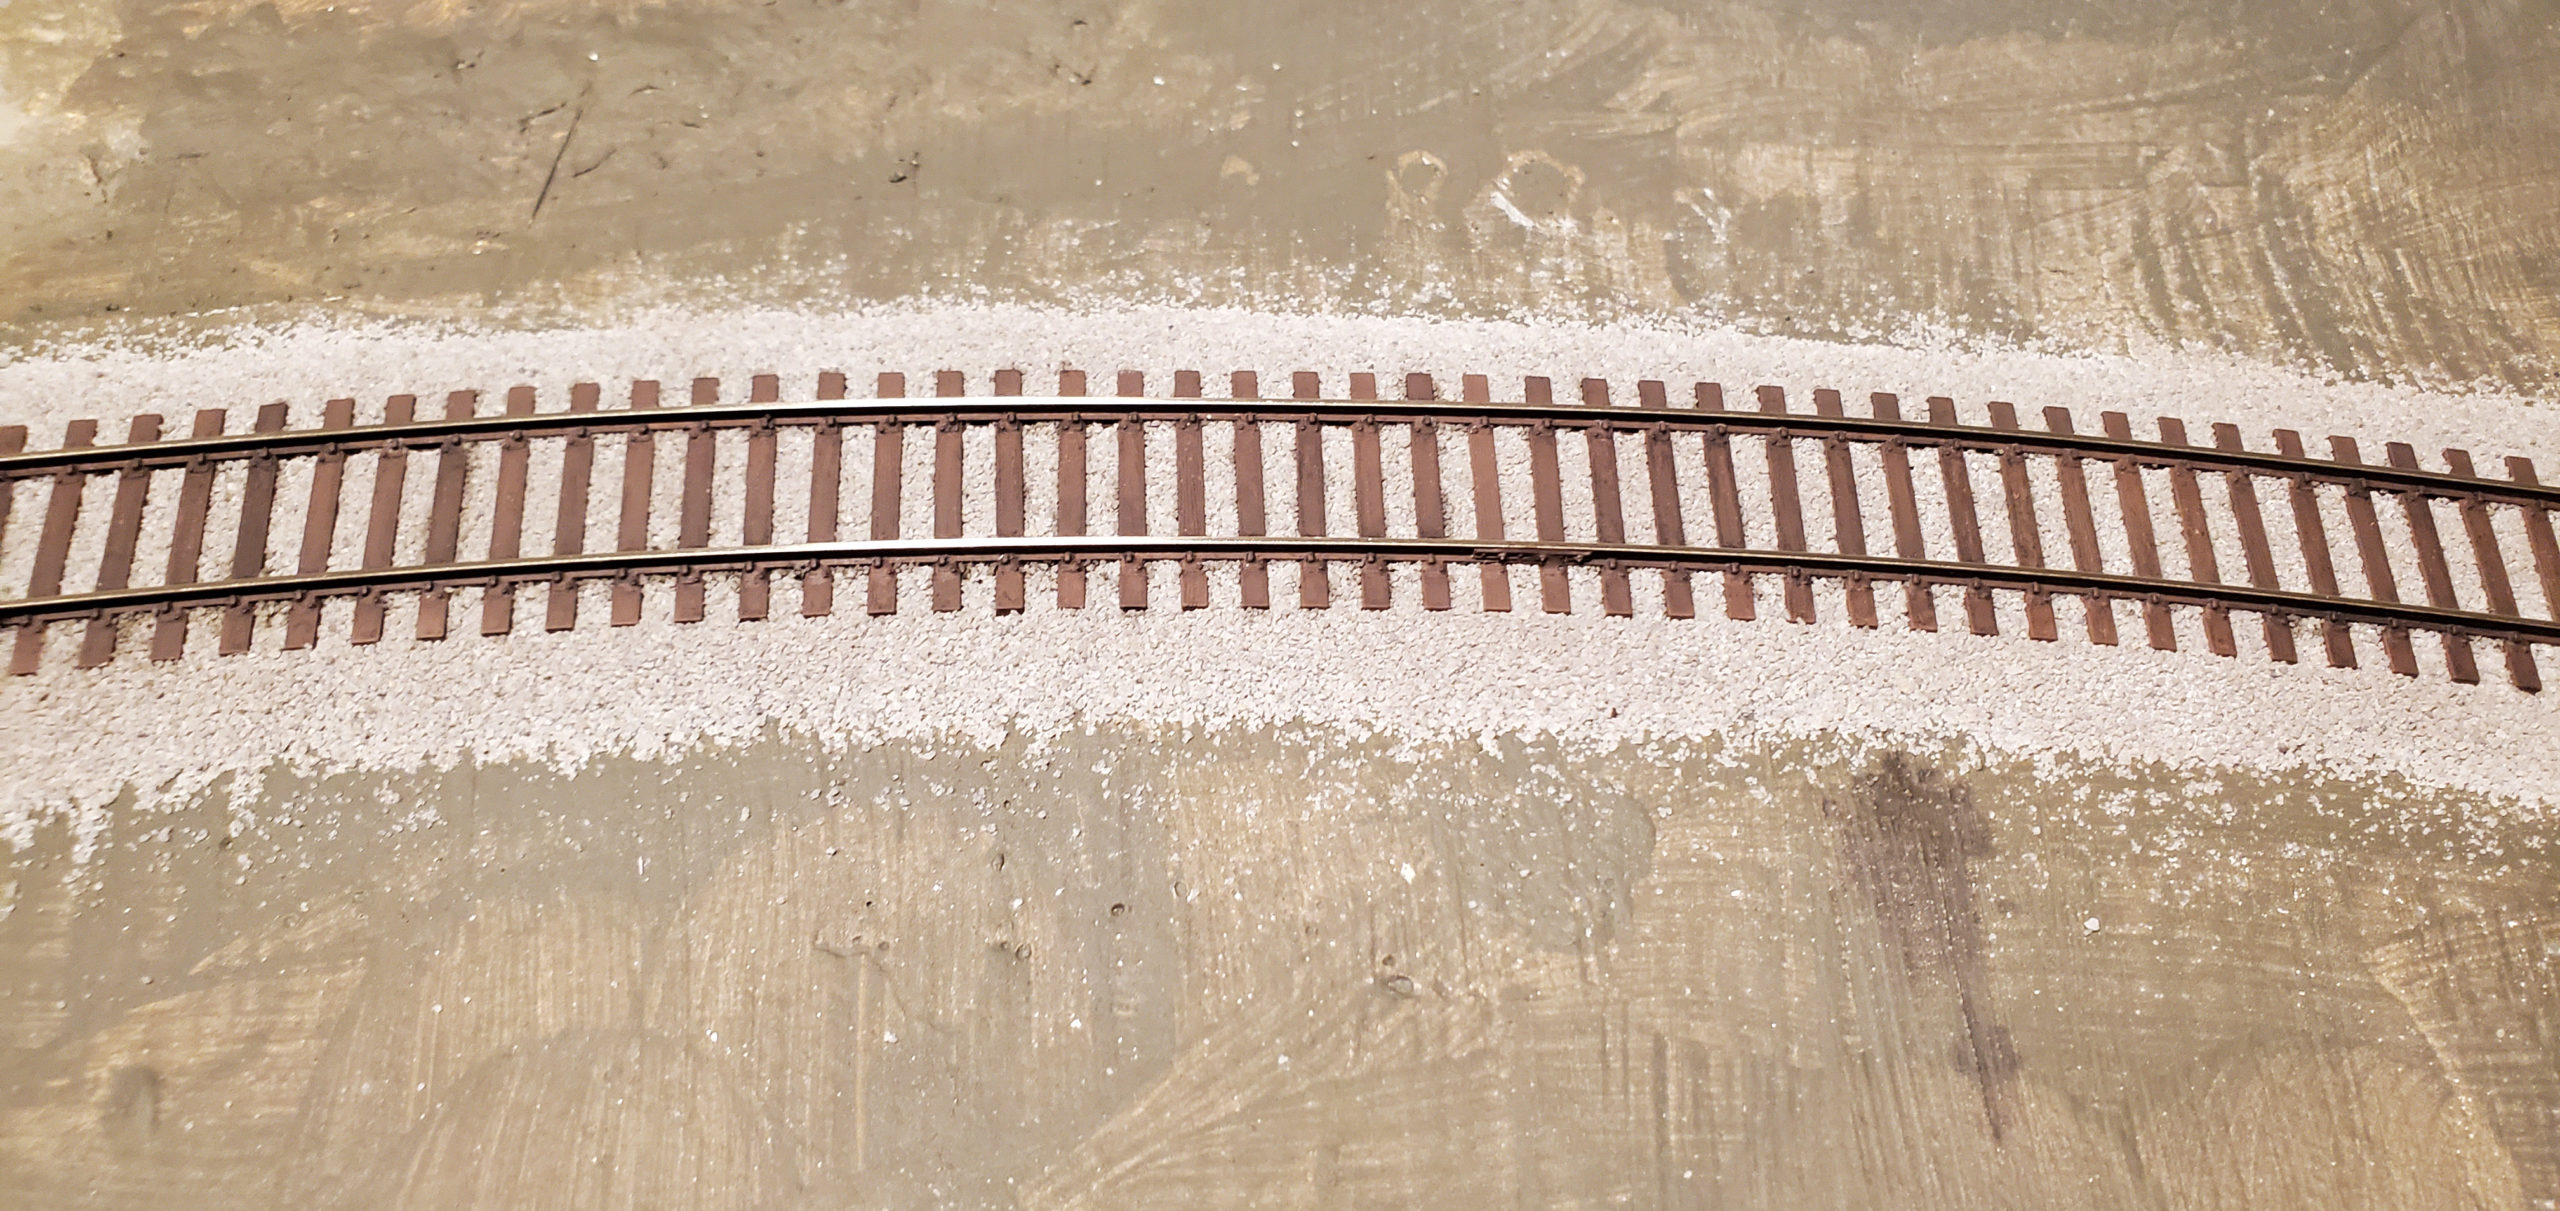
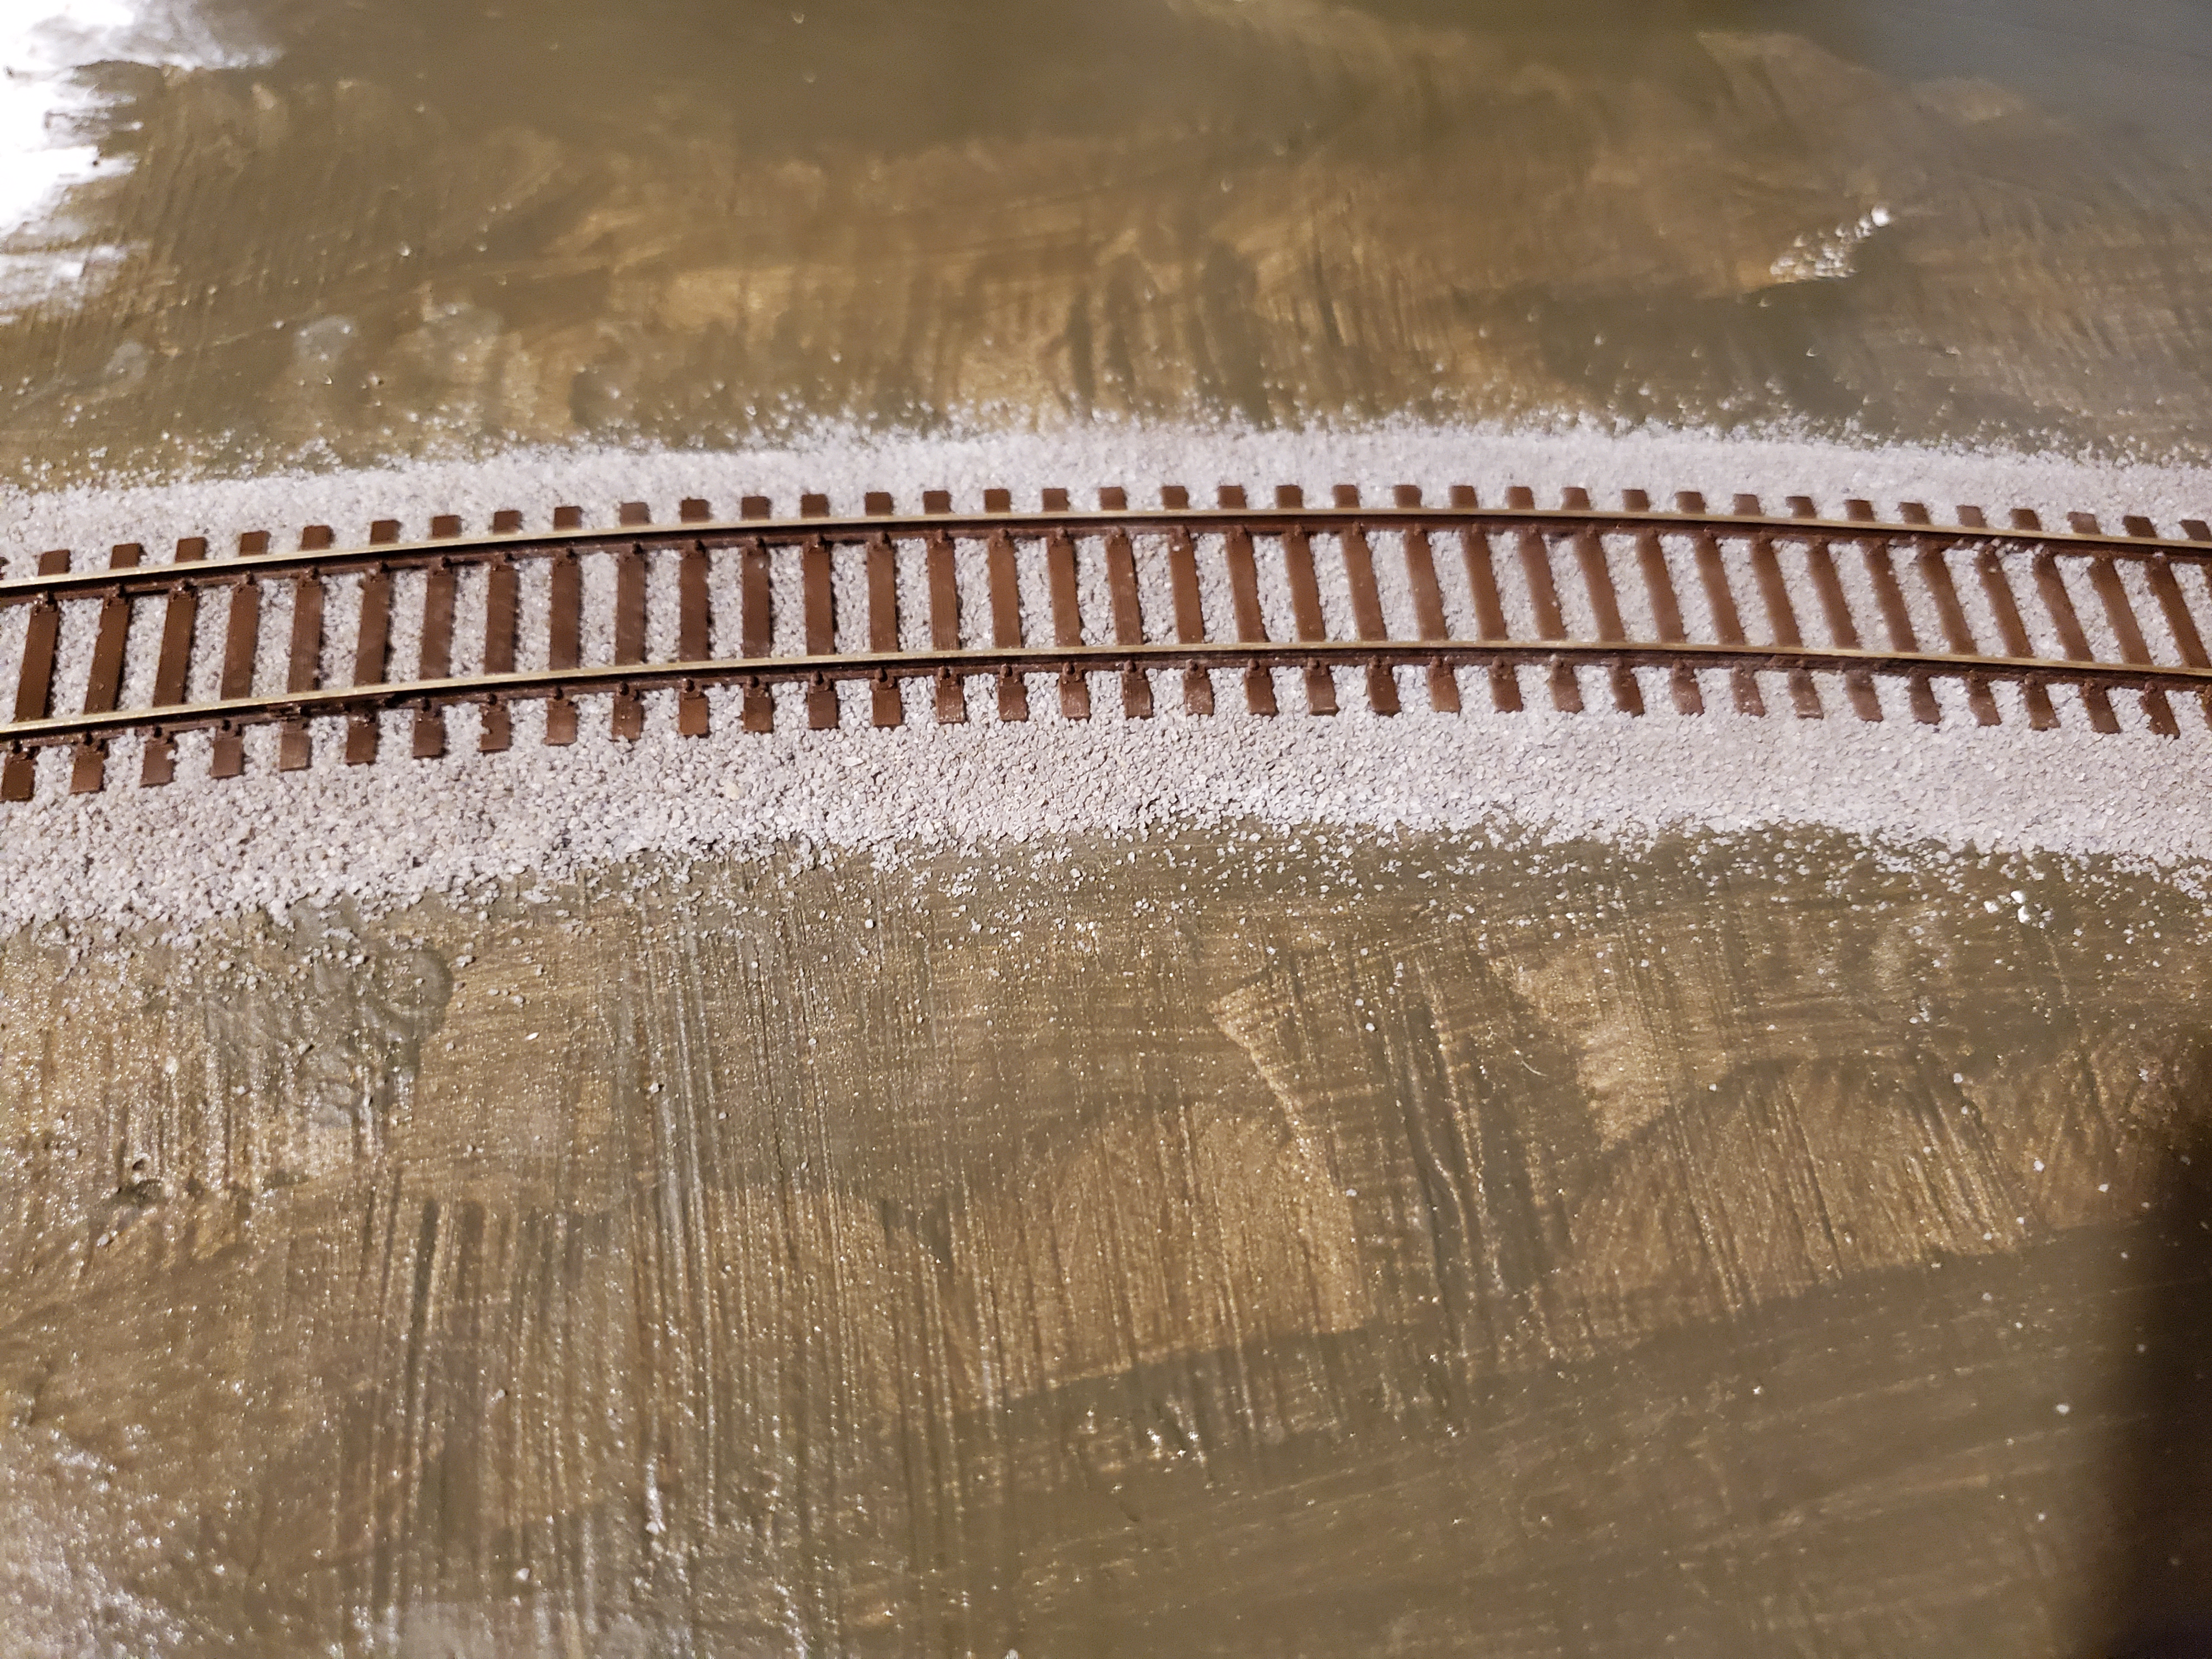
Next, I added Scenic Express #40 light gray ballast and glued it down with diluted mate medium. I sprinkle it with a spoon, then spread it out with my finger. I have a medium paint brush that I use to do any final shaping. Finally I use a small paint brush and a toothpick to remove any grains from the web of the rail and the ties.

This is where things went a little sideways for me. I gave everything a second wetting with diluted matte medium. I wasn’t careful with the matte medium and it dried milky on the ties. I fixed this by wiping each tie with alcohol. It was no fun. I will use diluted white glue next time. I wanted to weather the rails and ballast a little more so I know some of this will be hidden anyways. One of the things that I enjoy about model railways is that most mistakes can be salvaged.
I weathered the track and ballast in 3 steps.
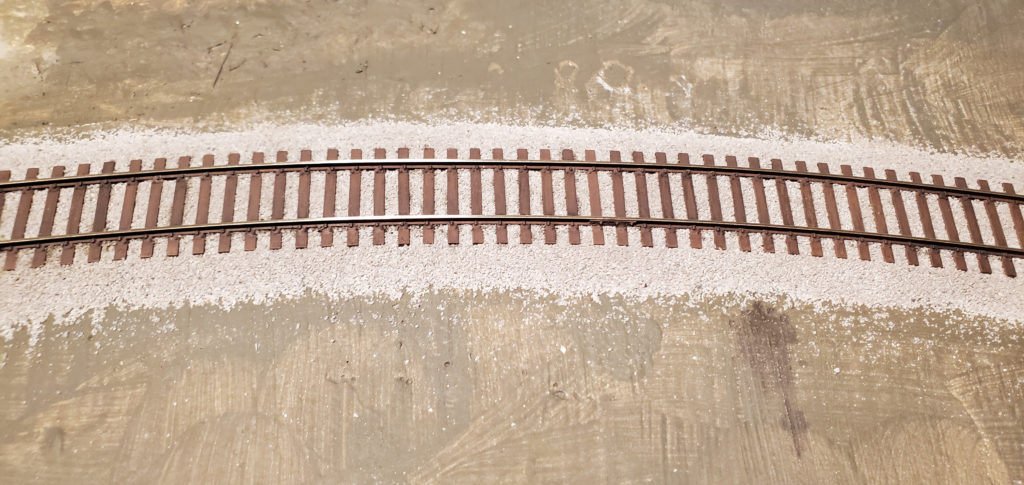
This may be subtle but I found the Scenic Express ballast a little translucent under light so I sprinkled some Desert Sand coloured grout on the ballast. I locked it down with alcohol and it seemed to really work well.
Next I worked on the ties and rails. I applied Hunter Line Medium Brown alcohol stain to the rails and ties with a microbrush. I used the same stain to add some staining and oil drip marks where appropriate.
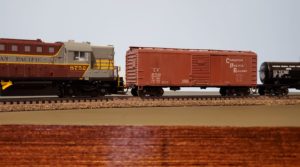
Finally, I airbrushed a 10:1 mix of railroad tie brown along the sides of the ballast to simulate some of the grime and rust staining that comes off the track. I followed this up with the same ratio of grimy black down the middle of the tracks. I apply this is very light passes, from as many angles as I can to build up the effect and keep if from looking too harsh. Below is the finished result. Each step is subtle but if you compare the beginning and end photos you can really see the effect. Once the entire layout is ballasted, I will go back and add more weathering